Air Fryer Baked Potato — Fluffy Inside, Crispy Skin, in 40 Minutes
A baked potato is the simplest comfort food there is, but the oven version takes 60–75 minutes. The air fryer cuts that to 40 minutes and, as a bonus, produces a skin that’s genuinely crispy — not just dry, but shatteringly crunchy.
This is the most hands-off recipe in your air fryer repertoire. Wash, oil, salt, drop it in, and wait. No flipping, no checking, no foil wrapping — just a russet potato transforming into the best baked potato you’ve ever made at home.
Why You’ll Love This Recipe
- Skin as crispy as a chip. The air fryer’s high-speed hot air hits the potato skin from every angle, dehydrating it into a thin, crackly shell. An oven-baked potato gets a leathery-dry skin; the air fryer version gets one that actually crunches.
- Inside as fluffy as a cloud. Forty minutes of dry heat fully gelatinizes the starch inside, turning the interior into something impossibly light and cottony. It falls apart at the touch of a fork and drinks up butter and salt.
- No foil needed — and that’s a good thing. Many of us grew up wrapping potatoes in foil, but foil traps steam and turns the skin soft and wet. Skipping the foil lets the skin breathe in the dry air — that’s the whole secret to crispy skin.
- Zero skill required. Wash → oil → salt → air fry 40 minutes. No flipping, no basting, no temperature adjustments. It is, without question, the easiest recipe in this entire collection.
Ingredients You’ll Need
- 2 medium russet potatoes (about 250g / 9 oz each)
- 1 tbsp olive oil
- 1 tsp coarse sea salt (for the skin)
Toppings (Optional)
- Sour cream
- Shredded cheddar cheese
- Crumbled bacon
- Chopped chives
- Butter
Use russet potatoes — nothing else comes close. Russets have the highest starch content of any potato variety (roughly 18–20%), which is what creates that fluffy, cloud-like interior. Other varieties disappoint: Yukon Golds turn creamy rather than fluffy, red potatoes stay waxy and dense. Russet skins are also thicker and rougher — the perfect foundation for a crispy crust. Pick potatoes of similar size, about 250g each, so they finish at the same time.
How to Make an Air Fryer Baked Potato
Step 1: Wash and Pierce
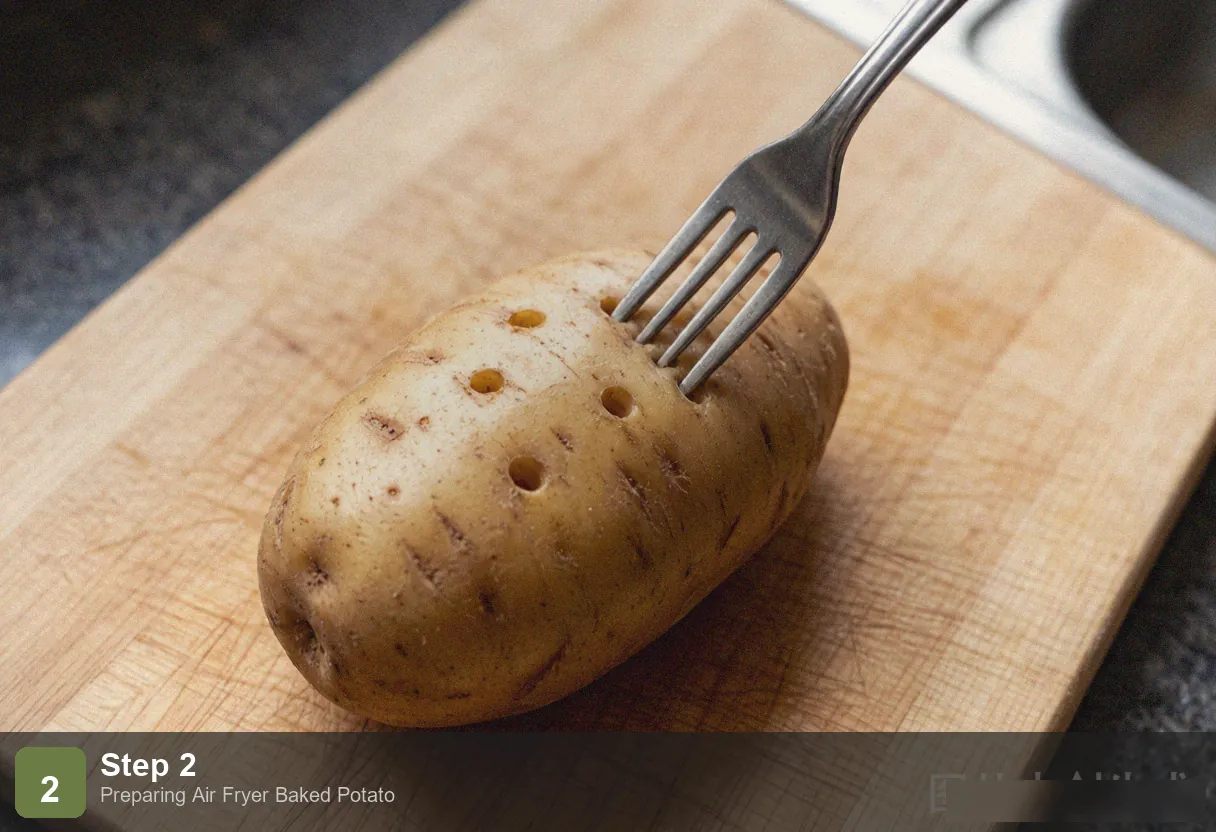
Scrub the potatoes under running water — a vegetable brush works best — to remove all surface dirt. Pat completely dry with a kitchen towel. Using a fork, pierce each potato 6–8 times on all sides, about 1cm deep. Do not skip this step. As the potato heats, internal moisture turns to steam. Without vent holes, that steam builds pressure and can cause the potato to burst open inside your air fryer — not dangerous, but incredibly messy.
Image alt text: Air fryer baked potato step 1: clean russet potato being pierced with a fork, 6-8 holes across the surface
Step 2: Oil and Salt the Skin
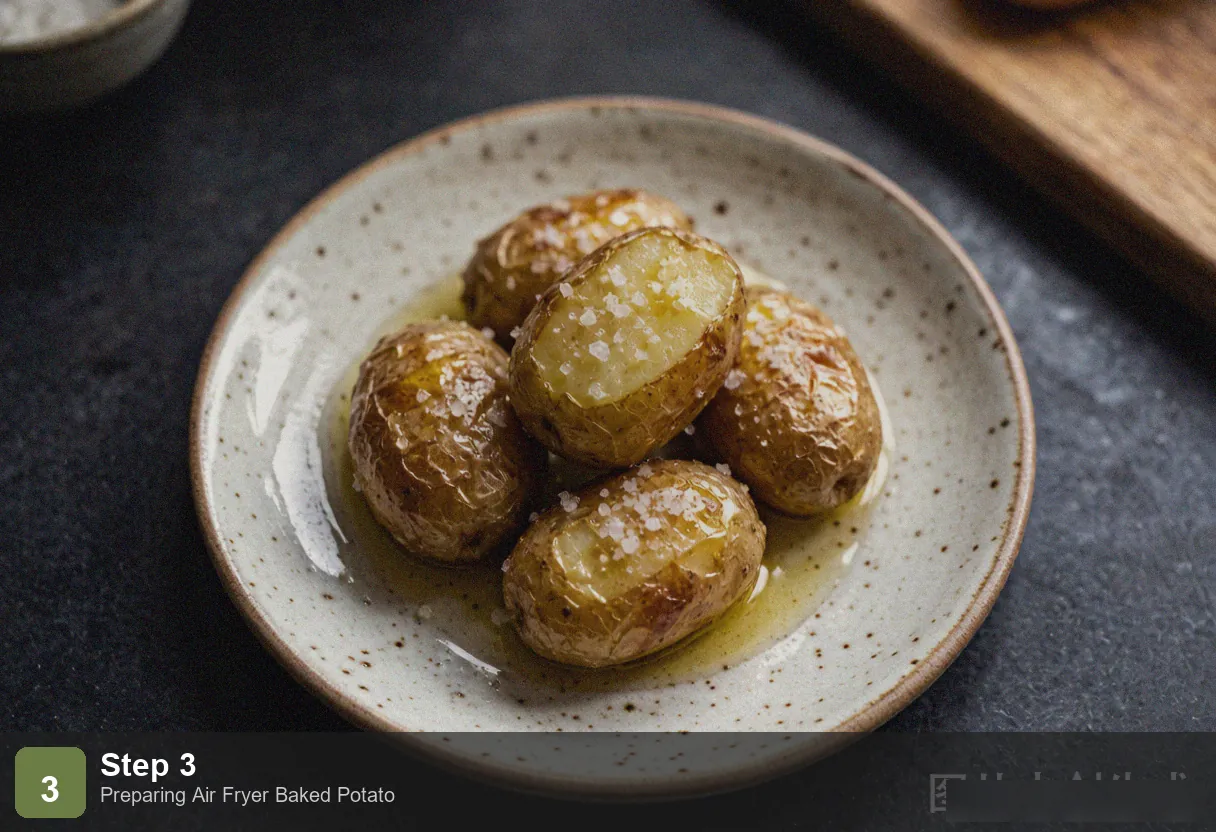
Brush the entire surface of each potato with a thin layer of olive oil, then sprinkle generously with coarse sea salt. The oil helps the salt stick and conducts heat into the skin, accelerating dehydration. The salt isn’t just for flavor — those coarse crystals create intermittent bursts of salinity and texture across the crust.
Image alt text: Air fryer baked potato step 2: potato brushed with olive oil and coated with coarse sea salt, glistening
Step 3: Air Fry at 200°C (400°F) for 40 Minutes
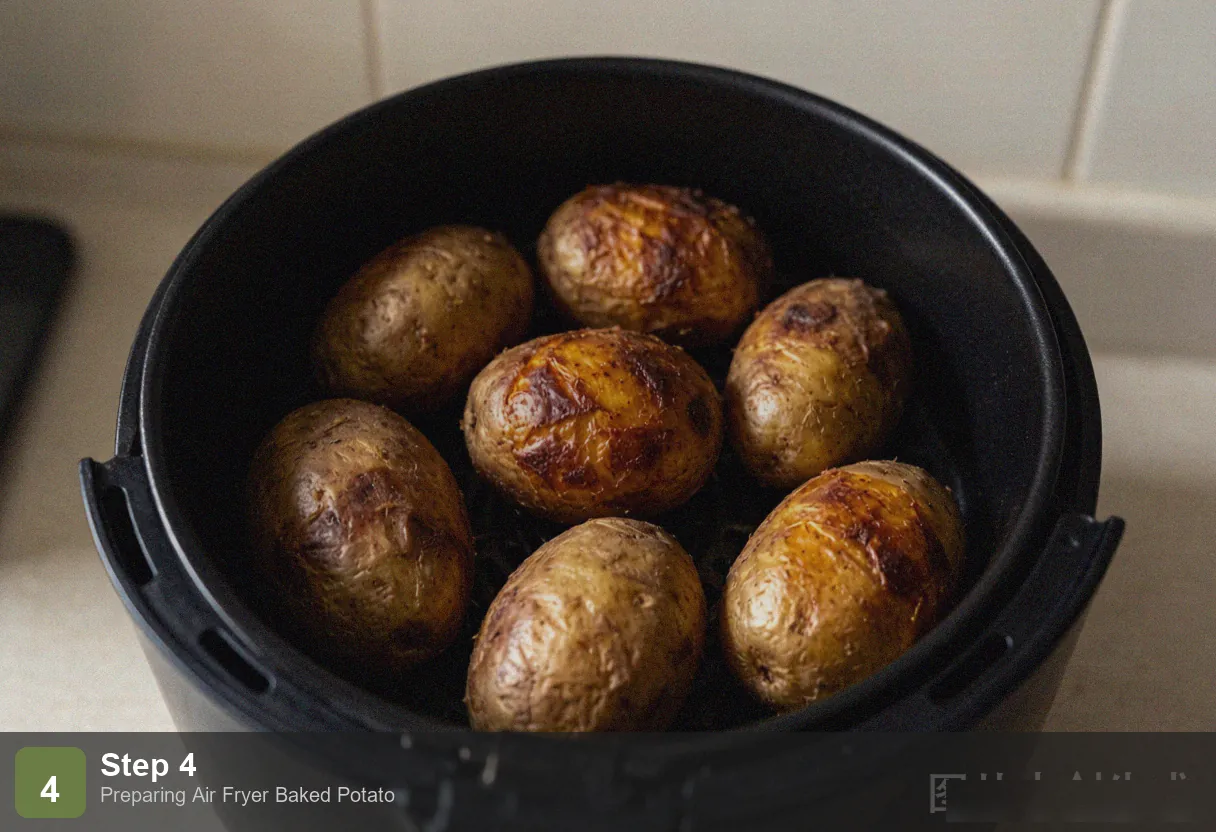
Place the potatoes directly into the air fryer basket. No preheating needed. Set to 200°C (400°F) and cook for 40 minutes. No need to flip — the spherical shape and circulating hot air ensure even heating from all sides. Around the 20-minute mark, you’ll start smelling the potato skin toasting. By 35 minutes, the aroma intensifies and the skins will look deeply golden.
Image alt text: Air fryer baked potato step 3: potatoes in air fryer basket, skin turning from brown to deep golden, visible through window
Step 4: Test for Doneness
At 40 minutes, insert a fork into the center of the potato. If it slides through with zero resistance, the potato is done. If you feel a firm core, give it another 5 minutes. Another test: gently squeeze the potato (use an oven mitt or towel — it’s hot). If the interior feels soft and yields slightly, it’s fully cooked. A perfectly baked potato reaches an internal temperature of about 95–98°C (203–208°F).
Image alt text: Air fryer baked potato step 4: testing doneness by inserting a fork through the center, no resistance
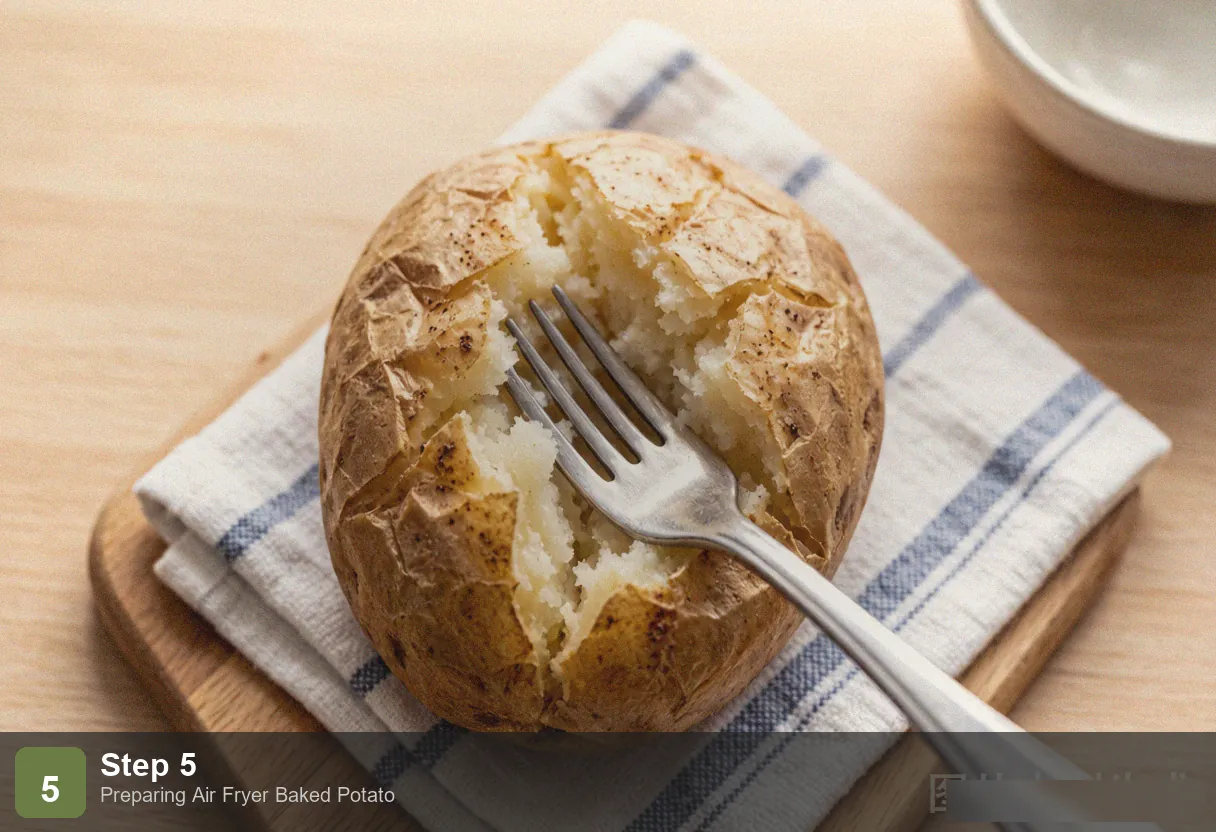
Step 5: Split and Load
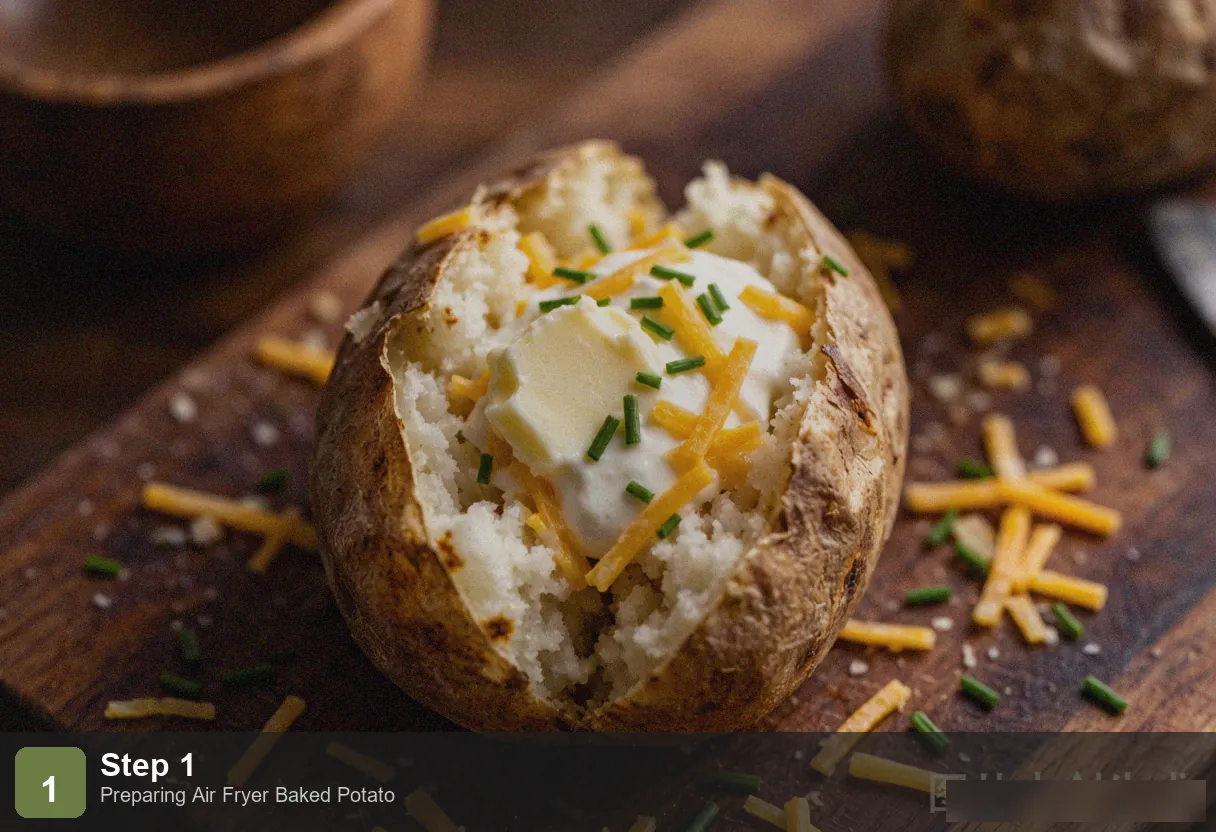
Place the potato on a plate. Using a knife, cut a cross into the top — don’t cut all the way through. Using both hands, squeeze from the ends toward the center. The potato will bloom open along the cross, revealing the fluffy white interior. Drop in a pat of butter, sprinkle with salt and pepper, then load it up: sour cream, shredded cheddar, crumbled bacon, chives — whatever you’re in the mood for.
Image alt text: Air fryer baked potato step 5: potato split open, fluffy interior topped with butter, sour cream, cheese and chives
Pro Tips
Skipping foil is exactly why the skin gets crispy. Foil traps the moisture that evaporates from the potato skin, essentially steaming it instead of roasting it. The result: a soft, wet, limp skin — the opposite of what you want. No foil means the skin is exposed directly to 200°C dry, moving air. Moisture evaporates fast, the skin thins and crisps. This is the single biggest reason air fryer baked potatoes have better skin than oven-baked ones — the air fryer’s airflow is more aggressive than a conventional oven’s.
Piercing is a non-negotiable safety step. A potato is about 80% water inside a sealed skin. At 200°C, that water turns to steam, and pressure builds. Without vent holes, the potato can rupture — and yes, it will make a popping sound and splatter potato mash across the inside of your fryer. Six to eight fork pricks, about 1cm deep, give the steam an exit path. It takes 10 seconds and saves you a cleaning headache.
40 minutes is the time for a 250g potato — adjust for size. 200g → 35 minutes. 250g → 40 minutes. 300g → 45–50 minutes. Cooking 2–3 potatoes at once doesn’t require extra time (the air fryer handles multiple items). More than 3 may need an extra 5 minutes. When in doubt, the fork test is always more reliable than a timer.
Frequently Asked Questions
Can I bake sweet potatoes this way?
Absolutely. Sweet potatoes need a slightly lower temperature: 190°C (375°F) for 35–40 minutes. They have more sugar than russets, and 200°C can scorch the skin before the interior is fully cooked. At 190°C, the inside softens perfectly while the skin turns a deep caramel color without burning. The interior will be orange, moist, and sweet — a completely different experience from the fluffy white russet.
Do I need to flip the potato?
No. A spherical potato heats evenly in the air fryer’s circulating air. If you notice the bottom (the side touching the basket) is darker than the rest, you can flip once at the 25-minute mark, but in most cases it’s unnecessary.
How do I store and reheat?
Baked potatoes are best eaten within 2 hours of cooking. For leftovers, refrigerate for up to 3 days. Reheat in the microwave (2 minutes) for speed, or back in the air fryer at 180°C (350°F) for 5 minutes to restore the crispy skin. Don’t freeze — the texture turns watery and mealy on thawing. If you’re making loaded potatoes with cheese and bacon, reheat the potato alone and add fresh toppings after.
Can I batch-cook these for the week?
Yes. Bake 4–6 potatoes at once, let them cool, and refrigerate. To reheat, air fry at 180°C (350°F) for 5 minutes to crisp the skin back up. You can also scoop out the flesh for mashed potatoes or twice-baked potato skins — one potato, two meals. Refrigerated potatoes undergo starch retrogradation (they firm up), but reheating restores the fluffy texture.
More Air Fryer Recipes
- Air Fryer Sweet Potato Cubes — diced sweet potato version
- Air Fryer Frozen French Fries — the classic fry
- Air Fryer Boiled Eggs — another basics recipe
- Air Fryer Cauliflower Bites — veggie side dish
Nutrition (Per Potato, Basic Toppings Only)
| Nutrient | Amount | % Daily Value |
|---|---|---|
| Calories | 285 kcal | 14% |
| Protein | 7g | 14% |
| Fat | 8g | 10% |
| Carbohydrates | 48g | 17% |
| Fiber | 4g | 16% |
| Sodium | 310mg | 13% |
| Potassium | 950mg | 20% |
| Vitamin C | 20mg | 22% |

Air Fryer Baked Potato - Fluffy & Crispy Skin 40 Min
Ingredients
Method
- Step 1: Wash and Pierce: Scrub the potatoes under running water — a vegetable brush works best — to remove all surface dirt. Pat completely dry with a kitchen towel. Using a fork, pierce each potato 6–8 times on all sides, about 1cm deep. Do not skip this step. As the potato heats, internal moisture turns to steam. Without vent holes, that steam builds pressure and can cause the potato to burst open inside your air fryer — not dangerous, but incredibly messy. Image alt text: Air fryer baked potato step 1: clean russet potato being pierced with a fork, 6-8 holes across the surface
- Step 2: Oil and Salt the Skin: Brush the entire surface of each potato with a thin layer of olive oil, then sprinkle generously with coarse sea salt. The oil helps the salt stick and conducts heat into the skin, accelerating dehydration. The salt isn't just for flavor — those coarse crystals create intermittent bursts of salinity and texture across the crust. Image alt text: Air fryer baked potato step 2: potato brushed with olive oil and coated with coarse sea salt, glistening
- Step 3: Air Fry at 200°C (400°F) for 40 Minutes: Place the potatoes directly into the air fryer basket. No preheating needed. Set to 200°C (400°F) and cook for 40 minutes. No need to flip — the spherical shape and circulating hot air ensure even heating from all sides. Around the 20-minute mark, you'll start smelling the potato skin toasting. By 35 minutes, the aroma intensifies and the skins will look deeply golden. Image alt text: Air fryer baked potato step 3: potatoes in air fryer basket, skin turning from brown to deep golden, visible through window
- Step 4: Test for Doneness: At 40 minutes, insert a fork into the center of the potato. If it slides through with zero resistance, the potato is done. If you feel a firm core, give it another 5 minutes. Another test: gently squeeze the potato (use an oven mitt or towel — it's hot). If the interior feels soft and yields slightly, it's fully cooked. A perfectly baked potato reaches an internal temperature of about 95–98°C (203–208°F). Image alt text: Air fryer baked potato step 4: testing doneness by inserting a fork through the center, no resistance
- Step 5: Split and Load: Place the potato on a plate. Using a knife, cut a cross into the top — don't cut all the way through. Using both hands, squeeze from the ends toward the center. The potato will bloom open along the cross, revealing the fluffy white interior. Drop in a pat of butter, sprinkle with salt and pepper, then load it up: sour cream, shredded cheddar, crumbled bacon, chives — whatever you're in the mood for. Image alt text: Air fryer baked potato step 5: potato split open, fluffy interior topped with butter, sour cream, cheese and chives