Why You’ll Love This Air Fryer Low Sodium Chicken Breast
Chicken breast is the default protein for anyone watching sodium — lean, versatile, and naturally low in sodium at about 66mg per 100g. The problem is that most versions ruin it: takeout and pre-marinated breasts hide 400–600mg of sodium behind salty brines and spice rubs, while plain boiled breast turns into dry cardboard. This air fryer low sodium chicken breast solves both problems at once. A quick herb-and-lemon oil, an even thickness, and the air fryer’s hot circulating air give you a crisp, fragrant crust and a juicy interior — with zero added salt and under 120mg of sodium per breast.
- On the table in 15 minutes. The air fryer preheats fast and cooks hard. You get a weeknight dinner that beats the oven on time and the drive-thru on salt.
- Under 120mg sodium per breast. Zero added salt. A comparable takeout breast runs 400–600mg — this is roughly one-quarter of that.
- Crisp outside, juicy inside. Patting the surface dry plus 180°C (360°F) of fast heat builds a crust that locks the juices in. Cut into it and it still weeps.
- Herbs do the work salt usually does. Lemon, garlic, and dried herbs release enough aroma in the hot air that the whole breast tastes “seasoned.” Salt becomes unnecessary.
Ingredients
- 2 boneless, skinless chicken breasts (about 170g each) — even thickness matters more than anything else; see Step 1.
- 2 tablespoons olive oil — carries the herb flavor and helps the surface crisp instead of steam.
- 1 teaspoon dried rosemary (or 1 tablespoon fresh, finely chopped) — the signature savory note.
- 1/2 teaspoon dried thyme — rounds out the herb blend.
- 1/2 teaspoon black pepper — our only ground seasoning.
- 1 clove garlic, grated into a paste — a savory base note without sodium.
- 1/2 lemon (zest plus juice) — acid brightens and “de-fishes” the mild meat.
- 0 salt — this is the whole point of the recipe.
- Optional: 1/4 teaspoon salt substitute (potassium chloride) — avoid if you have kidney disease or are on a potassium-restricted diet.
Why patting dry beats marinating. Surface moisture is the enemy of “juicy.” Water turns the air fryer into a steamer, so the breast leaks, the crust never forms, and the herbs slide off. Press the chicken with paper towels three times to pull off surface water — only then can the air fryer build that golden shell. This one step matters more than any marinade.
How to Make Air Fryer Low Sodium Chicken Breast
Step 1: Pat Dry and Even Out the Thickness
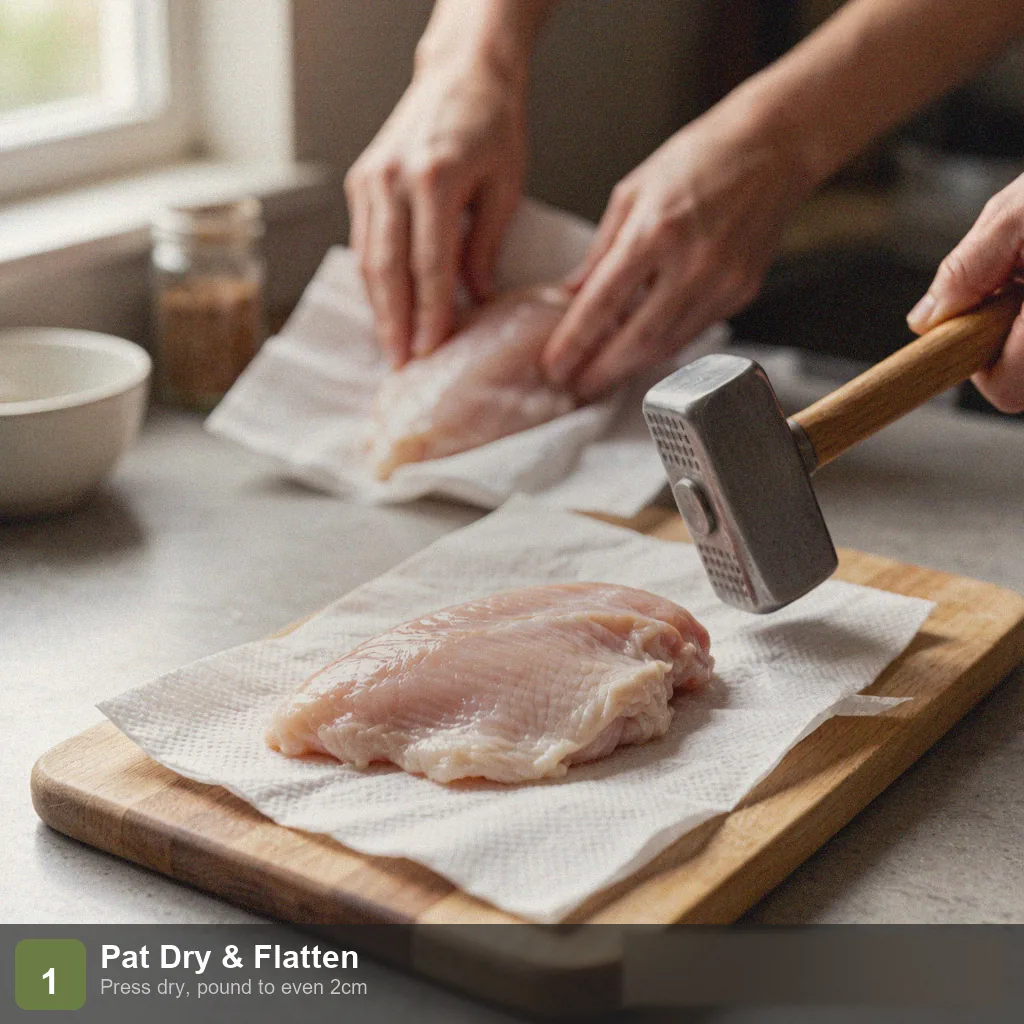
Press the chicken breasts firmly with paper towels to remove surface moisture. If one end is much thicker than the other — which it almost always is — use a meat mallet or a rolling pin to gently pound the thick end down to an even ~2cm thickness. Uniform thickness means the breast cooks evenly: no raw thick spot, no dry thin end.
Step 2: Make the Herb Oil
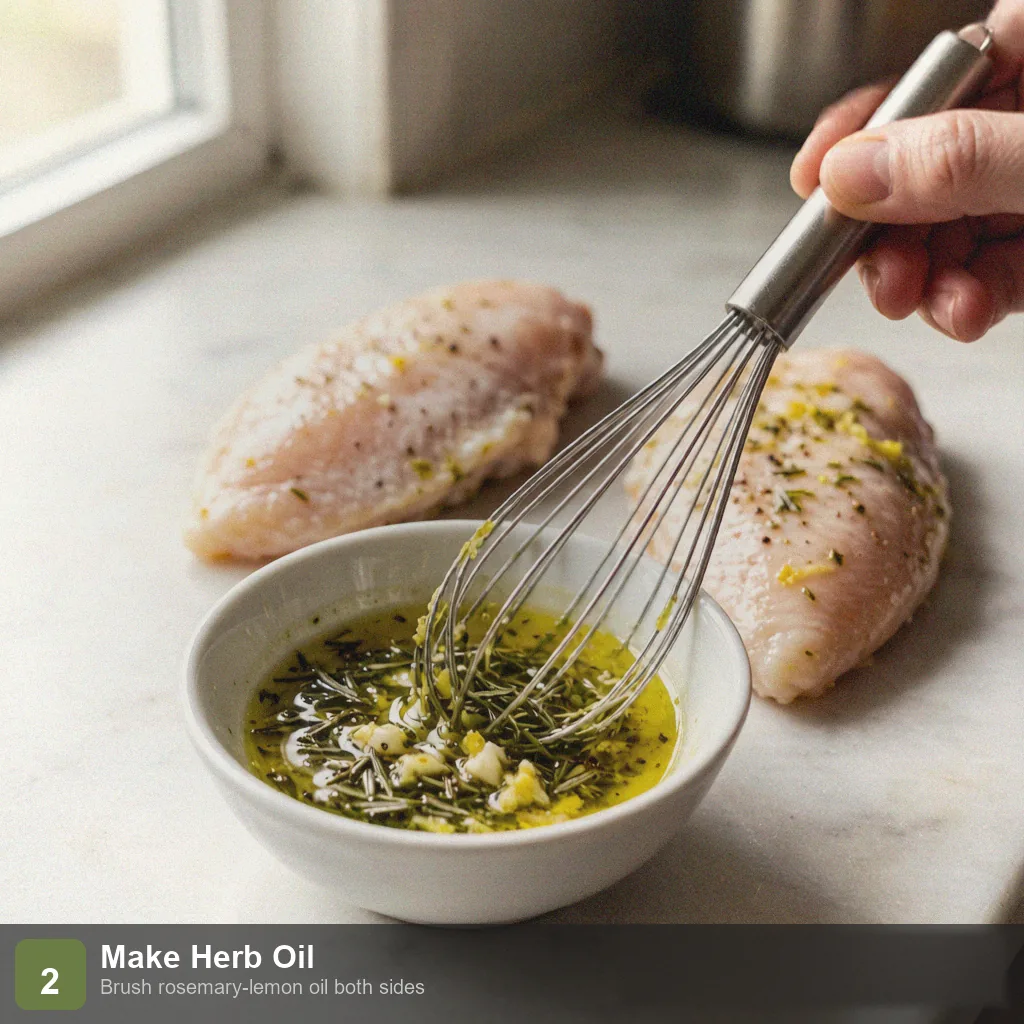
In a small bowl, whisk the olive oil with the rosemary, thyme, black pepper, grated garlic, and lemon zest into a loose herb oil. Brush it generously over both sides of each breast so every bite carries the herb flavor, not just the surface.
Step 3: Load the Basket
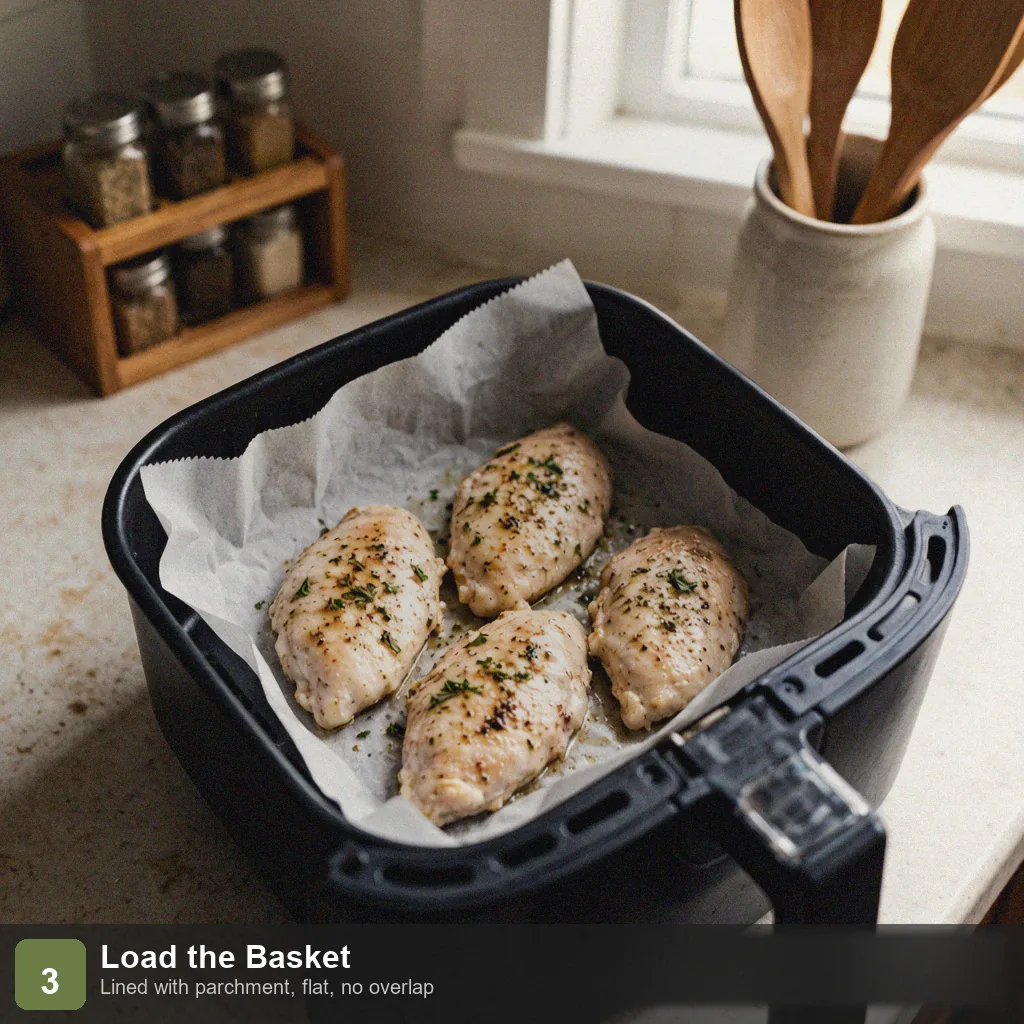
Line the air fryer basket with parchment for easy cleanup. Lay the breasts flat and do not overlap them. Set the air fryer to 180°C (360°F) for 15 minutes. Crowding traps steam and softens the crust, so give each breast its own space.
Step 4: Flip at the Halfway Mark
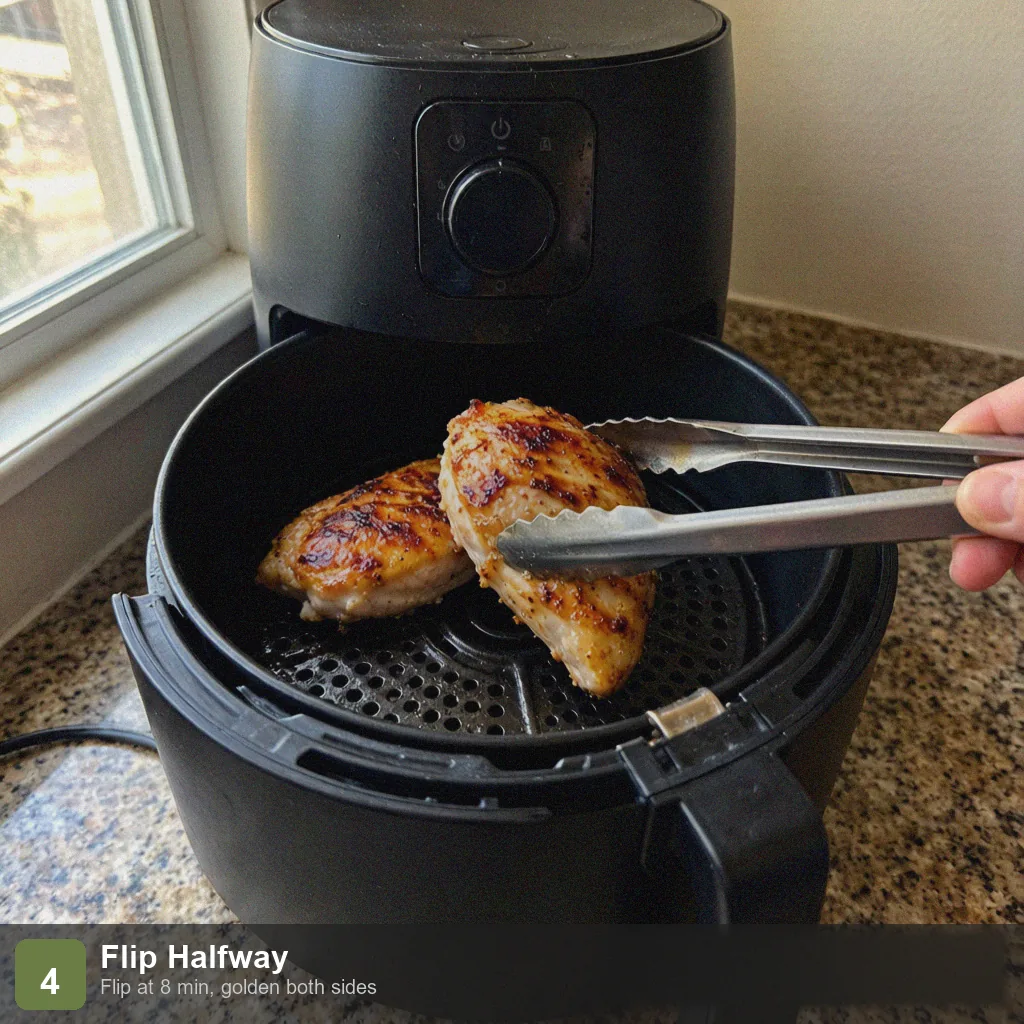
Pull the basket out at the 8-minute mark and flip the breasts so both faces color evenly. If you have any herb oil left, brush it on again to boost aroma and moisture.
Step 5: Check Doneness and Rest
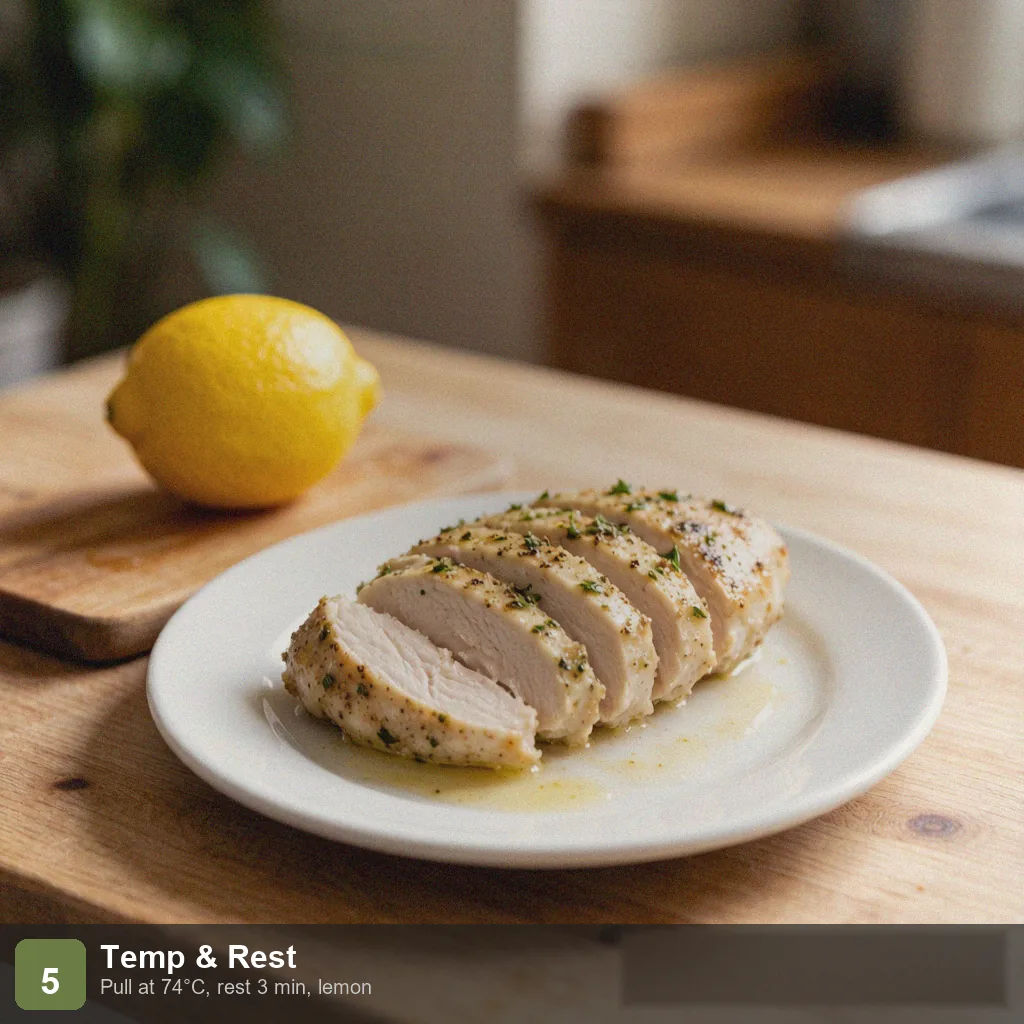
The chicken is done when a chopstick slipped into the thickest part releases clear juices and the center reads 74°C (165°F). Lift the breasts out and rest them 3 minutes before slicing — the juices redistribute so the meat stays bright and never dry. Finish with a squeeze of lemon.
Pro Tips
Even thickness is the foundation of tender chicken. A breast that tapers from thick to thin will be overcooked and dry at the thin end before the thick end is safe to eat. Pound to a uniform ~2cm and the whole breast finishes in 15 minutes with even juice.
180°C (360°F) is more tender than 200°C. High heat rushes the outside while the center lags, producing burnt-outside/raw-inside. At 180°C the heat penetrates to the center without driving off moisture — that is the sweet spot for “crisp outside, juicy inside.” Don’t be tempted to crank it up for speed.
Don’t skip the 3-minute rest. A breast straight out of the fryer is still squeezing juice toward the surface. Cut immediately and those juices pour onto the board. Rest 3 minutes and the fibers reabsorb them, so the slice looks glossy, not dry.
Salt substitute is optional. With no salt at all, some people find the dish “flat.” A pinch of potassium chloride returns the salty signal without sodium. But people with kidney issues or a potassium limit should skip it entirely — talk to your doctor.
Meal-prep powerhouse. Cook 4 breasts at once, store them whole, and refrigerate for up to 4 days. Reheat in the air fryer at 160°C (320°F) for about 4 minutes — not the microwave, which turns it soft and watery. Shred over salad or into a whole-wheat wrap for a tidy low-sodium lunchbox.
Frequently Asked Questions
Can I leave the skin on?
Yes — skin-on is juicier and more aromatic. Air fry at 190°C (375°F) for 16–18 minutes. Peel the skin off before eating to trim both fat and a little sodium; the effect on total sodium is small.
What if I don’t have rosemary?
Dried oregano, basil, or an Italian herb blend all work. Use fresh herbs at double the amount. Olive oil, lemon, and black pepper alone already taste great.
Can I cook frozen chicken breast?
Not recommended. Frozen breast releases too much water and cooks unevenly. Thaw overnight in the fridge, or use your microwave’s defrost setting. Half-thawed breast comes out burnt outside and icy inside.
Will kids eat it?
Most kids accept herb chicken. If yours objects to the “green specks,” swap the herbs for salt-free paprika and garlic powder — the color stays golden and friendly.
More Low Sodium Recipes
Round out your low-sodium table with these from the same island:
- Low Sodium Baked Chicken Breast — the oven version of this air fryer low sodium chicken breast
- Low Sodium 15 Minute Dinner — an even faster skillet meal
- Low Sodium Stir Fry Chicken — a Chinese-style quick fry
- Bread Machine Low Sodium Bread — the perfect low-sodium side
Conclusion
This air fryer low sodium chicken breast proves you don’t need salt to make chicken taste like dinner. With a herb-lemon oil, an even pound, and 15 minutes of hot air, you get a crisp, juicy breast at under 120mg sodium — a heart-healthy win you can repeat all week.
Nutrition Information (Per Serving, ~170g Breast)
| Item | Amount | % Daily Value* |
|---|---|---|
| Calories | 265 kcal | 13% |
| Protein | 38 g | 76% |
| Fat | 12 g | 15% |
| Carbohydrates | 1 g | 0% |
| Fiber | 0 g | 0% |
| Sodium | 112 mg | 5% |
*Daily values are based on a 2,000 kcal diet. Sodium is an estimate for no-added-salt preparation (USDA FoodData Central: chicken breast contains about 66mg of natural sodium per 100g) — roughly one-fifth of a takeout marinated breast at 400–600mg.
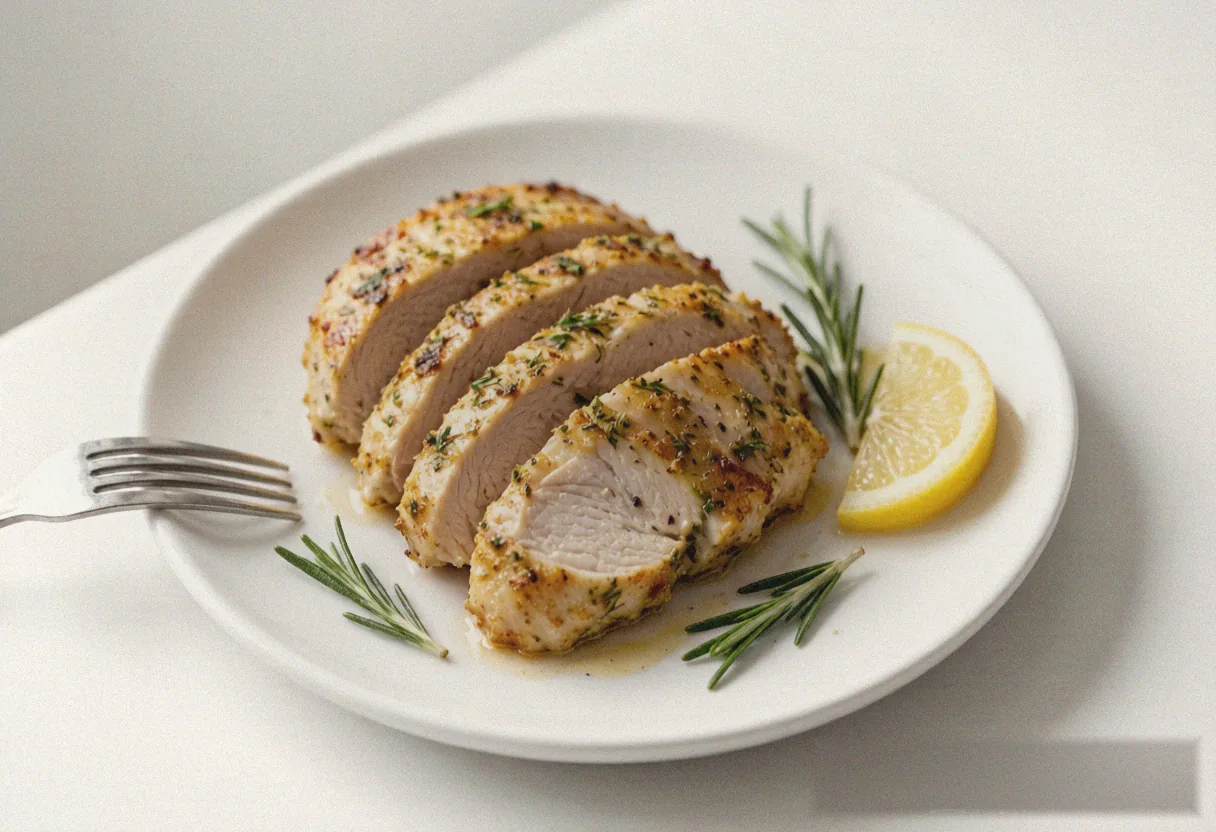
Air Fryer Low Sodium Chicken Breast - Juicy & Salt Free
Ingredients
Method
- Step 1: Pat Dry and Even Out the Thickness: Press the chicken breasts firmly with paper towels to remove surface moisture. If one end is much thicker than the other — which it almost always is — use a meat mallet or a rolling pin to gently pound the thick end down to an even ~2cm thickness. Uniform thickness means the breast cooks evenly: no raw thick spot, no dry thin end.
- Step 2: Make the Herb Oil: In a small bowl, whisk the olive oil with the rosemary, thyme, black pepper, grated garlic, and lemon zest into a loose herb oil. Brush it generously over both sides of each breast so every bite carries the herb flavor, not just the surface.
- Step 3: Load the Basket: Line the air fryer basket with parchment for easy cleanup. Lay the breasts flat and do not overlap them. Set the air fryer to 180°C (360°F) for 15 minutes. Crowding traps steam and softens the crust, so give each breast its own space.
- Step 4: Flip at the Halfway Mark: Pull the basket out at the 8-minute mark and flip the breasts so both faces color evenly. If you have any herb oil left, brush it on again to boost aroma and moisture.
- Step 5: Check Doneness and Rest: The chicken is done when a chopstick slipped into the thickest part releases clear juices and the center reads 74°C (165°F). Lift the breasts out and rest them 3 minutes before slicing — the juices redistribute so the meat stays bright and never dry. Finish with a squeeze of lemon.