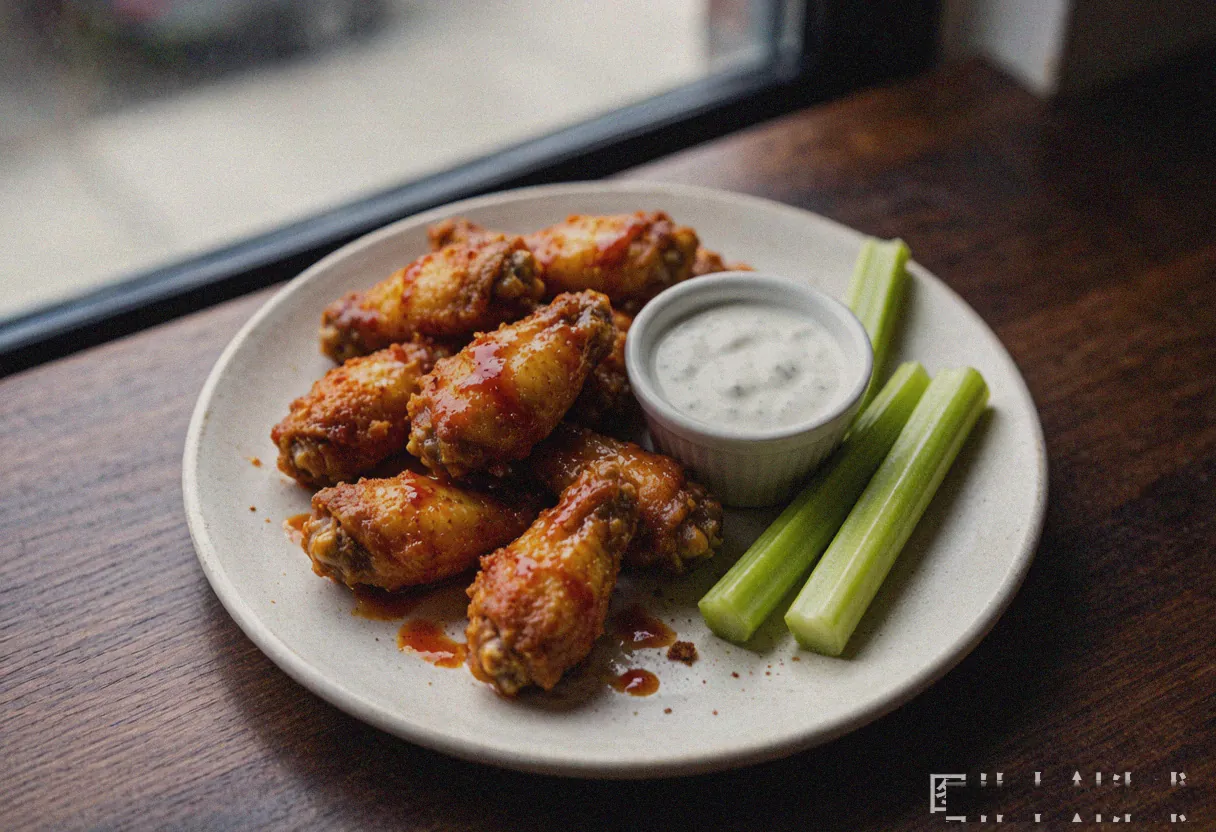
Step 1: Pat the Wings Completely Dry: Moisture is the enemy of crispy skin. Lay the wings on a cutting board and pat every surface dry with paper towels. The drier they are, the crispier they'll get. If you have time, leave them uncovered in the refrigerator for 1–2 hours — this further dehydrates the skin. Even 30 minutes helps.
Step 2: Season Generously: In a large bowl, toss the dried wings with salt, pepper, garlic powder, and smoked paprika. Use your hands to coat every wing thoroughly. The salt draws additional moisture to the surface during the first few minutes of cooking, which then evaporates and leaves the skin even crispier. No oil needed — the seasoning will adhere to the dry skin.
Step 3: Arrange in a Single Layer: Place the wings in the air fryer basket in a single layer, skin-side up. Do not overlap or stack them — air needs to circulate around every wing. If you have more than 10–12 wings, cook in two batches. Overcrowding is the single biggest reason wings come out soggy instead of crisp.
Step 4: Air Fry at 200°C for 22–25 Minutes: Cook at 200°C (390°F) for 22 minutes. At the 12-minute mark, open the basket and flip the wings. This ensures both sides get equal exposure to the hot air. After flipping, continue cooking for another 10–13 minutes until the skin is deeply golden and crackling. The exact time depends on your air fryer model and wing size. When in doubt, add 2–3 minutes — extra time only makes them crispier.
Step 5: Toss with Sauce and Serve Immediately: If making buffalo wings, whisk the hot sauce, melted butter, and sugar in a large bowl while the wings finish. Transfer the hot wings directly from the basket into the bowl and toss until every wing is coated. The heat from the wings helps the sauce cling. Serve immediately with celery, carrots, and ranch or blue cheese dressing.