Step 1: Load Ingredients in the Correct Order: Follow your bread machine manual's recommended order. For most machines, this means liquids first, then flour, then yeast last. The specific sequence: pour in the warm water, add the flour so it covers the water completely, place the salt and sugar in opposite corners on top of the flour, make a small well in the center of the flour, and pour the yeast into that well. The yeast must not touch the water or salt directly — salt kills yeast on contact, and premature activation in water will exhaust the yeast before kneading even begins.
Step 2: Select the French Bread Cycle: Choose the "French Bread" cycle on your machine. If your model doesn't have a dedicated French bread setting, use the "Basic White" cycle with loaf size set to 1.5 pounds and crust color set to "Dark." French bread depends on a dark crust for its characteristic crackly exterior — the caramelization of the flour's surface starches creates both the color and the flavor. Press start. The machine will now handle kneading, first rise, punch-down, second rise, and baking — roughly 3 hours total.
Step 3: Check the Dough During Kneading: About 5 minutes into the kneading cycle, open the lid and check the dough. It should have formed a smooth, slightly glossy ball that slowly springs back when you press it with a fingertip. If the dough is wet and sticky, failing to form a ball — add 1 tablespoon of flour. If it's dry and stiff with a cracked surface — add 1 tablespoon of water. This 30-second check is worth doing every time because flour absorbs water differently depending on brand, humidity, and even the age of the flour. Close the lid and let the machine continue.
Step 4: Let the Machine Handle Rise and Bake: Close the lid and do not open it again. The machine will cycle through the first rise, punch the dough down to redistribute the yeast and deflate oversized air pockets, complete a second rise, and then automatically switch to baking. During the bake phase (the last 50–60 minutes), you'll smell the bread long before it's done — a warm, yeasty fragrance that intensifies as the crust browns. The aroma through the viewing window is your best indicator of progress.
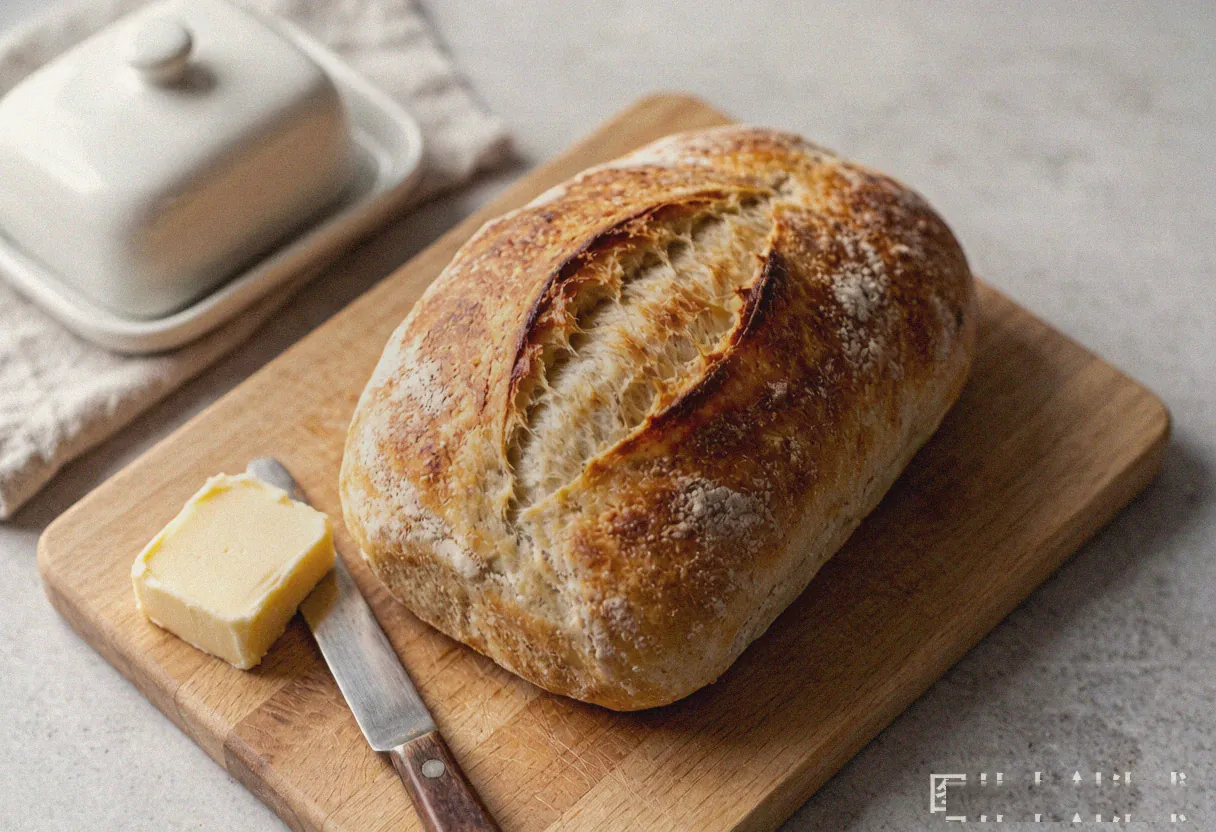
Step 5: Turn Out and Cool: When the machine beeps, put on oven mitts, remove the bread pan, and invert it to release the loaf. Do not leave the bread in the machine on the "keep warm" setting — residual heat will steam the bottom of the loaf, turning the crisp crust soft and gummy. Transfer the loaf to a wire cooling rack and let it cool for at least 30 minutes before slicing. Bread fresh from the machine has an internal temperature of roughly 200°F (95°C), and its starch structure is still setting. Cutting too early releases steam, which condenses inside the loaf and turns the crumb gluey.