Low Sodium Mashed Potatoes
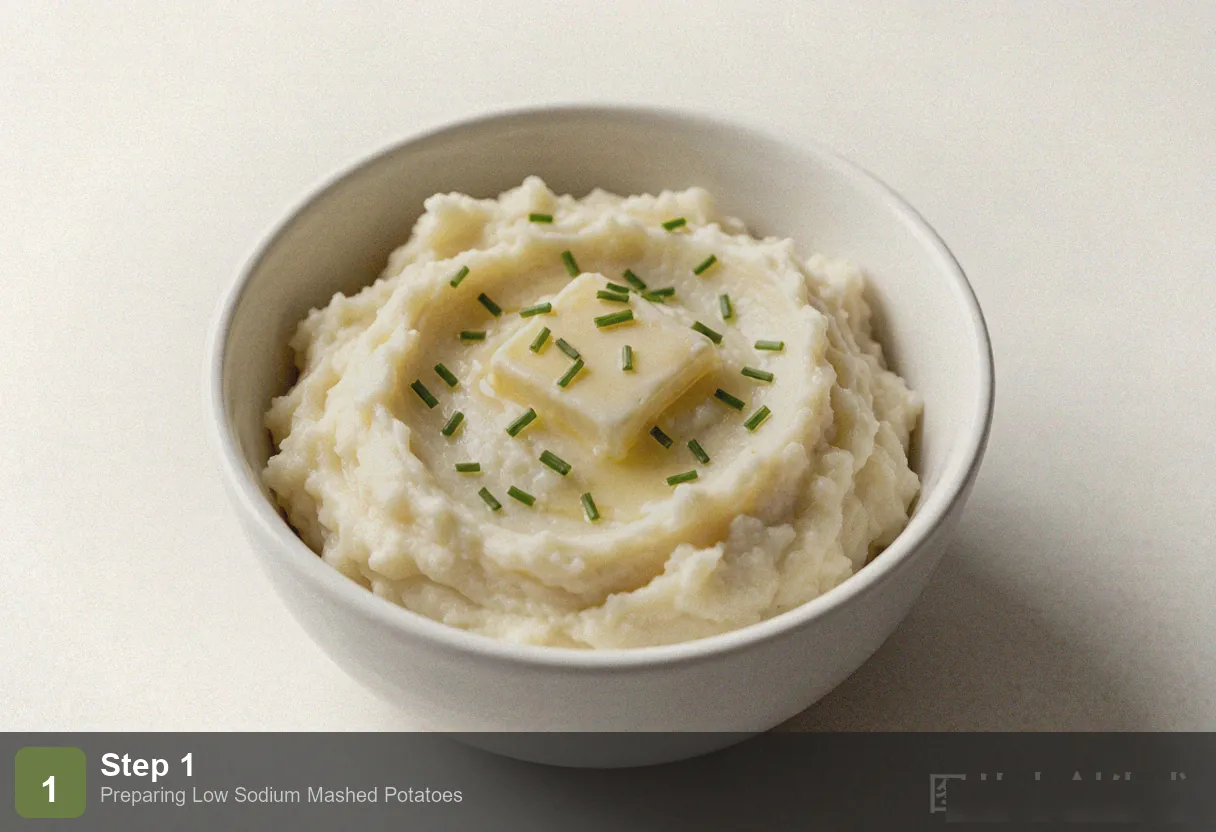
Mashed potatoes are everyone’s favorite comfort food — but restaurant versions routinely pack 600mg of sodium or more per serving, often from nothing more than salt-heavy boiling water and salted butter. These low sodium mashed potatoes deliver the same creamy, fluffy texture and rich flavor at just 95mg of sodium per serving.
The trick isn’t some salt substitute or weird ingredient. It’s three things done right: choosing the right potato variety, roasting garlic for deep savory sweetness, and adding fresh herbs for brightness. Together, they build enough flavor that you won’t notice the missing salt — and nobody at the dinner table will guess they’re eating the “healthy” version.
Why You’ll Love This Recipe
Health Notice: This recipe is designed for low-sodium diets. The American Heart Association recommends no more than 2,300mg of sodium per day, with an ideal limit of 1,500mg for most adults. Sodium values are estimates based on USDA food composition data. Always consult your healthcare provider before making dietary changes. See our Medical Disclaimer for more information.
- Only 95mg sodium per serving. Standard mashed potatoes range from 400–800mg of sodium per serving, mostly from salt in the cooking water and salted butter. By skipping the salt entirely and using unsalted butter plus roasted garlic and fresh chives, this version cuts sodium by over 80% without sacrificing a thing.
- Same creamy, fluffy texture. Low sodium doesn’t mean low quality. Using starchy Russet potatoes, pressing them while they’re still hot, and incorporating room-temperature butter and warm milk creates exactly the same luxurious mouthfeel as a fully salted batch.
- Roasted garlic and fresh herbs do the work. A whole head of roasted garlic — soft, sweet, and caramelized — provides a savory depth that reads as “well-seasoned” to your palate. Fresh chives add a bright, oniony finish, and a whisper of nutmeg rounds out the flavor without competing.
- A versatile side dish that works for everything. Pair it with low sodium baked chicken breast, spoon it under low sodium chili, or serve it at Thanksgiving. It holds its own on any table, and nobody has to know it’s the heart-healthy version.
Ingredients You’ll Need
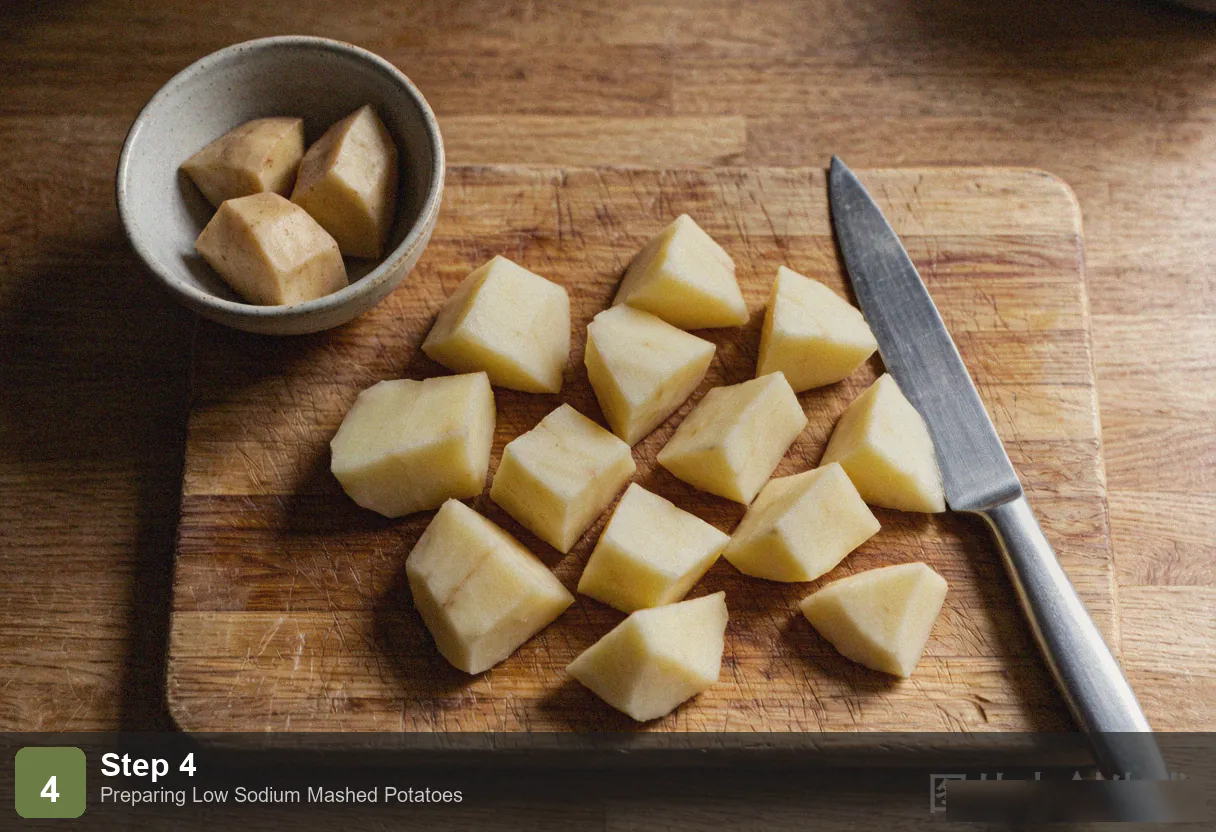
- 4 medium Russet potatoes (about 800g, peeled and cut into chunks)
- 3 tablespoons unsalted butter (about 45g, softened to room temperature)
- ⅓ cup warm milk (about 80ml, heated until steaming but not boiling)
- 1 whole head of garlic (for roasting)
- 2 tablespoons fresh chives, finely chopped
- ¼ teaspoon white pepper
- 1 tablespoon olive oil (for roasting the garlic)
- Pinch of ground nutmeg (optional, but recommended)
Why Russet potatoes? Russets are high in starch and low in moisture, which makes them break down into the fluffiest, lightest mashed potatoes. Yukon Gold potatoes work too and produce a naturally buttery-tasting mash, but they’re denser and less airy. Avoid red-skinned or new potatoes — their low starch content turns into a gluey, pasty mash no matter how carefully you handle them. The FDA defines “low sodium” as 140mg or less per serving, making these recipes suitable for sodium-restricted diets.
How to Make Low Sodium Mashed Potatoes
Step 1: Roast the Garlic
Slice the top third off a whole head of garlic, exposing the tops of the cloves inside. Drizzle with 1 tablespoon of olive oil, letting it seep down between the cloves, then wrap the whole thing tightly in aluminum foil. Roast at 400°F (200°C) for 35–40 minutes, until the cloves are soft, golden, and fragrant. Let it cool until you can handle it, then squeeze the soft garlic paste out from the bottom of each clove. Roasted garlic is nothing like raw — it’s sweet, mellow, and deeply savory, and it’s the single most important flavor builder in this recipe.
Step 2: Boil the Potatoes
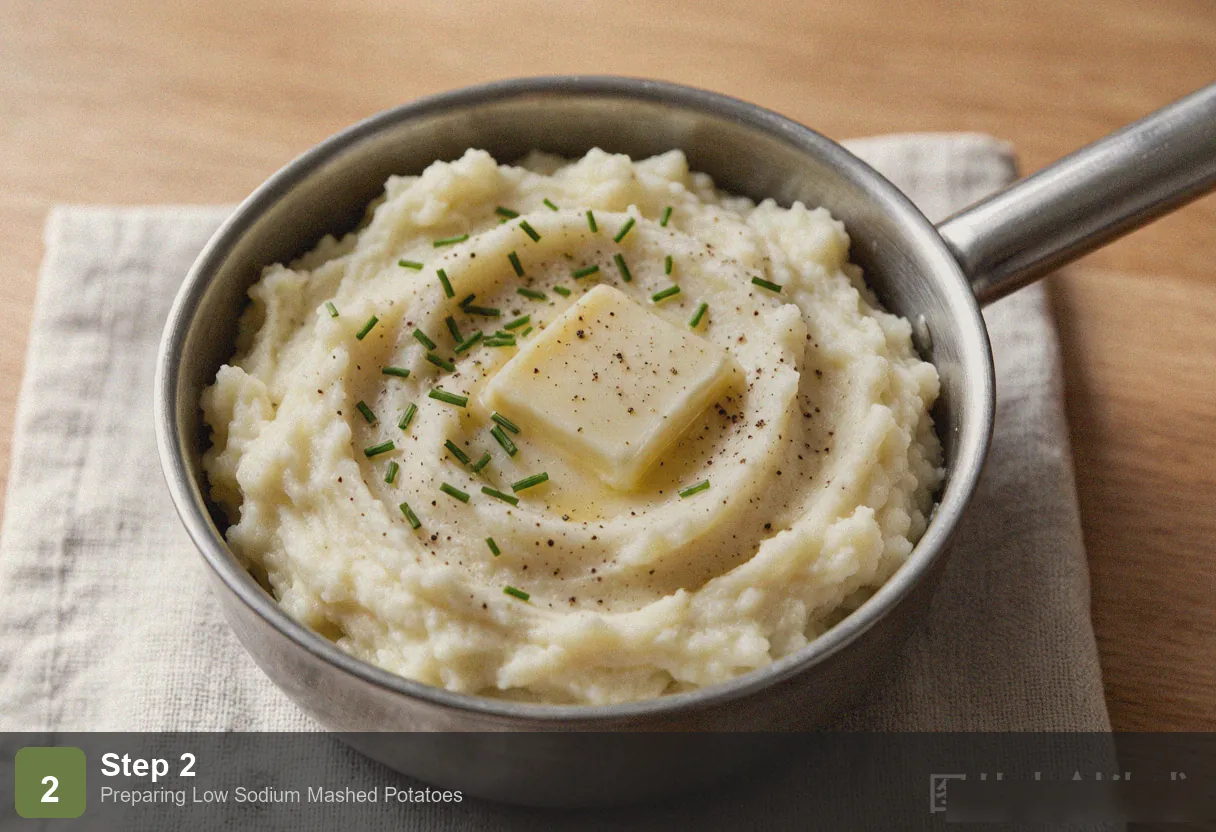
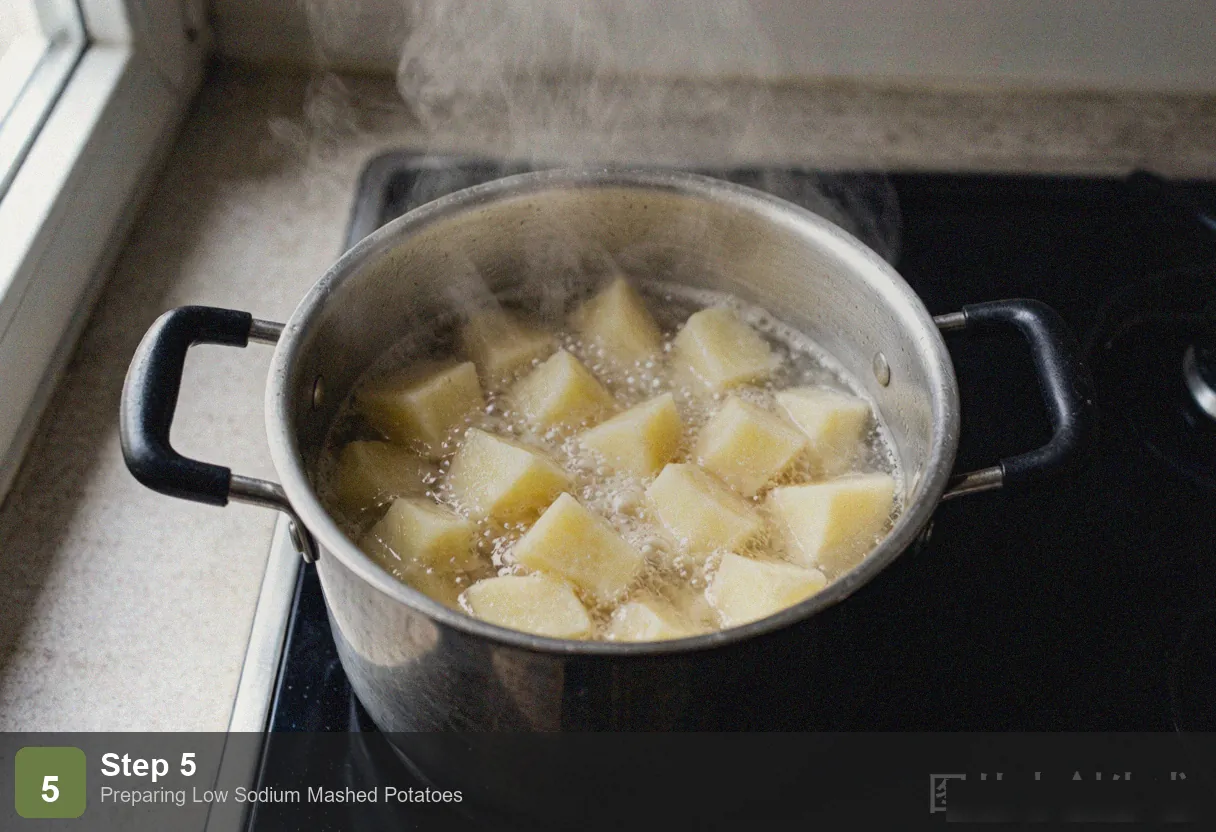
Place the peeled, chunked Russet potatoes in a large pot and cover with cold water by about 2 inches. Bring to a boil over high heat, then reduce to medium and cook for 15–20 minutes. The potatoes are done when a fork slides through the center of a chunk with zero resistance. And here’s the key difference from every other mashed potato recipe you’ve made: do not salt the water. The potatoes will absorb whatever is in the cooking water, and since we’re keeping sodium low, the water stays plain.
Step 3: Drain and Dry
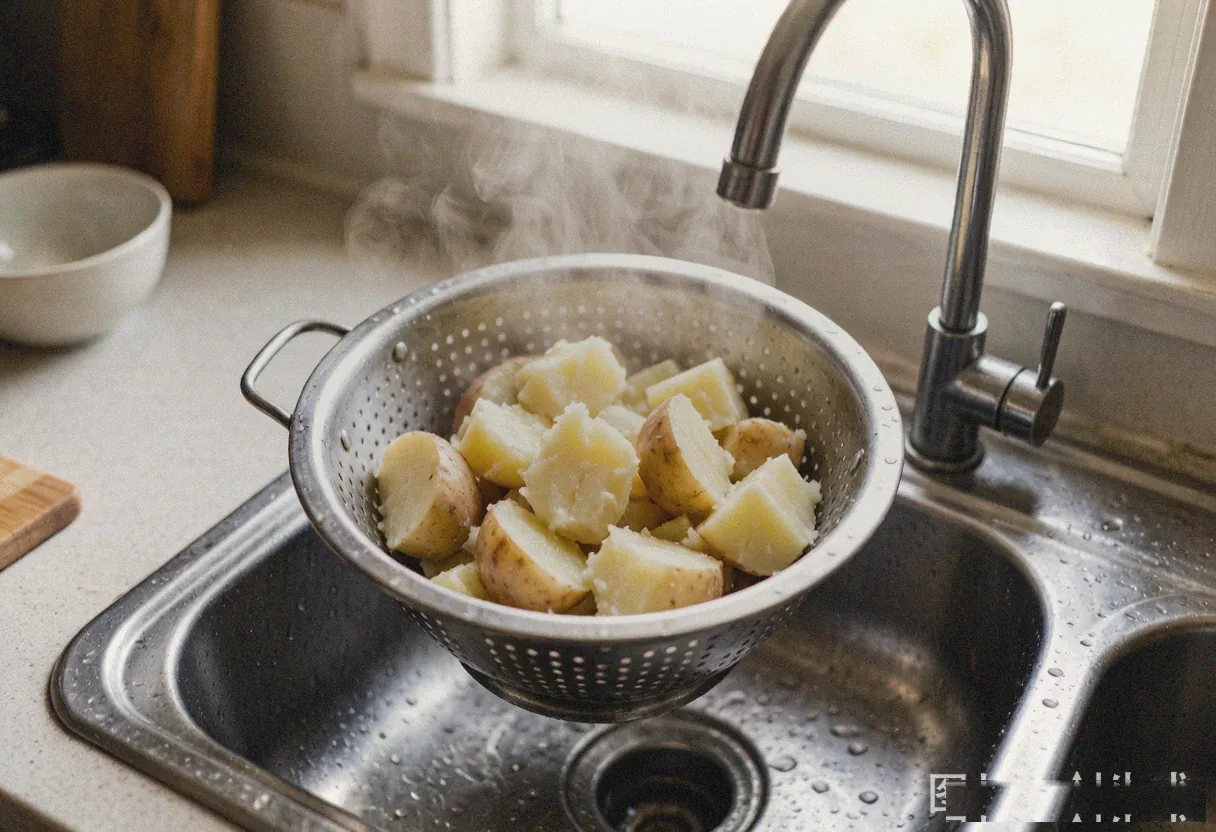
Drain the potatoes into a colander, then return them to the hot pot. Place the pot back on the stove with the burner turned off — the residual heat will steam off any surface moisture clinging to the potatoes. Let them sit for 1–2 minutes. This step sounds fussy but it’s not optional: excess water is the enemy of fluffy mashed potatoes. The drier your potatoes are when you start mashing, the lighter and airier the final texture will be.
Step 4: Mash and Season
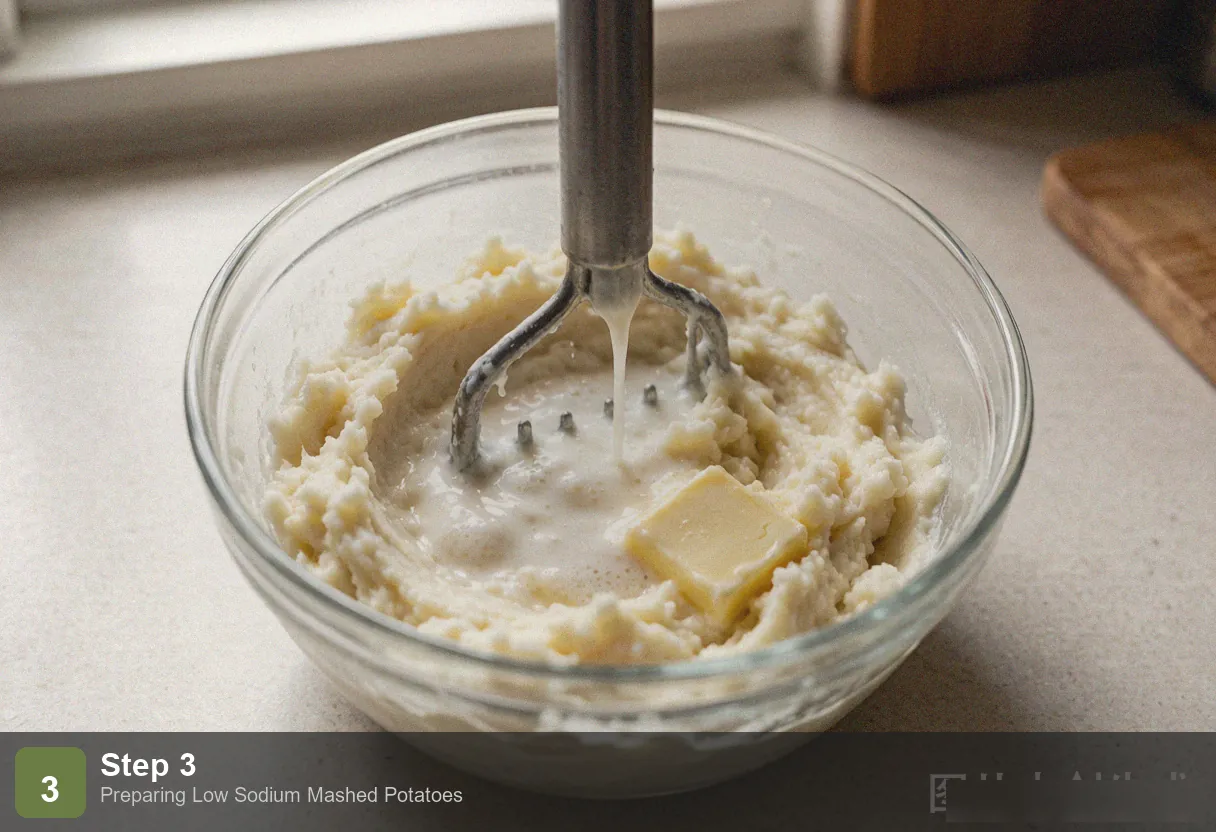
Using a potato masher — never a food processor or blender — mash the hot potatoes until they reach your preferred consistency. Some people like them completely smooth, others prefer a few small lumps for texture. Add the softened butter, roasted garlic paste, white pepper, and the pinch of nutmeg. Fold everything together with a wooden spoon. The butter must be at room temperature; cold butter won’t incorporate evenly and you’ll end up with greasy streaks instead of a creamy mash.
Step 5: Add Warm Milk and Finish
Add the warm milk in stages — about 2 tablespoons at a time — stirring after each addition until the potatoes reach the consistency you like. The milk must be warm: cold milk drops the temperature of the mash instantly, which causes the butter to seize up and the texture to turn grainy. Once the consistency is right, fold in the chopped chives, give everything one final stir, and transfer to a serving bowl. Do not overmix — the more you stir mashed potatoes, the more starch is activated, and overworked potatoes turn gummy.
Pro Tips
Never use a blender or food processor. High-speed blades shear through potato starch molecules, turning them into a sticky, glue-like paste. It happens in seconds and there’s no fixing it. Use a potato masher for a rustic, slightly textured mash, or a food mill or ricer for the silkiest possible result. All three are manual tools, and that’s exactly what you want.
Roasted garlic is your secret weapon. When garlic roasts for 40 minutes, the harsh sulfur compounds break down and the natural sugars caramelize. What comes out is sweet, spreadable, and almost nutty — a completely different ingredient from raw garlic. A whole head yields about 2 tablespoons of paste, and that small amount provides enough savory backbone to make salt feel unnecessary.
Everything added to the potatoes should be warm or room-temperature. This is the rule professional kitchens follow: warm milk, room-temperature butter, and hot potatoes. Introduce anything cold and the mash seizes up — the butter solidifies in tiny grains and the starch tightens. If you forget to warm the milk, microwave it for 30 seconds before adding it. If your butter is still cold from the fridge, cut it into small cubes and let it sit on the counter while the potatoes boil.
Frequently Asked Questions
Can I use plant-based milk instead of dairy?
Yes. Unsweetened oat milk or soy milk work best — the texture is nearly identical to dairy milk. Avoid coconut milk here; its flavor is too pronounced and will overpower the roasted garlic. With plant-based milk, the sodium count drops even further to roughly 60mg per serving.
What if I don’t want to use butter?
You can skip the butter, but the texture will suffer noticeably. Butter provides both richness and a silky mouthfeel that oil-based substitutes can’t fully replicate. The best alternative is 2 tablespoons of olive oil plus 3 tablespoons of full-fat cream cheese — the cream cheese adds back some of the body you lose without butter. The goal with low-sodium cooking is “less salt, same satisfaction,” not “remove everything that tastes good.”
Can I make these ahead of time?
You can make them up to 1 day ahead and refrigerate. When reheating, add 2–3 tablespoons of warm milk and stir to restore the creamy consistency. Reheat in the microwave on medium power for 3 minutes, stirring halfway through, or in a 350°F (180°C) oven covered with foil for 15 minutes. Do not freeze mashed potatoes — the texture turns watery and grainy upon thawing, and no amount of re-stirring fixes it.
Are potatoes high in potassium?
Yes — a medium potato contains about 900mg of potassium, which is actually beneficial for most people on low-sodium diets. Potassium helps the body excrete excess sodium through urine, which supports healthy blood pressure. However, if you have kidney disease and your doctor has restricted your potassium intake, check with them before making potatoes a regular part of your diet.
More Low Sodium Recipes
- Low Sodium Chicken Soup — Classic low-sodium comfort soup with clear golden broth
- Low Sodium Vegetable Soup — A plant-based low-sodium option for soup lovers
- Low Sodium Stir Fry Chicken — 15-minute low-sodium stir fry with crisp vegetables
- Low Sodium Baked Chicken Breast — An oven-baked low-sodium main that pairs beautifully with these potatoes
Nutrition (per serving, serves 6)
| Nutrient | Amount | % Daily Value |
|---|---|---|
| Calories | 185 kcal | 9% |
| Protein | 4g | 8% |
| Fat | 7g | 9% |
| Carbohydrates | 28g | 10% |
| Fiber | 2g | 8% |
| Sodium | 95mg | 4% |
| Potassium | 780mg | 17% |
| Vitamin C | 12mg | 13% |
Low Sodium Mashed Potatoes - Creamy & Heart Healthy
Ingredients
Method
- Step 1: Roast the Garlic: Slice the top third off a whole head of garlic, exposing the tops of the cloves inside. Drizzle with 1 tablespoon of olive oil, letting it seep down between the cloves, then wrap the whole thing tightly in aluminum foil. Roast at 400°F (200°C) for 35–40 minutes, until the cloves are soft, golden, and fragrant. Let it cool until you can handle it, then squeeze the soft garlic paste out from the bottom of each clove. Roasted garlic is nothing like raw — it's sweet, mellow, and deeply savory, and it's the single most important flavor builder in this recipe.
- Step 2: Boil the Potatoes: Place the peeled, chunked Russet potatoes in a large pot and cover with cold water by about 2 inches. Bring to a boil over high heat, then reduce to medium and cook for 15–20 minutes. The potatoes are done when a fork slides through the center of a chunk with zero resistance. And here's the key difference from every other mashed potato recipe you've made: do not salt the water. The potatoes will absorb whatever is in the cooking water, and since we're keeping sodium low, the water stays plain.
- Step 3: Drain and Dry: Drain the potatoes into a colander, then return them to the hot pot. Place the pot back on the stove with the burner turned off — the residual heat will steam off any surface moisture clinging to the potatoes. Let them sit for 1–2 minutes. This step sounds fussy but it's not optional: excess water is the enemy of fluffy mashed potatoes. The drier your potatoes are when you start mashing, the lighter and airier the final texture will be.
- Step 4: Mash and Season: Using a potato masher — never a food processor or blender — mash the hot potatoes until they reach your preferred consistency. Some people like them completely smooth, others prefer a few small lumps for texture. Add the softened butter, roasted garlic paste, white pepper, and the pinch of nutmeg. Fold everything together with a wooden spoon. The butter must be at room temperature; cold butter won't incorporate evenly and you'll end up with greasy streaks instead of a creamy mash.
- Step 5: Add Warm Milk and Finish: Add the warm milk in stages — about 2 tablespoons at a time — stirring after each addition until the potatoes reach the consistency you like. The milk must be warm: cold milk drops the temperature of the mash instantly, which causes the butter to seize up and the texture to turn grainy. Once the consistency is right, fold in the chopped chives, give everything one final stir, and transfer to a serving bowl. Do not overmix — the more you stir mashed potatoes, the more starch is activated, and overworked potatoes turn gummy.