Why You’ll Love This Air Fryer Low Sodium Shrimp
Shrimp is the ultimate fast, high-protein ingredient — but “garlic butter shrimp” doubles down on both butter and salt. This air fryer low sodium shrimp uses olive oil, garlic, lemon, and paprika with zero salt, and lands on the table in 8 minutes.
- Dinner in 8 minutes. Shrimp are tiny and cook almost instantly; the air fryer’s hot air curls them into a “C” faster than a skillet, with no sticking.
- About 240mg sodium per serving. Shrimp’s natural sodium runs high at about 120mg per 100g (crustaceans are saltier than land meats), and we add zero salt. A butter-garlic version runs 500–800mg.
- Garlic and lemon stand in for salt. Garlic aroma plus citrus acid seeps into the meat in the hot air — sweet and savory without the salty crutch.
- High protein, low fat. One serving brings 24g of protein on just 8g of fat — friendly for a light-eating plan.
An honest note on sodium. Shrimp are shellfish, so their natural sodium is higher than chicken or fish (about 120mg per 100g). We get it to “zero added salt,” but the absolute number is still above other low-sodium mains. If you’re on a very strict sodium plan (under 1,500mg a day), cut the portion or pair with an even lower-sodium side — and always loop your doctor in on your targets.
Ingredients
- 400g raw shrimp (deveined, tail-on, about 21–25 per pound)
- 2 tablespoons olive oil
- 3 cloves garlic, grated into a paste
- 1/2 lemon (zest plus juice)
- 1/2 teaspoon smoked paprika (salt-free)
- 1/2 teaspoon black pepper
- 1 tablespoon fresh parsley, chopped (optional)
- 0 salt — the low-sodium key.
Why tail-on? Tail-on shrimp are easier to grab and plate nicer; you just pinch the tail to eat. Tail-off works too but overcooks and scatters more easily. Always devein (the dark line on the back) or you’ll get a sandy bite.
How to Make Air Fryer Low Sodium Shrimp
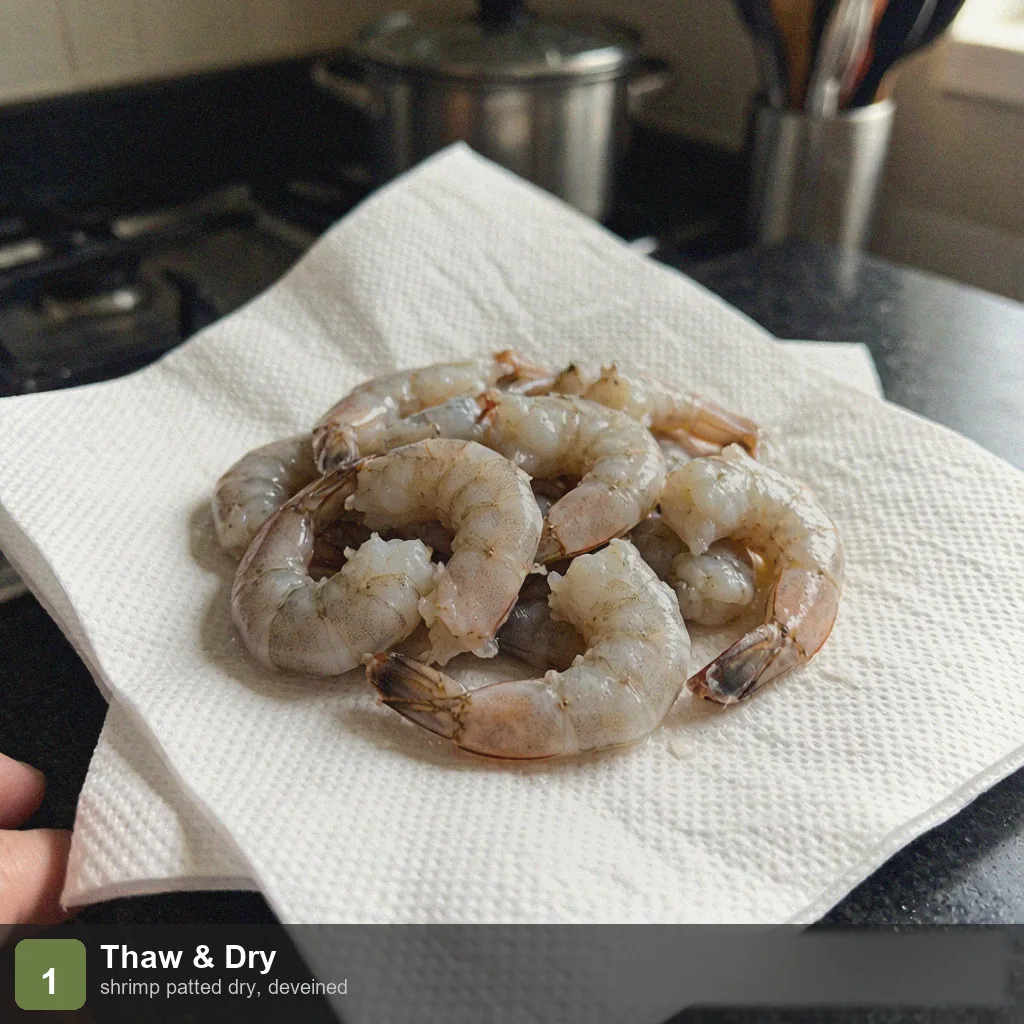
Step 1: Thaw and Pat Dry
Thaw frozen shrimp in the fridge overnight or under cold running water, then pat completely dry with paper towels (wet shrimp steam instead of roast and turn tough). Devein them.
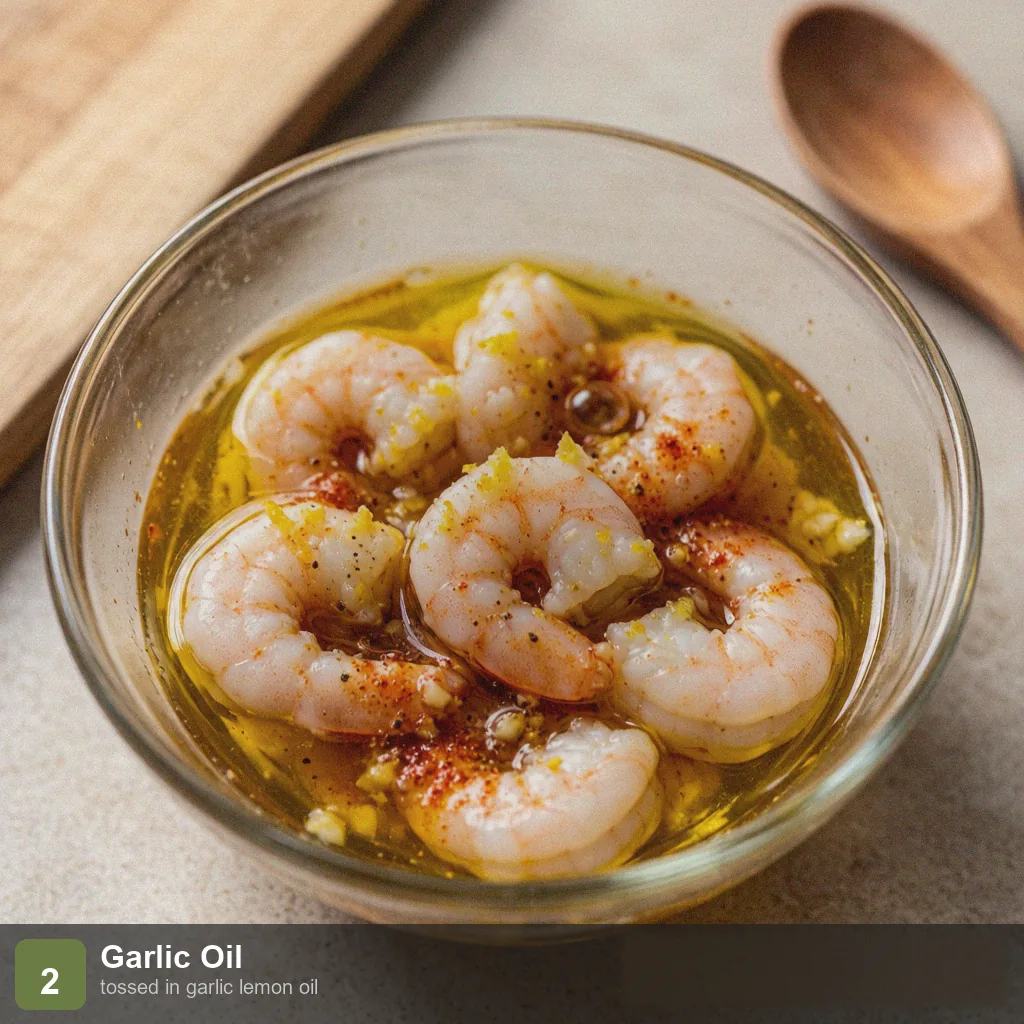
Step 2: Make the Garlic Oil
Whisk the olive oil with the grated garlic, lemon zest, paprika, and black pepper. Add the shrimp and toss to coat, then let them sit 5 minutes — shrimp absorb flavor fast, so no long marinade needed.
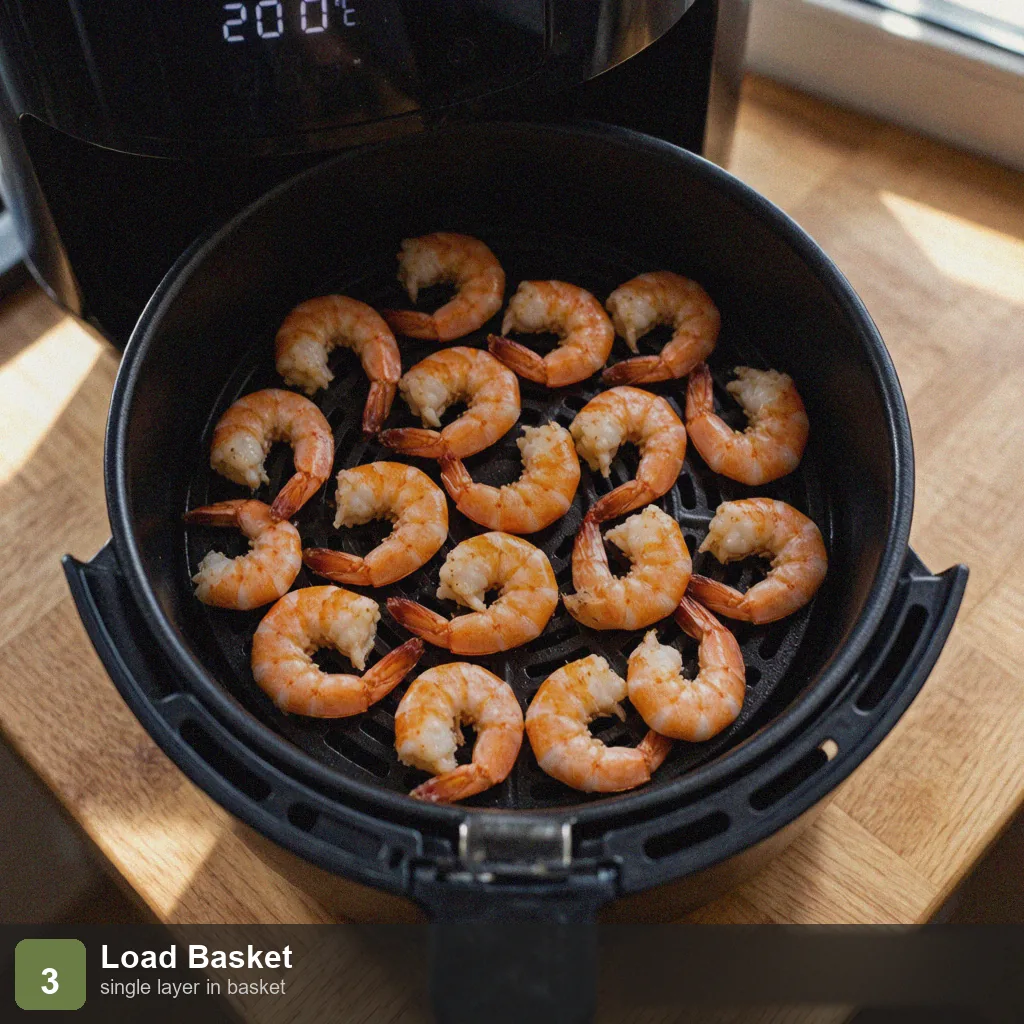
Step 3: Load the Basket
Spread the shrimp in a single layer with no overlap. Set the air fryer to 200°C (400°F) for 8 minutes.
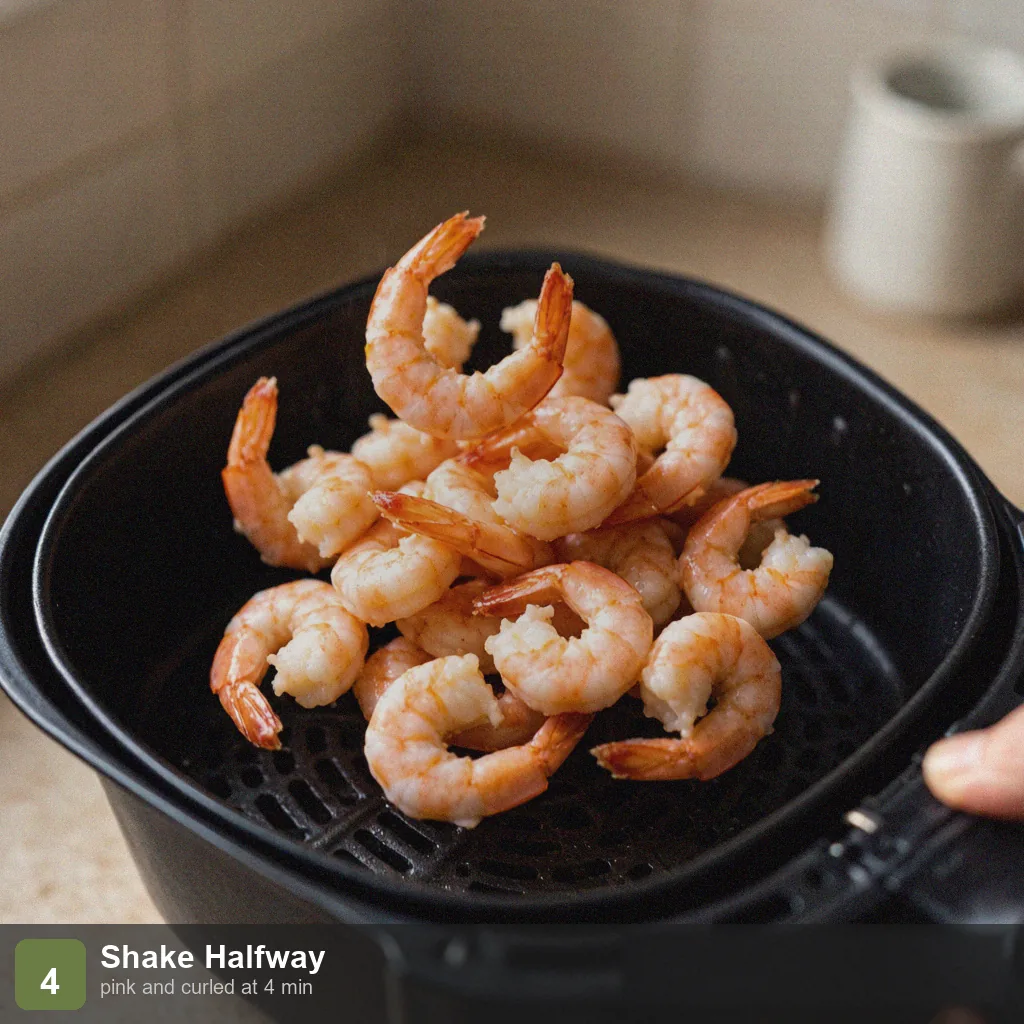
Step 4: Shake at the Halfway Mark
At 4 minutes, pull the basket out and shake (or flip) so the heat hits every side. The shrimp are done when they turn pink and curl into a “C” — an “O” means overcooked.
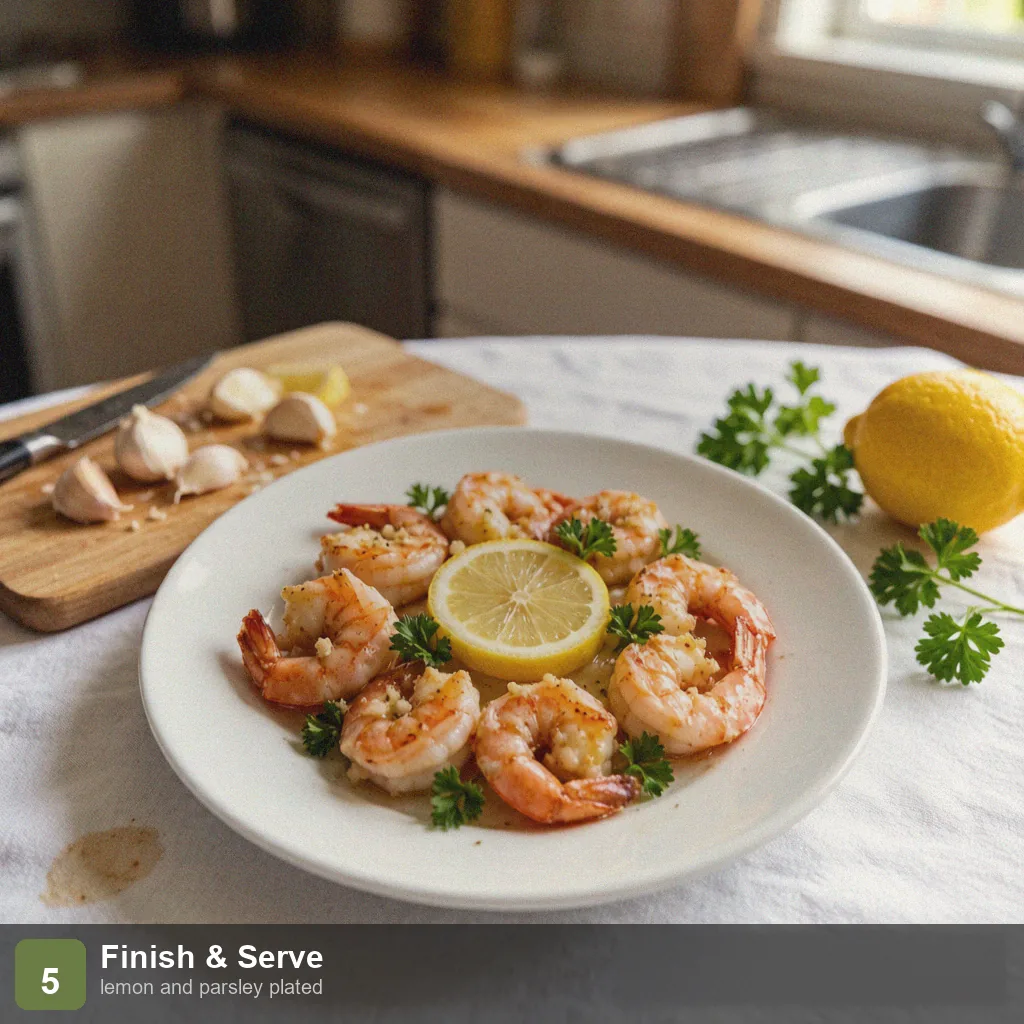
Step 5: Finish and Serve
Tip onto a plate, squeeze lemon over the top, and scatter the parsley. Eat immediately — shrimp shrink and toughen if they sit.
Pro Tips
Patting dry is what keeps them tender. Shrimp hold a lot of water; skip the towel and they boil themselves into rubber. Press three times with paper towels so they stay springy.
8 minutes is the ceiling. Overcooked shrimp turn to rubber in seconds. Pull them the moment they’re pink and curled into a “C” — carryover heat finishes them. A tight “O” is already overdone.
Single layer, no overlap. Stacking creates a steam pocket where shrimp go soft and lose their fragrance. Two batches beat a crowd.
Be honest about the natural sodium. Shrimp carry about 120mg of natural sodium per 100g — so a 200g serving is roughly 240mg, and the whole 400g pack about 480mg. That’s the lowest “zero added salt” can reach, and it’s still above chicken. Halve the portion if you’re tightly controlling sodium.
Pair with a low-sodium starch. Serve over bread machine low-sodium bread or brown rice to balance the meal’s total sodium. Don’t add a salty dipping sauce on top.
Tail-on also helps you not overcook. Because you’re pinching the tail to eat, you naturally handle each shrimp individually and notice the moment it’s perfectly curled — a handy built-in cue that keeps dinner in the tender “C” zone rather than the rubbery “O.” It’s a small detail that makes a big difference when you’re working against an 8-minute clock.
Frequently Asked Questions
Can I use cooked shrimp?
No — cooked shrimp reheated in the fryer go straight to rubber. Use raw shrimp and cook them fresh.
What if I don’t have paprika?
Garlic, lemon, and black pepper are already plenty savory. Swap in dried oregano or salt-free chili powder.
Will kids eat them?
Most kids love garlic shrimp. If yours dislikes garlic, drop to 1 clove and add a little salt-free paprika for color.
Can I meal prep this?
Shrimp toughen on reheating, so don’t store them long. Cook and eat fresh; if you must, refrigerate no more than 1 day.
More Low Sodium Recipes
Round out the plate with these low-sodium favorites:
- Low Sodium Stir Fry Chicken — a Chinese-style quick fry
- Low Sodium 15 Minute Dinner — a skillet quick meal
- Bread Machine Low Sodium Bread — a low-sodium starch side
- Low Sodium Vegetable Soup — a warming low-sodium bowl
- Air Fryer Low Sodium Salmon — another zero-salt seafood main
Conclusion
This air fryer low sodium shrimp is the fastest dinner on the island — plump garlic-lemon shrimp with zero salt in 8 minutes. At about 240mg sodium per serving it’s the honest ceiling for crustacean natural sodium, so enjoy it with a low-sodium side and a doctor-guided plan.
Nutrition Information (Per Serving, ~200g Shrimp)
| Item | Amount | % Daily Value* |
|---|---|---|
| Calories | 230 kcal | 12% |
| Protein | 24 g | 48% |
| Fat | 8 g | 10% |
| Carbohydrates | 3 g | 1% |
| Fiber | 0 g | 0% |
| Sodium | 240 mg | 10% |
*Daily values are based on a 2,000 kcal diet. Sodium is an estimate for no-added-salt preparation (USDA FoodData Central: raw shrimp contain about 120mg of natural sodium per 100g — crustaceans run higher than land meats) — roughly one-third of butter-garlic shrimp at 500–800mg.
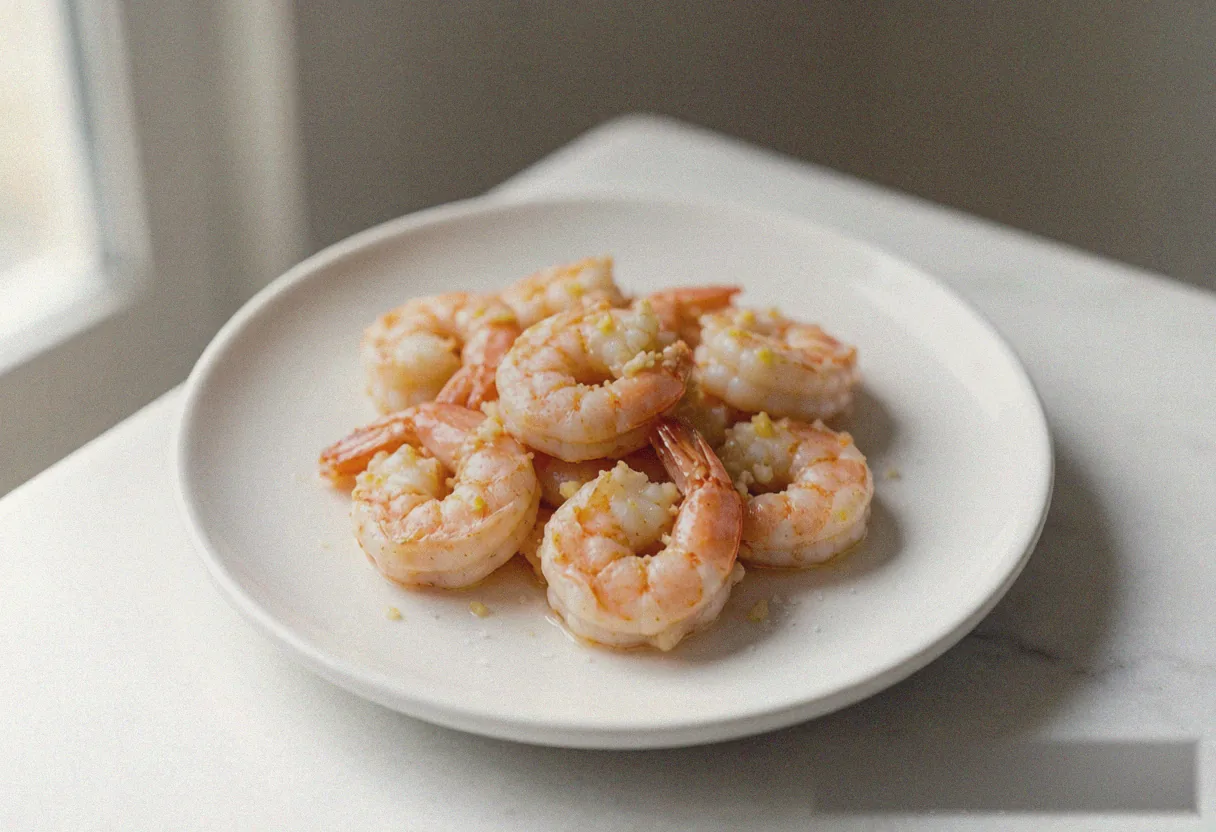
Air Fryer Low Sodium Shrimp - Garlic Lemon & Salt Free
Ingredients
Method
- Step 1: Thaw and Pat Dry: Thaw frozen shrimp in the fridge overnight or under cold running water, then pat completely dry with paper towels (wet shrimp steam instead of roast and turn tough). Devein them.
- Step 2: Make the Garlic Oil: Whisk the olive oil with the grated garlic, lemon zest, paprika, and black pepper. Add the shrimp and toss to coat, then let them sit 5 minutes — shrimp absorb flavor fast, so no long marinade needed.
- Step 3: Load the Basket: Spread the shrimp in a single layer with no overlap. Set the air fryer to 200°C (400°F) for 8 minutes.
- Step 4: Shake at the Halfway Mark: At 4 minutes, pull the basket out and shake (or flip) so the heat hits every side. The shrimp are done when they turn pink and curl into a "C" — an "O" means overcooked.
- Step 5: Finish and Serve: Tip onto a plate, squeeze lemon over the top, and scatter the parsley. Eat immediately — shrimp shrink and toughen if they sit.