Dinner rolls are the soft gold of the Western table — pillowy, buttery, and pull-apart tender. But store-bought rolls hide a shocking 200–300mg of sodium each. With the bread machine kneading the dough and the oven shaping and baking it, these bread machine low sodium dinner rolls bring each roll under 20mg of sodium with zero loss of softness. They are the side dish a low sodium eater can finally enjoy without doing the sodium math.
Why You’ll Love These Bread Machine Low Sodium Dinner Rolls
Bakery rolls can run 200–300mg of sodium apiece, which wrecks a low sodium day fast. These bread machine low sodium dinner rolls land under 20mg each and stay just as soft. Here is why they are worth the counter space.
- Under 20mg sodium each. No salt goes into the dough, so the sodium is only the trace in flour and yeast. Eat two with a meal and you are still at 40mg — finally a “bread side” a low sodium eater can relax about.
- Bread machine knead + oven bake = best texture. The machine kneads the dough to a windowpane (what takes 15 minutes by hand it does in 20), then the oven gives a golden, crisp bottom and a puffy top — a better crumb than a loaf the machine bakes itself.
- Butter aroma stands in for salt. A roll’s comfort comes from butter and softness, not salt. Unsalted butter plus a little sugar bakes up just as milky and fragrant.
- Zero guilt on holiday tables. At Thanksgiving or Christmas, a pan of homemade low sodium rolls looks impressive and will not blow a relative’s blood-pressure plan.
Ingredients
- 3/4 cup warm milk (about 40°C / 105°F; water works as a substitute)
- 1/4 cup warm water (about 40°C / 105°F)
- 3 cups bread flour
- 3 tablespoons unsalted butter, softened, divided (2 tbsp in dough, 1 tbsp for brushing)
- 3 tablespoons white sugar
- 2 teaspoons active dry yeast
- 0 salt — the key to low sodium
- 1 egg (in the dough, plus a little extra for the wash)
- 1/2 teaspoon salt substitute (potassium chloride; optional, restores the salty note)
Why the “Dough” cycle instead of a “Rolls” setting? Most home bread machines have no dedicated rolls program, and rolls need shaping → second rise → oven bake, which the machine cannot do for the last two stages. The right move is the “Dough” cycle: the machine only kneads and does the first rise, then hands you a smooth dough to shape, pan, proof again, and bake. That is what gives real pull-apart rolls instead of a machine-baked “round loaf.”
Instructions
Step 1: Load the Pan and Start the Dough Cycle
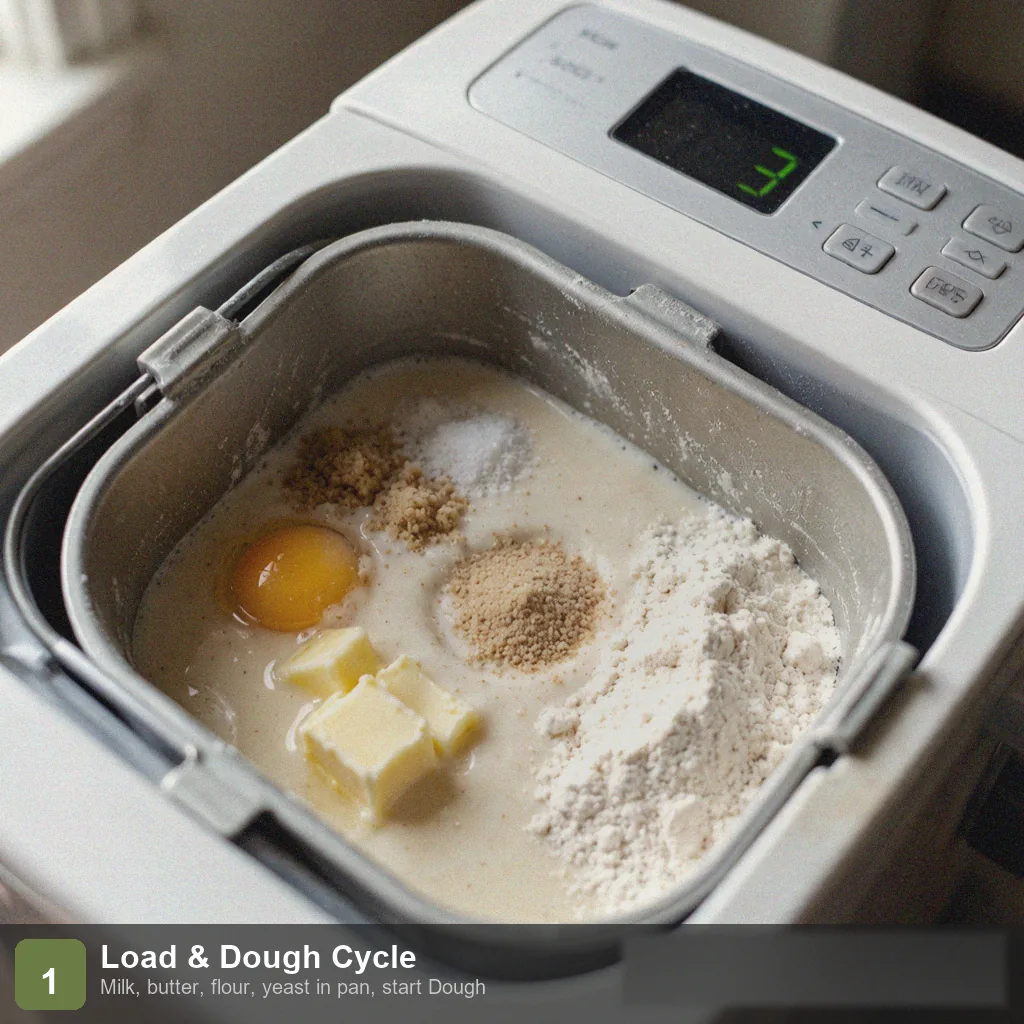
Pour the warm milk, warm water, and 2 tablespoons of softened butter into the pan. Add the flour, dig a well and drop in the yeast, and place the sugar, egg, and salt substitute in a corner away from the yeast. Select the “Dough” cycle and press start. About 1.5 hours later the machine beeps, signaling knead and first rise are done.
Step 2: Divide and Roll the Dough
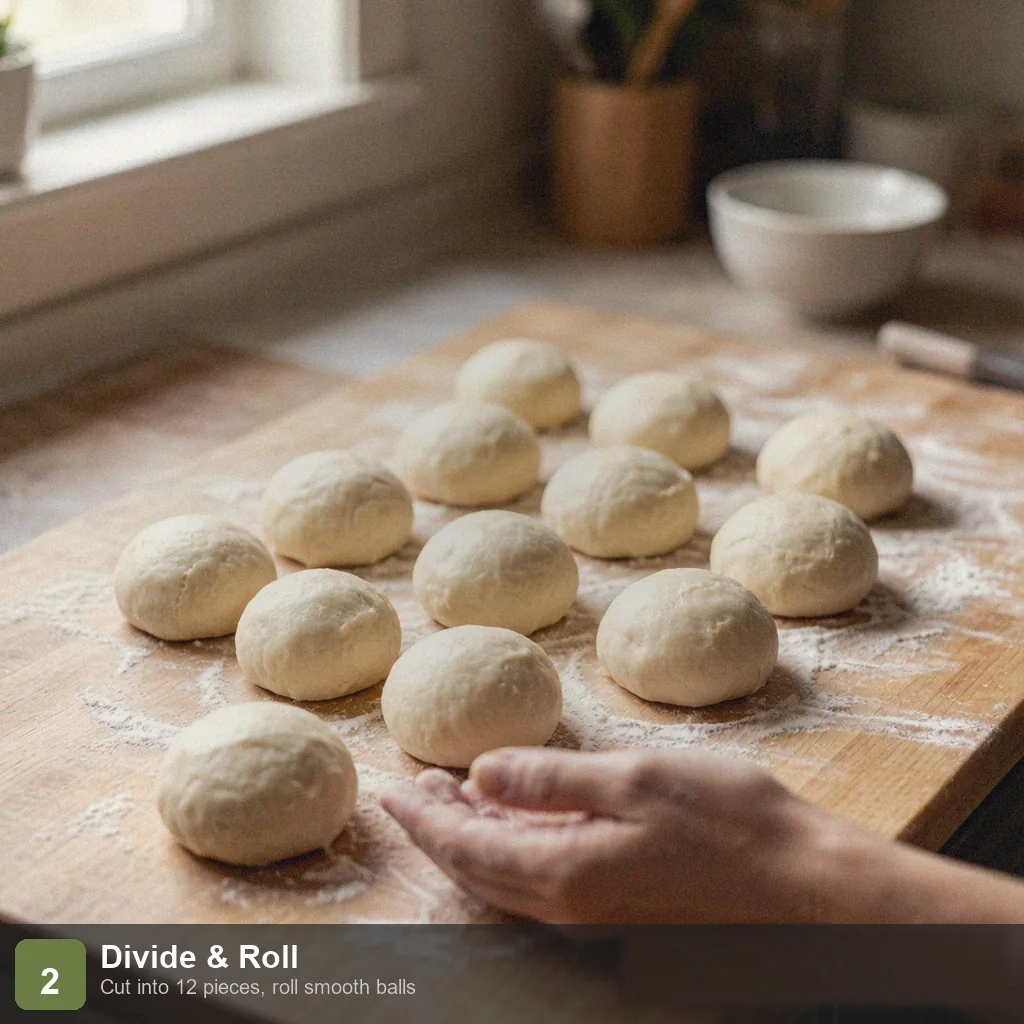
Turn the dough onto a lightly floured board and deflate it gently — press flat with your palm, then gather it back into a ball. Divide into 12 equal pieces (about 50g each). Roll each into a smooth ball: cup your hand over the piece and circle it on the board; surface tension pulls it smooth.
Step 3: Pan and Proof a Second Time
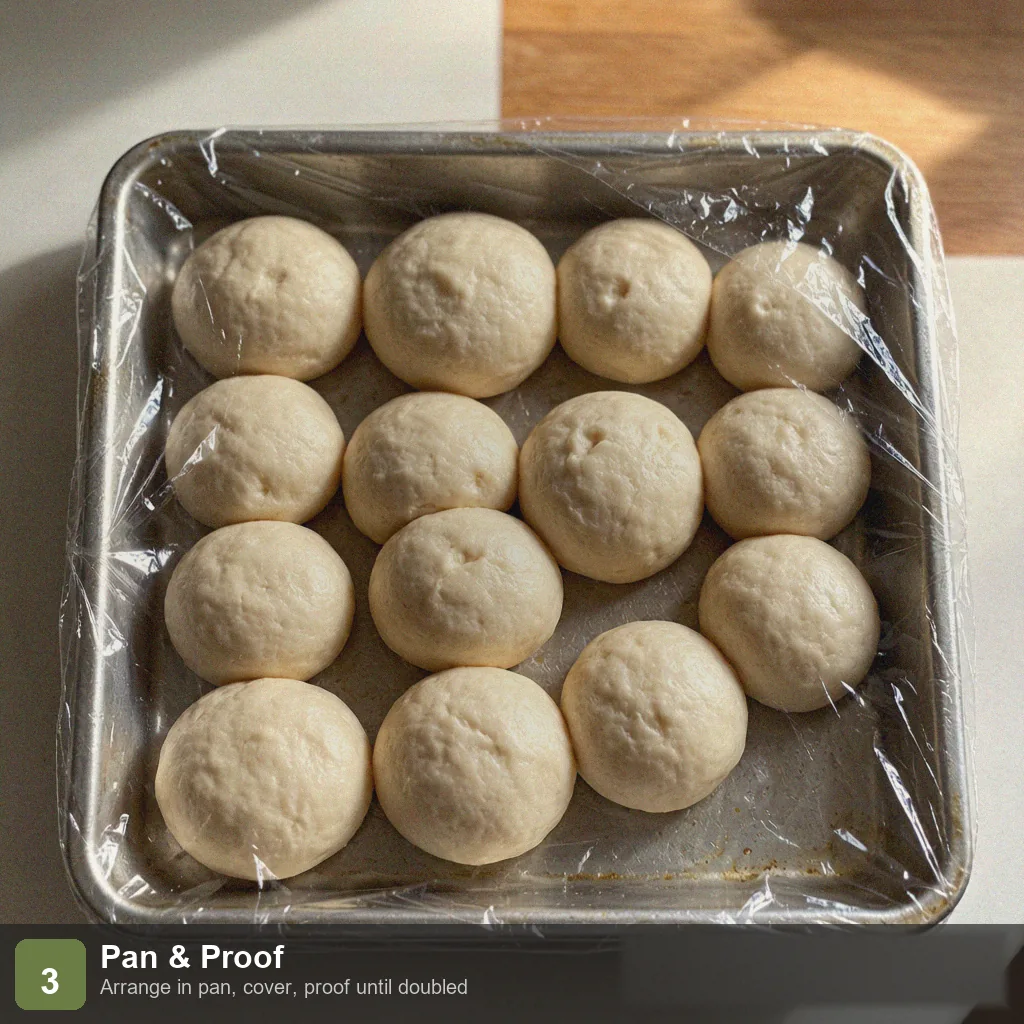
Place the 12 balls in a greased 9×13-inch pan (or an 8-inch round pan), leaving a little space between them. Cover with plastic wrap and set in a warm spot — about 28°C (82°F), such as an oven proof setting or a microwave with a cup of hot water — for 30–40 minutes, until the balls touch each other and have doubled.
Step 4: Egg Wash and Bake
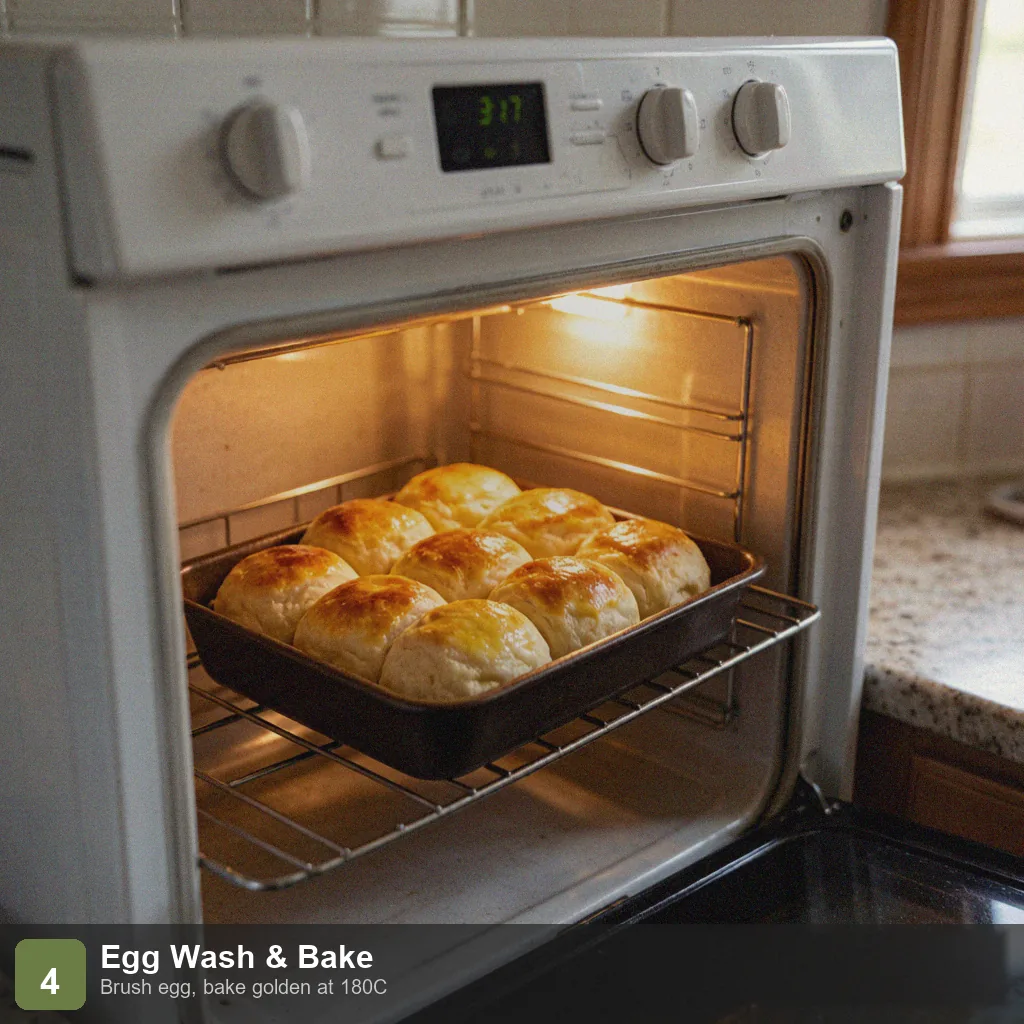
When proofed, brush the tops with the reserved egg (or a little milk). Bake at 180°C (350°F) for 18–22 minutes, until the tops are golden and a tap sounds hollow. If the color lags in the last 3 minutes, switch on the broiler to finish.
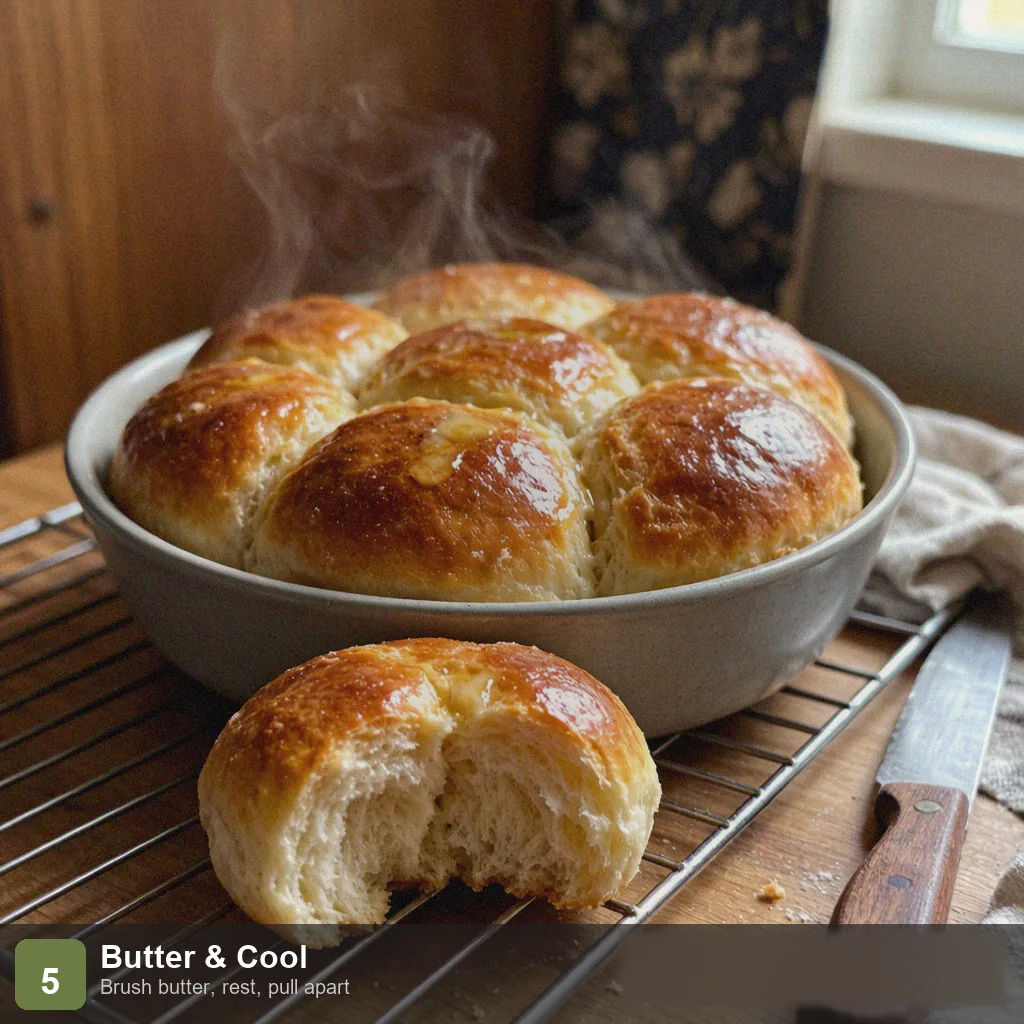
Step 5: Butter and Cool
The instant they come out, brush the hot rolls with the remaining 1 tablespoon of melted unsalted butter — this locks in softness and adds a milky sheen. Let the pan rest on a rack for 5 minutes, then turn out. Pull apart or serve whole. They are softest while still warm.
Tips
Milk makes the rolls softer and more fragrant. The lactose in milk browns the crust prettily and the protein fine-tunes the crumb. If you use soy or oat milk, the result is a bit drier — add 1 extra tablespoon of butter to compensate.
Rolling decides the looks. Skip the rolling and bake uneven lumps with cratered tops. Cup your hand and circle each piece so surface tension tucks the seam underneath — a smooth dome is the restaurant-roll signature.
Do not over-proof the second rise. Stop when the balls have doubled and just touch. Over-proofed (spilling over the pan, blistered on top) rolls collapse in the oven and turn coarse. On a cold day, park the pan in the microwave with a cup of hot water for a steady 28°C (82°F) and 30 minutes does it.
Butter the moment they leave the oven. Hot rolls have open pores, so melted butter soaks in and seals moisture. Brush cold and it just sits greasy on top. This step uses unsalted butter, so it adds no sodium.
Eat same-day or freeze. With no salt to preserve them, rolls dry out after just 1 day at room temperature. Cool fully, seal, and freeze; refresh at 160°C (320°F) for 5 minutes.
Storage
Cool the rolls completely, then store in a sealed bag at room temperature for up to 1 day or freeze for up to 1 month. To serve from frozen, reheat at 160°C (320°F) for about 5 minutes and they return soft and fresh.
FAQ
Can I bake the rolls right in the bread machine?
Not recommended. A machine-baked “roll” is really a round loaf — no pull-apart layers, no crisp bottom. The Dough cycle plus oven bake is what makes true pull-apart rolls. The extra 20 minutes is worth the difference.
Can I use water instead of milk?
Yes — use warm water for the full 1 cup total. You lose a little dairy aroma and softness, but they are still good rolls. Add 1 extra tablespoon of butter if you want to make up the richness.
Is the salt substitute required?
No. Without it the rolls lean on butter and sugar and taste a touch sweet with near-zero sodium. A 1/2 teaspoon of potassium chloride substitute restores the salty signal closer to store-bought rolls. Skip it if you have kidney issues.
Can I prep them the night before?
Yes. After dividing, rolling, and panning (Steps 2–3), cover and cold-proof in the fridge 8–12 hours. Next day, rest at room temperature 30 minutes, then egg-wash and bake. Cold proofing also deepens the flavor.
Conclusion
These bread machine low sodium dinner rolls give you soft, buttery, pull-apart comfort at under 20mg of sodium each — proof that a low sodium diet does not mean giving up the bread basket.
More Low Sodium Recipes
Round out the meal with:
- Bread Machine Low Sodium Bread — the everyday toast version
- Bread Machine Low Sodium Whole Wheat Bread — the high-fiber version
- Low Sodium Baked Chicken Breast — a high-protein main
- Low Sodium Chili — a tomato-rich stew to dunk rolls in
- Low Sodium Mashed Potatoes — the classic comforting side
Nutrition Information (Per Roll, 12 rolls total)
| Item | Amount | % Daily Value* |
|---|---|---|
| Calories | 165 kcal | 8% |
| Protein | 5 g | 10% |
| Fat | 5 g | 6% |
| Carbohydrates | 26 g | 9% |
| Sugar | 5 g | — |
| Fiber | 1 g | 4% |
| Sodium | 15 mg | <1% |
*Daily values are based on a 2,000 kcal diet. Sodium is estimated from USDA FoodData Central (the natural sodium in flour, yeast, and milk); no table salt is added.
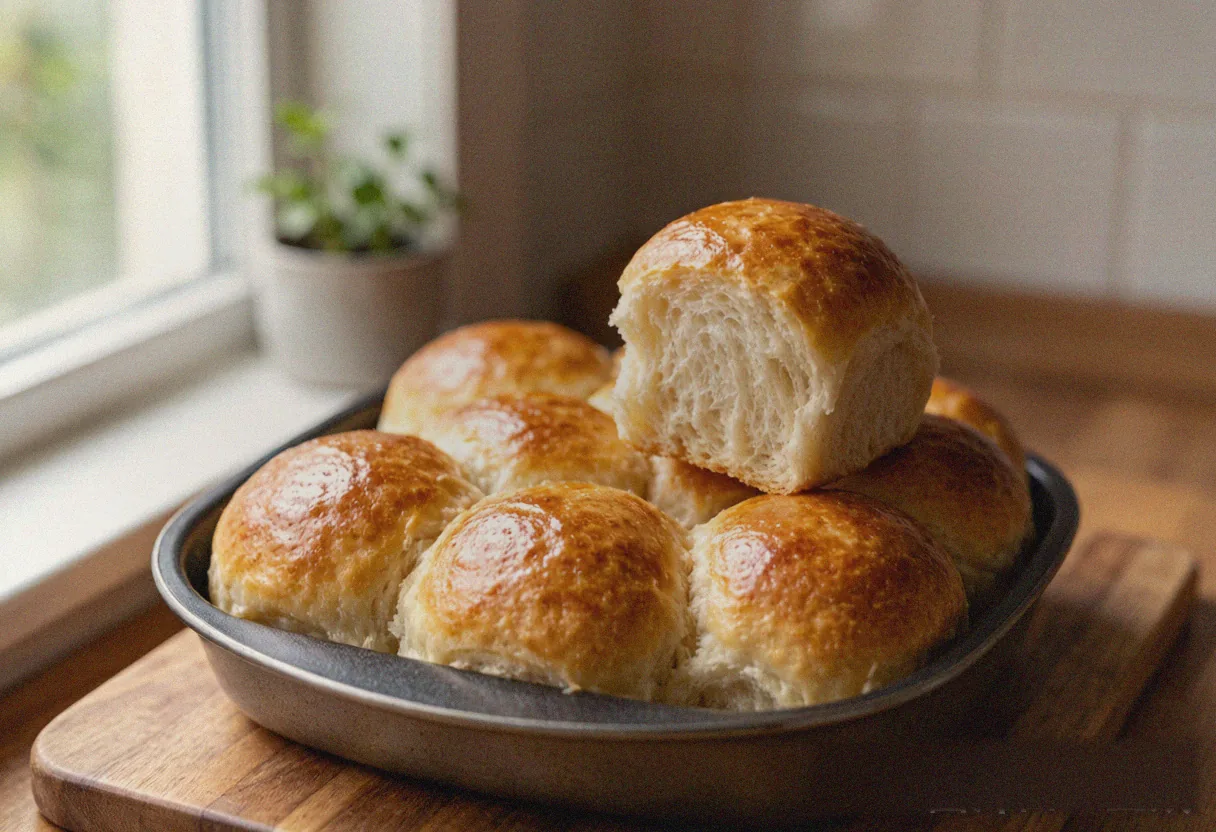
Bread Machine Low Sodium Dinner Rolls - Soft & Fluffy
Ingredients
Method
- Step 1: Load the Pan and Start the Dough Cycle: Pour the warm milk, warm water, and 2 tablespoons of softened butter into the pan. Add the flour, dig a well and drop in the yeast, and place the sugar, egg, and salt substitute in a corner away from the yeast. Select the "Dough" cycle and press start. About 1.5 hours later the machine beeps, signaling knead and first rise are done.
- Step 2: Divide and Roll the Dough: Turn the dough onto a lightly floured board and deflate it gently — press flat with your palm, then gather it back into a ball. Divide into 12 equal pieces (about 50g each). Roll each into a smooth ball: cup your hand over the piece and circle it on the board; surface tension pulls it smooth.
- Step 3: Pan and Proof a Second Time: Place the 12 balls in a greased 9×13-inch pan (or an 8-inch round pan), leaving a little space between them. Cover with plastic wrap and set in a warm spot — about 28°C (82°F), such as an oven proof setting or a microwave with a cup of hot water — for 30–40 minutes, until the balls touch each other and have doubled.
- Step 4: Egg Wash and Bake: When proofed, brush the tops with the reserved egg (or a little milk). Bake at 180°C (350°F) for 18–22 minutes, until the tops are golden and a tap sounds hollow. If the color lags in the last 3 minutes, switch on the broiler to finish.
- Step 5: Butter and Cool: The instant they come out, brush the hot rolls with the remaining 1 tablespoon of melted unsalted butter — this locks in softness and adds a milky sheen. Let the pan rest on a rack for 5 minutes, then turn out. Pull apart or serve whole. They are softest while still warm.