Store-bought “low sodium” bread still hides 150–200mg of sodium per slice, almost all from added salt. This bread machine low sodium bread drops that to under 10mg per slice — the trace naturally in flour and yeast — with soft, fluffy results from one button press.
Why You’ll Love This Bread Machine Low Sodium Bread
- Under 10mg sodium per slice. A typical white slice runs 150–290mg, nearly all from salt. With zero salt added, the only sodium left is the trace in flour and yeast — a win for blood pressure and heart health.
- Six pantry ingredients, one button. Flour, water, butter, sugar, yeast, and optional herbs — everything on hand. Dump it in, press start, and wait for the beep.
- No salt, still delicious. Salt-free bread “tastes like cardboard” is the fear. The fix is a little sugar plus dried herbs (rosemary or oregano), and a pinch of potassium salt substitute to bring back the salty signal without sodium.
- Far cheaper than buying it. A store low sodium loaf costs $3–4; the ingredients run under $1. If bread is a daily staple, the savings buy a fresh bag of flour every month.
Ingredients
- 1 cup + 2 tablespoons warm water (about 40°C / 105°F)
- 3 cups bread flour
- 2 tablespoons unsalted butter, softened and cubed
- 2 tablespoons white sugar
- 2 teaspoons active dry yeast
- 0 salt — the whole point of the recipe
- 1 teaspoon dried rosemary or oregano (optional, for aroma)
- 1/2 teaspoon salt substitute (potassium chloride; optional, restores the salty note)
Why bread works without salt. Salt tightens gluten and brakes the yeast. Without it, the yeast works faster and the dough feels looser — it does not fail, it just rises a touch quicker. To mimic salted texture, swap in a potassium chloride substitute (Morton Lite Salt or NoSalt): chloride of potassium, not sodium chloride, so almost no sodium while keeping the salty signal. Skip it if you have kidney disease or a potassium-limited diet.
Instructions
Step 1: Add the Ingredients in Order
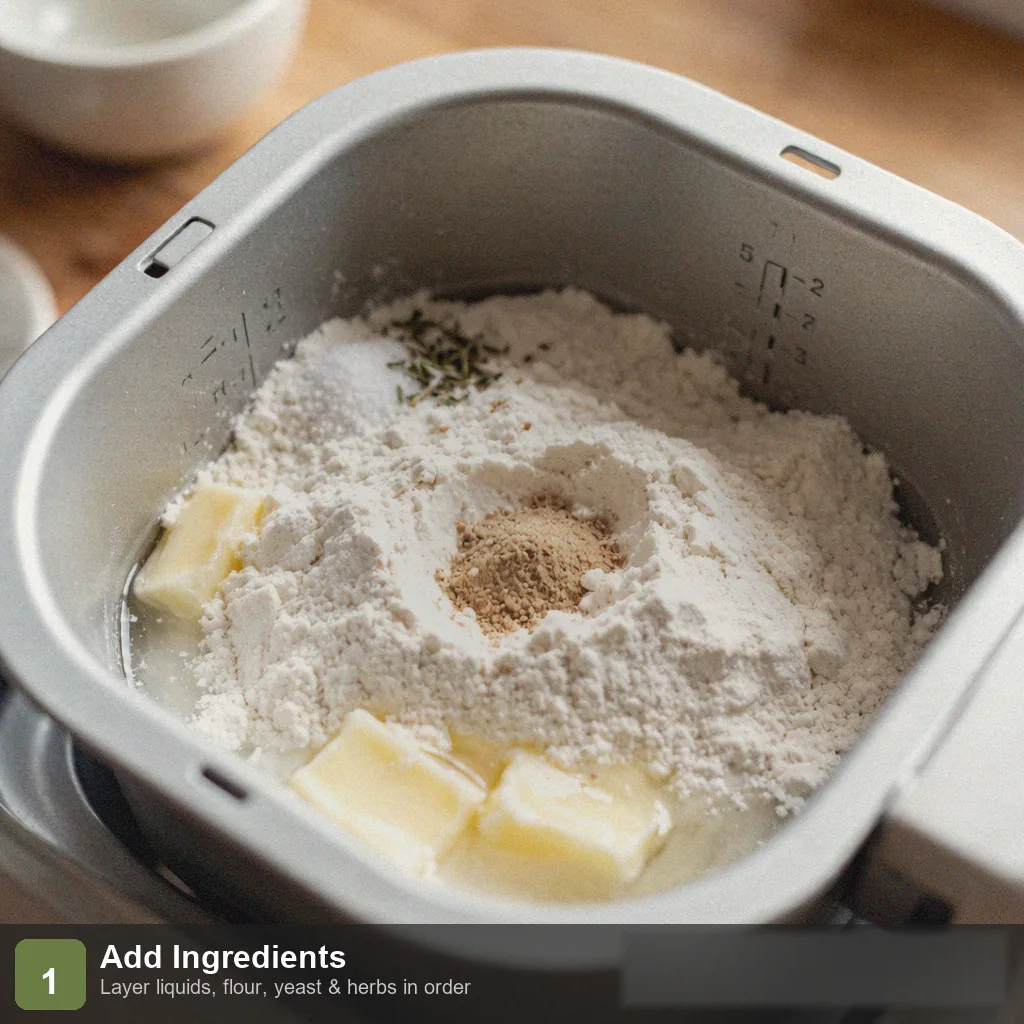
Follow your machine’s manual for loading order. Most want liquids first: pour in the warm water and butter, add the flour, dig a well and drop in the yeast, and place the sugar and herbs in a corner (keep the salt substitute apart so it never touches the yeast). Keep the yeast out of the liquid.
Step 2: Lock the Pan Into the Machine
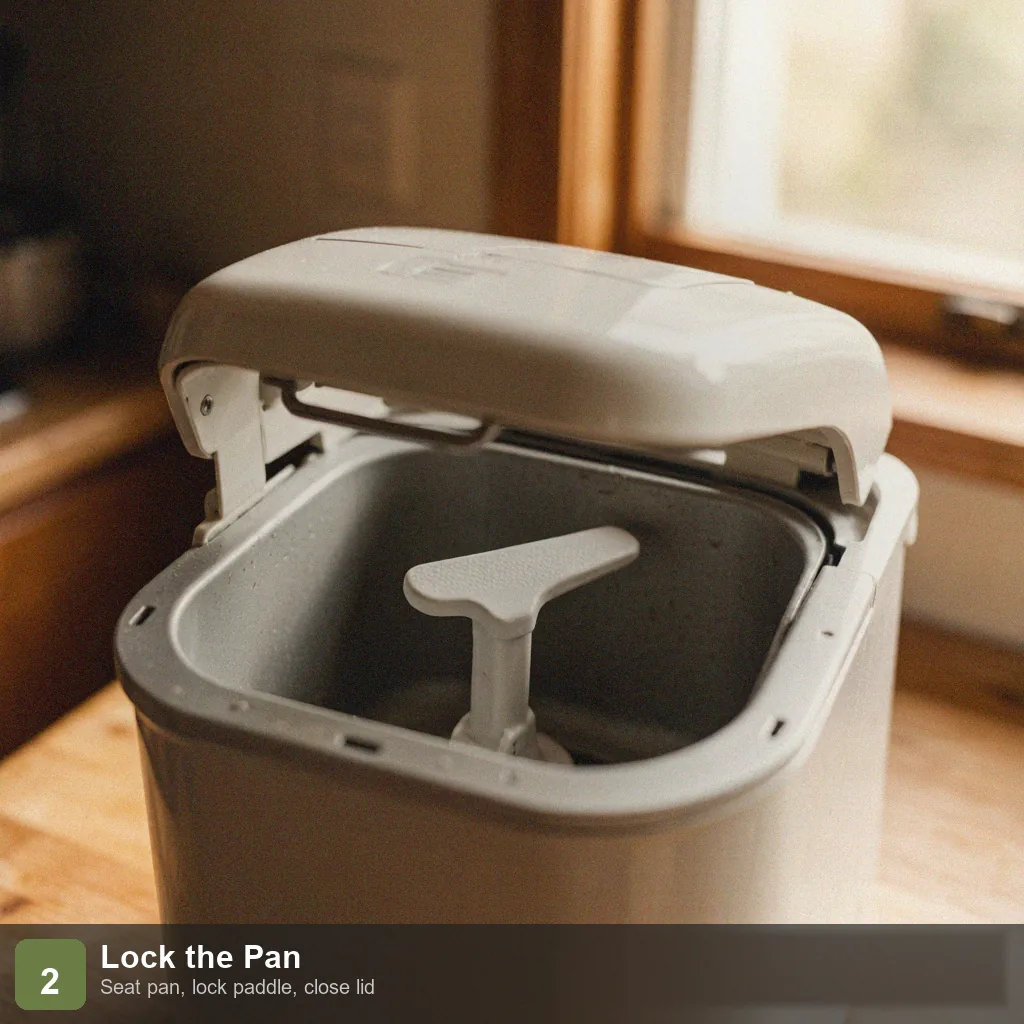
Set the pan firmly into the machine and confirm it is seated. Check that the kneading paddle is locked — if loose, it can fall off mid-knead and leave the dough uneven. Close the lid.
Step 3: Select the Basic Cycle
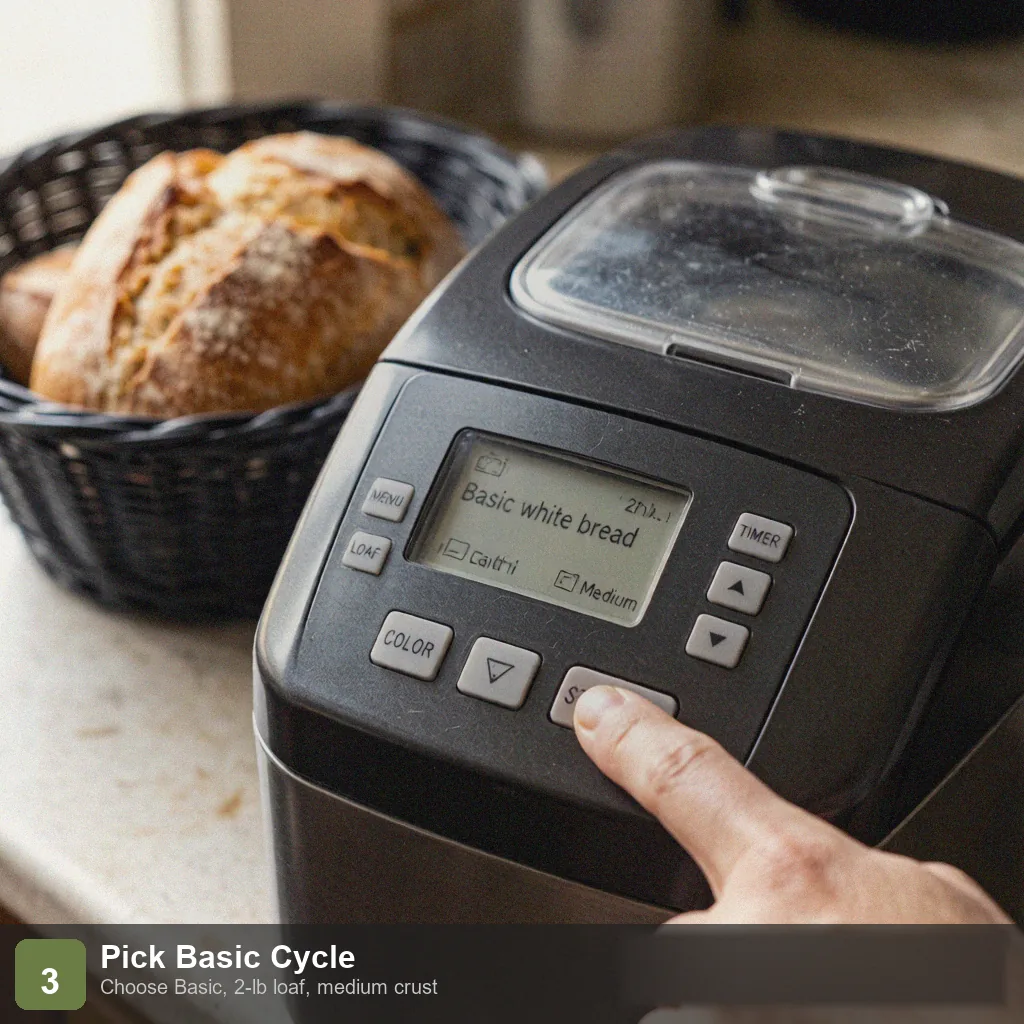
Choose “Basic” or “White Bread.” This runs the full knead → first rise → shape → second rise → bake in about 3 hours. Pick the 2-pound loaf size and a medium crust, then press start.
Step 4: Let the Machine Work
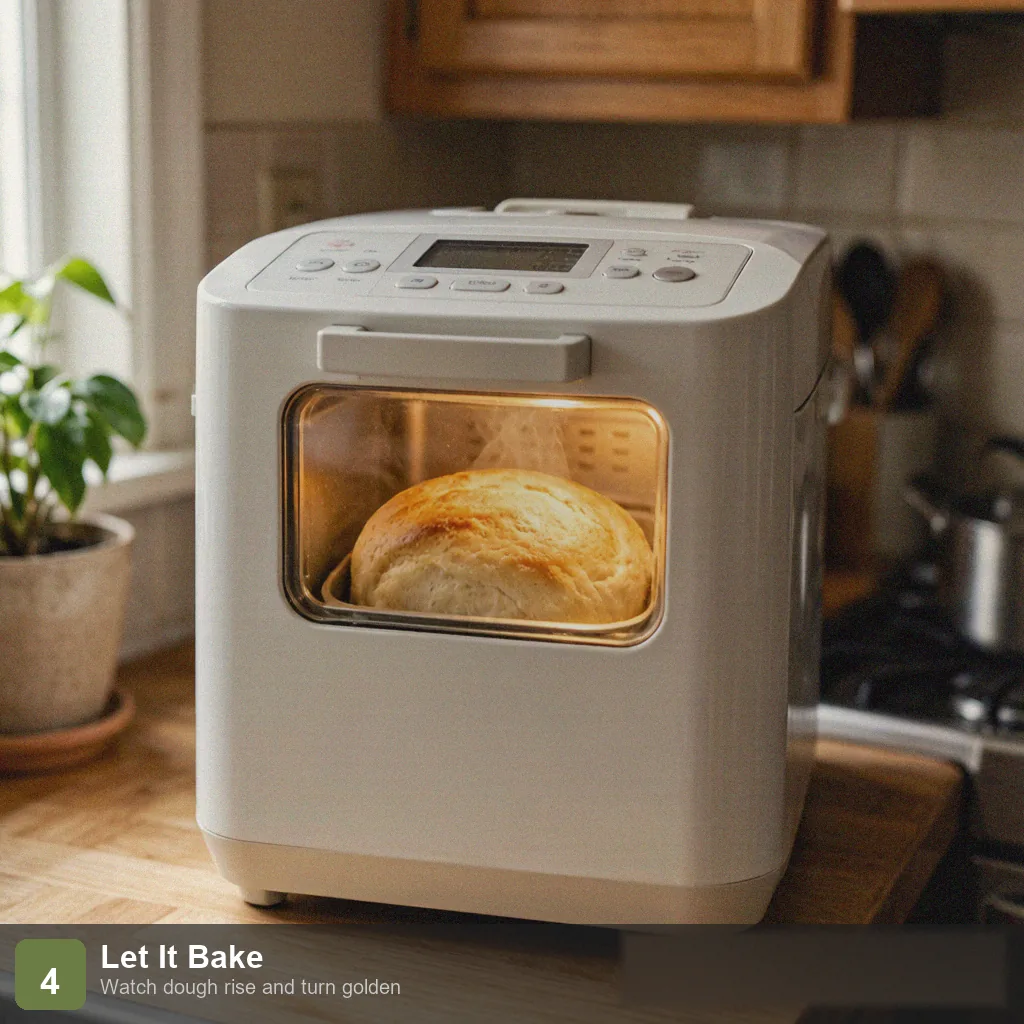
Do not open the lid while it runs — temperature and humidity swings hurt the rise. Through the window you will watch the dough become a smooth ball, swell, and set into a golden crust. With no salt, it may rise a little higher than usual; that is normal.
Step 5: Remove, Cool, and Slice
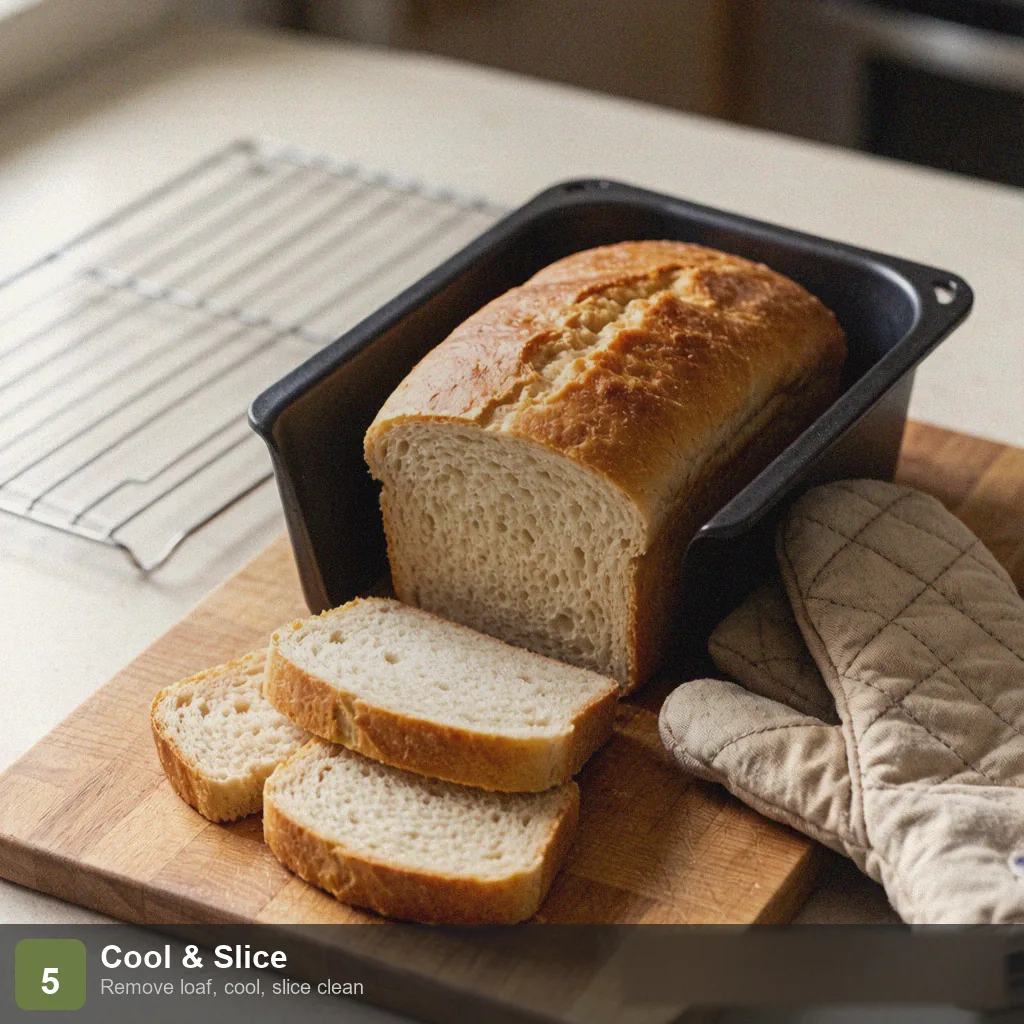
When the cycle ends, use oven mitts to lift out the pan. Turn it upside down to release the loaf — if it sticks, run a silicone spatula around the wall. Cool on a rack at least 30 minutes, ideally a full hour, before slicing so the crumb stays clean and even.
Tips
No-salt dough runs wetter — adjust the water. Without salt the dough feels stickier than usual. If it clings to the pan wall, cut back 1 tablespoon of water at a time (up to 2–3 tablespoons total); if dry and clumpy, add 1 tablespoon. Small tweaks beat forcing the exact amount.
Watch the rise without salt. Salt is the yeast’s “brake.” Remove it and the yeast gets lively. If the dough nears the pan rim and collapses in the oven, drop the yeast to 1.5 teaspoons or the sugar to 1.5 tablespoons to slow fermentation.
The salt substitute is the soul of low sodium bread. Plain salt-free bread tastes flat. A 1/2 teaspoon of potassium chloride reads like salt but carries near-zero sodium (NoSalt has under 5mg per 1/2 teaspoon versus ~1150mg in table salt) — the cheapest way to keep “bread flavor.”
Do not swap the bread flour. The springy bite comes from gluten. Bread flour runs 12–14% protein and passes the windowpane test; all-purpose flour bakes up short and dense. Keep a big bag of bread flour on hand.
Cool before you slice — non-negotiable. A loaf from the machine is 90°C+ inside and will collapse if cut hot. Wait at least 30 minutes, ideally a full hour, for clean, even slices.
Storage
Freeze, do not just refrigerate. With no salt to preserve it, the loaf dries out after 2 days at room temperature. Slice, seal, and freeze; crisp needed slices in a toaster or a 160°C (320°F) oven for 3 minutes. Frozen, it keeps up to 1 month.
FAQ
Is salt-free bread safe to eat?
Yes. Salt in bread is a flavor and texture conditioner, not a preservative — the machine’s baking heat kills microbes. Salt-free bread is safe; it just rises a bit faster and tastes milder. A potassium salt substitute and herbs make up the difference.
Can I use whole wheat flour instead of bread flour?
You can, but that is a different recipe (see our low sodium whole wheat bread). Whole wheat absorbs more water, so a direct swap makes a shorter, denser loaf. If you insist, mix bread and whole wheat 1:1 and add 2–3 extra tablespoons of water.
Can I make this without a bread machine?
Yes, but the machine is what makes it effortless. Without one you would knead to a windowpane, do two rises, then bake — a much longer process. The no-salt ratios transfer directly; you just control the timing.
Where do I buy a salt substitute?
Look in the “low sodium salt” aisle of a large supermarket, or search online for “potassium chloride salt substitute,” “NoSalt,” or “Morton Lite Salt.” The label should say “salt substitute,” and the first ingredient is usually potassium chloride.
My loaf sank in the middle — what happened?
An over-active, no-salt rise is the usual cause. If it proofs too high and collapses, reduce the yeast or sugar by about 1/2 teaspoon each next time and avoid opening the lid. A slight dip is cosmetic and still safe to eat.
Conclusion
This bread machine low sodium bread proves you do not need salt for a loaf worth eating. Under 10mg of sodium per slice, six pantry ingredients, and one button press — the easiest heart-healthy upgrade to your daily bread. Bake a loaf, slice and freeze it, and a low sodium slice is always ready.
More Low Sodium Recipes
- Bread Machine Low Sodium Whole Wheat Bread — the high-fiber version
- Bread Machine Sodium Free Bread — truly zero added salt
- Low Sodium Baked Chicken Breast — a juicy high-protein main
- Low Sodium Mashed Potatoes — the classic comforting side
- Low Sodium Vegetable Soup — a warming low sodium bowl
Nutrition Information (Per Slice, about 1/12 of the loaf)
| Item | Amount | % Daily Value* |
|---|---|---|
| Calories | 135 kcal | 7% |
| Protein | 4 g | 8% |
| Fat | 3 g | 4% |
| Carbohydrates | 24 g | 9% |
| Sugar | 2 g | — |
| Fiber | 1 g | 4% |
| Sodium | 8 mg | <1% |
*Daily values are based on a 2,000 kcal diet. Sodium is estimated from USDA FoodData Central (the natural sodium in flour and yeast); no table salt is added.
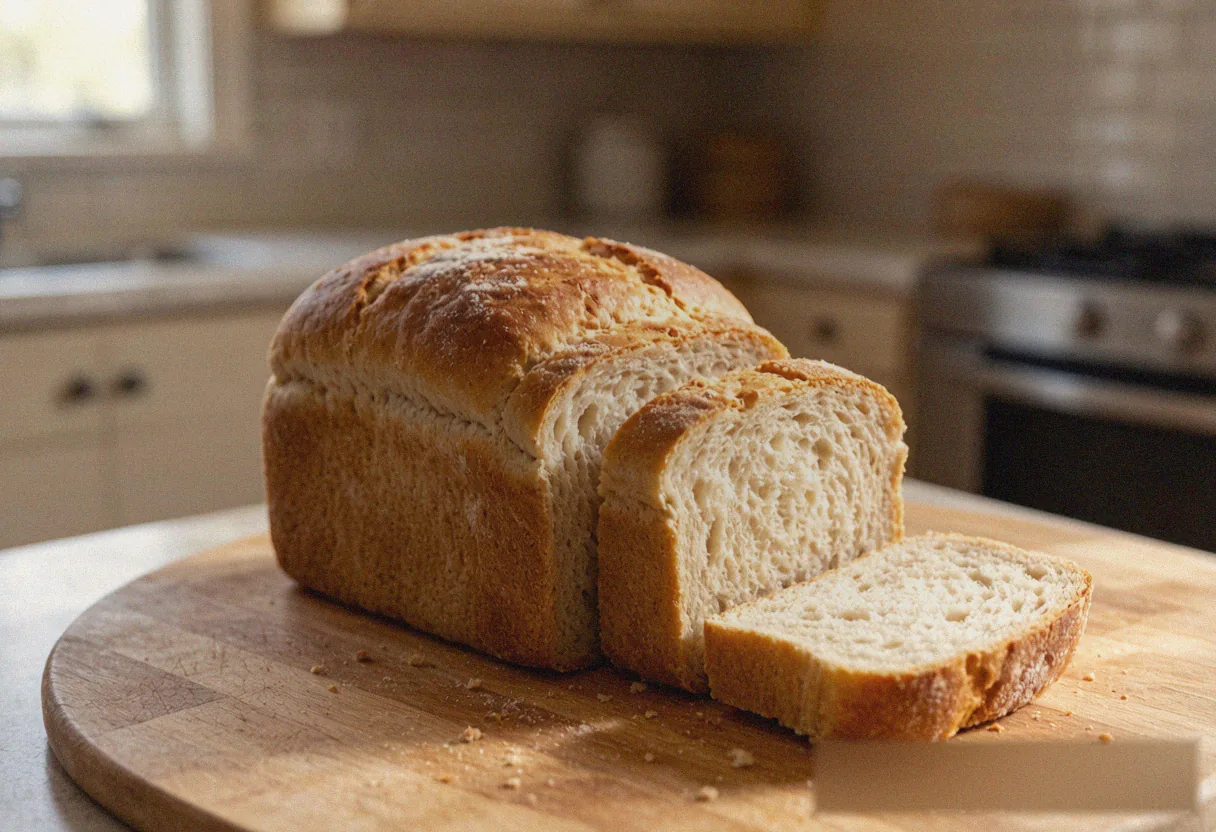
Bread Machine Low Sodium Bread - Soft & Heart Healthy
Ingredients
Method
- Step 1: Add the Ingredients in Order: Follow your machine's manual for loading order. Most want liquids first: pour in the warm water and butter, add the flour, dig a well and drop in the yeast, and place the sugar and herbs in a corner (keep the salt substitute apart so it never touches the yeast). Keep the yeast out of the liquid.
- Step 2: Lock the Pan Into the Machine: Set the pan firmly into the machine and confirm it is seated. Check that the kneading paddle is locked — if loose, it can fall off mid-knead and leave the dough uneven. Close the lid.
- Step 3: Select the Basic Cycle: Choose "Basic" or "White Bread." This runs the full knead → first rise → shape → second rise → bake in about 3 hours. Pick the 2-pound loaf size and a medium crust, then press start.
- Step 4: Let the Machine Work: Do not open the lid while it runs — temperature and humidity swings hurt the rise. Through the window you will watch the dough become a smooth ball, swell, and set into a golden crust. With no salt, it may rise a little higher than usual; that is normal.
- Step 5: Remove, Cool, and Slice: When the cycle ends, use oven mitts to lift out the pan. Turn it upside down to release the loaf — if it sticks, run a silicone spatula around the wall. Cool on a rack at least 30 minutes, ideally a full hour, before slicing so the crumb stays clean and even.