Low Sodium Fried Rice
Takeout fried rice is one of the worst offenders on a low-sodium diet — a single takeout container can pack 800–1,200mg of sodium, most of it from soy sauce and MSG-heavy seasoning packets. This low sodium fried rice proves you don’t need a restaurant wok station or a salt-heavy sauce lineup to make fried rice that’s every bit as satisfying. At 150mg of sodium per bowl, it delivers the same savory satisfaction with about one-eighth the sodium.
The keys are unremarkable but non-negotiable: day-old rice (cold, dry, and separated into individual grains), low-sodium soy sauce used sparingly, and the technique of drizzling the soy sauce against the side of the screaming-hot wok so it caramelizes on contact.
Why You’ll Love This Recipe
Health Notice: This recipe is designed for low-sodium diets. The American Heart Association recommends no more than 2,300mg of sodium per day, with an ideal limit of 1,500mg for most adults. Sodium values are estimates based on USDA food composition data. Always consult your healthcare provider before making dietary changes. See our Medical Disclaimer for more information.
- Only 150mg sodium per bowl. Takeout fried rice averages 800–1,200mg. This version cuts that by roughly 85% through three deliberate choices: low-sodium soy sauce instead of regular, unsalted chicken broth for moisture instead of MSG-seasoned stock, and sesame oil for its nutty aroma, which tricks your palate into perceiving more savoriness than is actually there.
- Fifteen minutes from fridge to table. The actual cooking — once your ingredients are prepped — takes less than five minutes. That’s faster than waiting for delivery, and you control exactly what goes in.
- The ultimate refrigerator clean-out meal. Fried rice was invented to use up leftovers. That half cup of frozen peas in the back of your freezer, the lone carrot in your crisper drawer, the last handful of mushrooms — they all belong here. The core formula (cold rice + egg + aromatics + low-sodium soy sauce) is fixed; the vegetables are whatever you need to use up.
- A single egg makes it a complete meal. Scrambling one egg into the rice adds 6g of protein and enough richness that you won’t feel like you’re eating a side dish. Pair it with the carbohydrates from the rice and the fiber from whatever vegetables you throw in, and one bowl is a genuinely balanced dinner.
Ingredients You’ll Need
- 3 cups cold day-old cooked rice (about 500g, short or medium grain preferred)
- 2 large eggs
- ½ cup frozen peas and diced carrots
- 2 scallions (white parts sliced into segments, green parts sliced for garnish)
- 2 garlic cloves, minced
- 1 small piece ginger (about 10g), minced
- 1½ tablespoons low-sodium soy sauce
- 1 teaspoon sesame oil
- 1 teaspoon oyster sauce (low-sodium if available, optional)
- 2 tablespoons neutral cooking oil (canola, vegetable, or avocado)
- Pinch of white pepper
- 1 tablespoon unsalted chicken broth or water
Why day-old rice is non-negotiable. Freshly cooked rice is about 65% water, and the surface of each grain is sticky with gelatinized starch. Toss that into a hot wok and you get a gummy, clumpy mass — not fried rice. After a night in the refrigerator, the rice loses about 10% of its moisture and undergoes retrogradation: the starch molecules realign into a firmer, less sticky structure. The grains become hard, dry, and separate from each other easily, which means they’ll fry into distinct, individual grains coated in sauce rather than merging into a single rice blob. If you forgot to make rice yesterday, spread freshly cooked rice on a plate and freeze it for 30 minutes — it’s not quite the same, but it gets close.
How to Make Low Sodium Fried Rice
Step 1: Prep Everything Before You Turn on the Heat
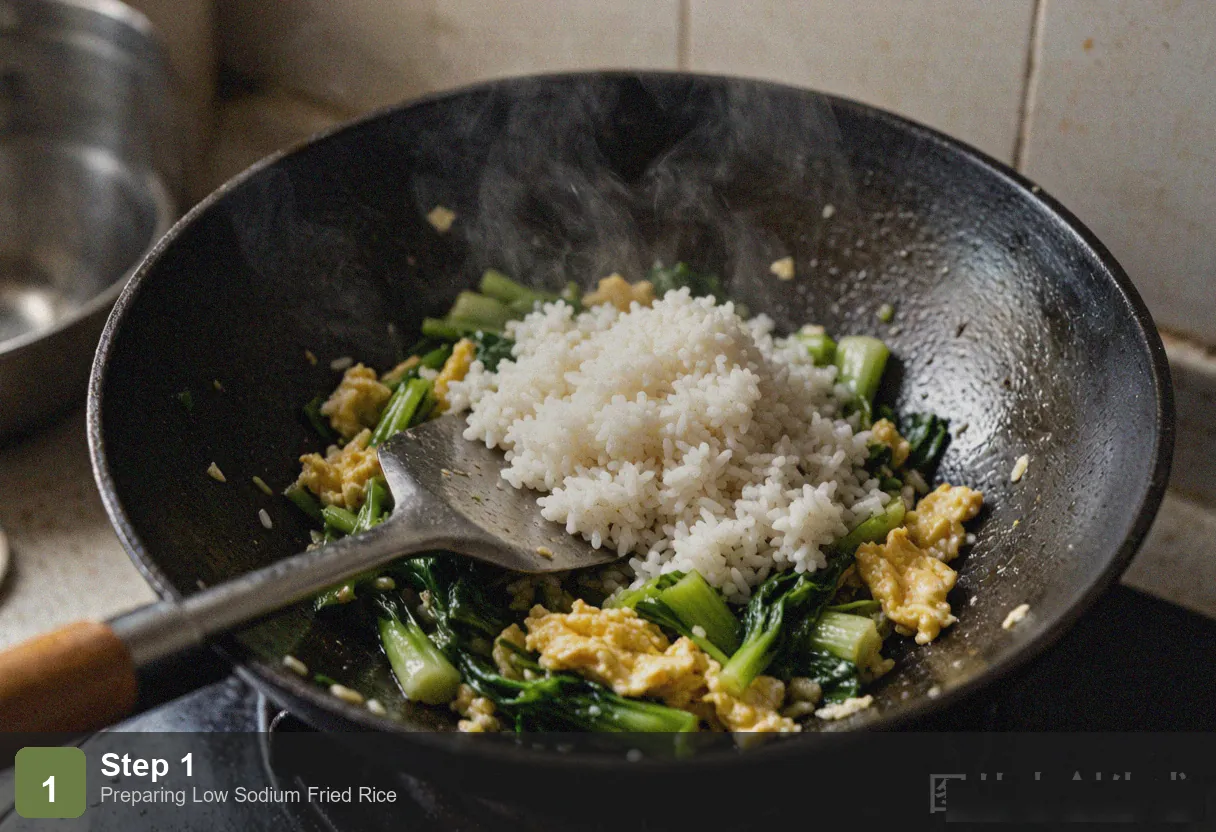
Fried rice is a speed sport. From the moment the wok gets hot to the moment the rice hits the bowl, the entire cooking sequence takes less than five minutes. There is zero time to chop, measure, or search for ingredients mid-cook. Before you touch the stove: break up any clumps in the cold rice with your fingers until every grain is separate, beat the eggs with a pinch of white pepper, defrost and drain the frozen vegetables, and have your minced garlic, ginger, scallions, soy sauce, sesame oil, and broth measured and waiting within arm’s reach. This is mise en place, and in fried rice, it’s not optional.
Step 2: Scramble the Egg
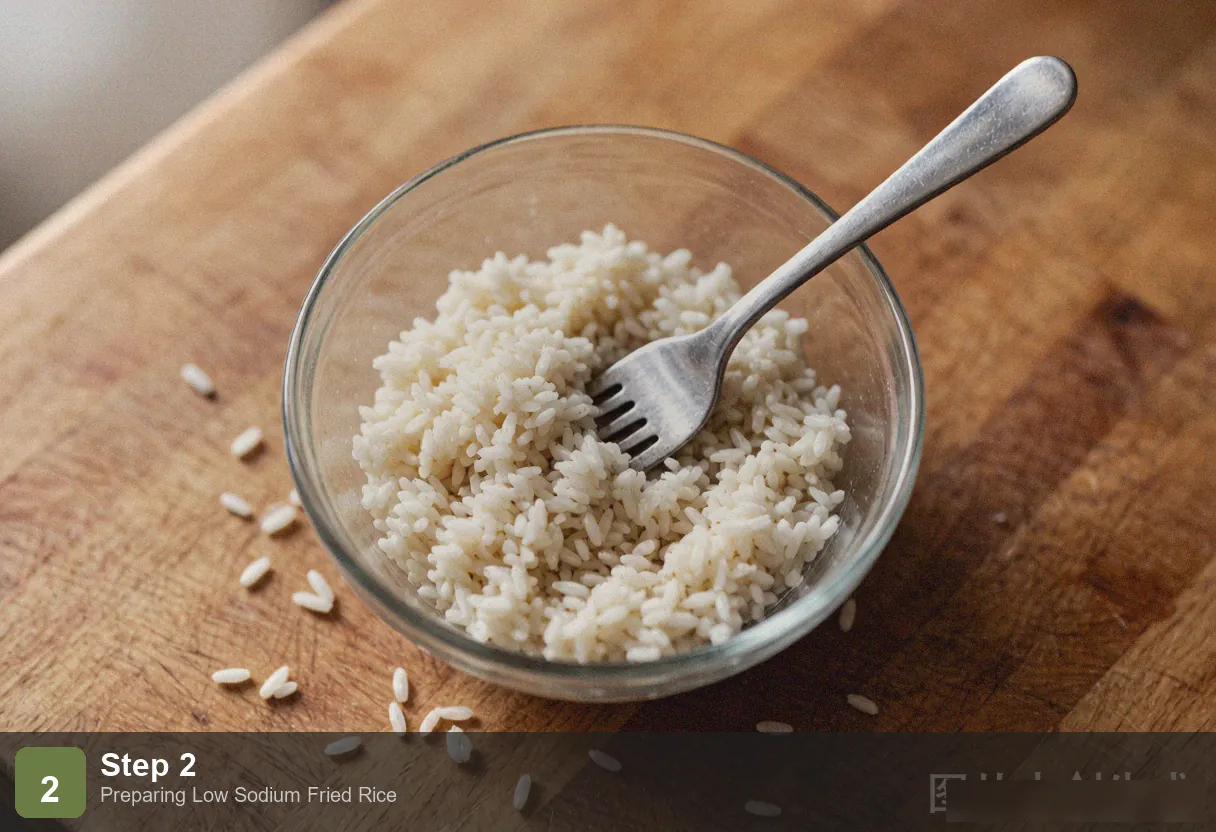
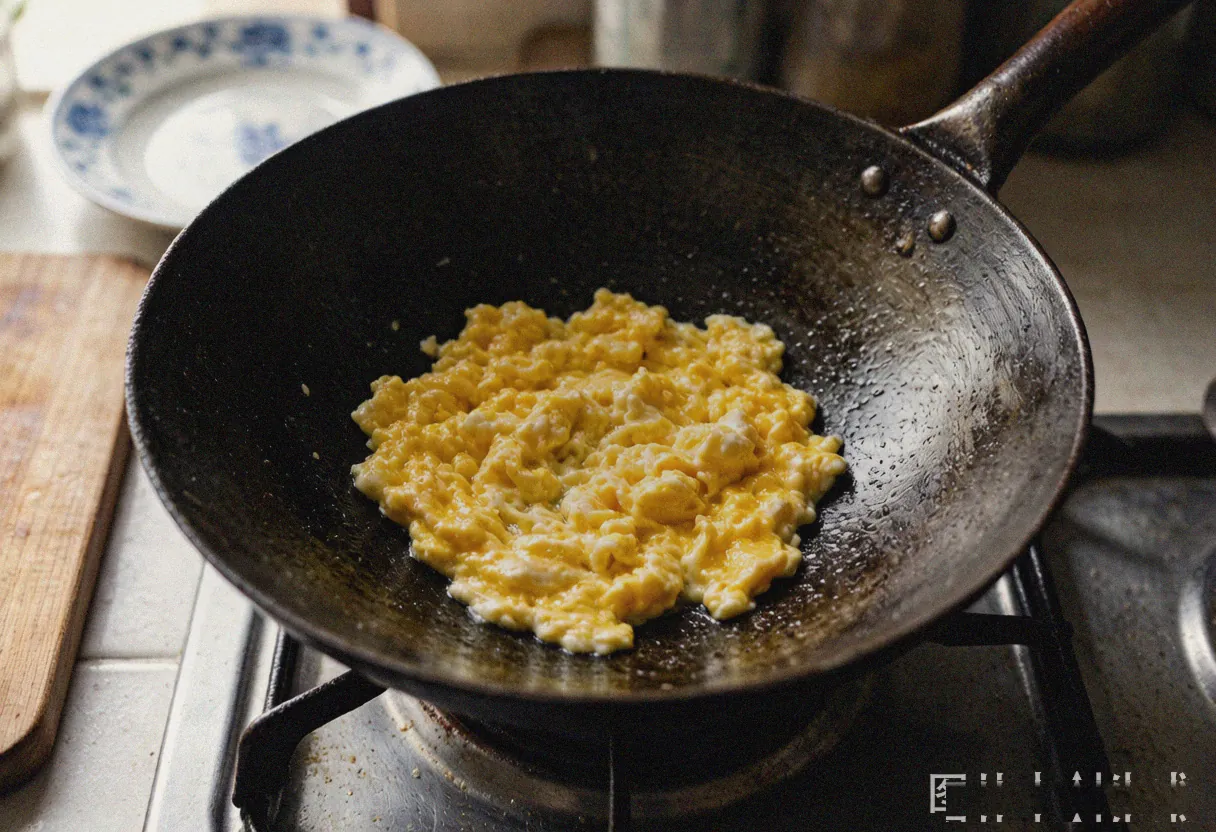
Set a wok or large skillet over high heat until it’s just starting to smoke. Add 1 tablespoon of oil and swirl to coat. Pour in the beaten egg. Using your spatula, stir in quick, circular motions — the egg will hit the hot oil and puff up immediately into light, airy curds. This takes 10–15 seconds total. As soon as the egg is set but still soft and glossy, scrape it onto a plate. Overcooked egg turns rubbery and loses its delicate texture, so err on the side of slightly underdone — it’ll finish cooking when it goes back in later.
Step 3: Stir-Fry the Aromatics and Vegetables
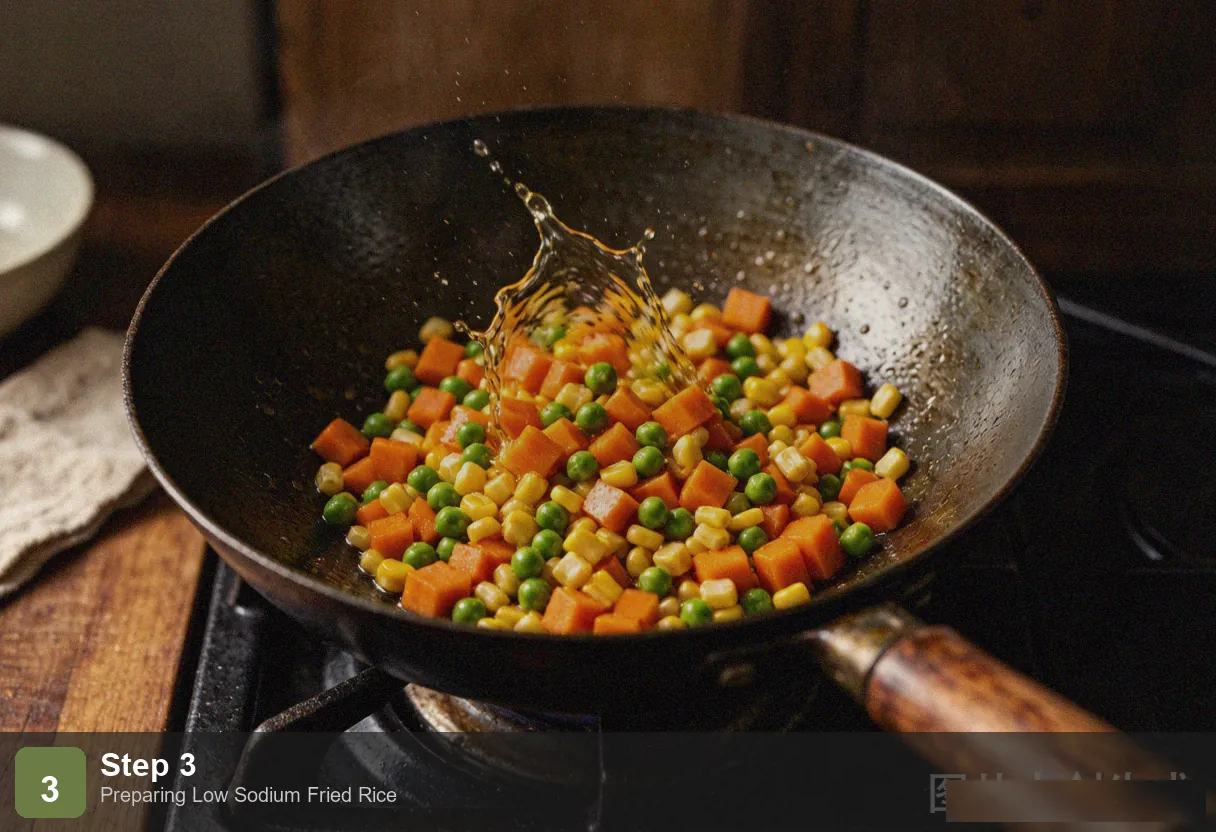
Add the remaining 1 tablespoon of oil to the wok. Drop in the scallion whites, minced garlic, and ginger. Stir for 15–20 seconds — just until the fragrance blooms and fills your kitchen. Add the frozen peas and carrots and stir-fry for 1 minute. The vegetables should soften slightly but remain crisp and bright. Their surfaces should look slightly blistered but not limp.
Step 4: Fry the Rice
Add the cold rice to the wok. Use the back of your spatula to press down on any remaining clumps, breaking them apart, then flip and toss to separate the grains. Stir-fry over high heat for 2–3 minutes. You should hear a faint crackling sound as individual grains hit the hot metal — that’s the sound of rice frying, not steaming. The grains will turn glossy as they absorb the oil, and you’ll see tiny charred spots developing on some of them, which is exactly what you want.
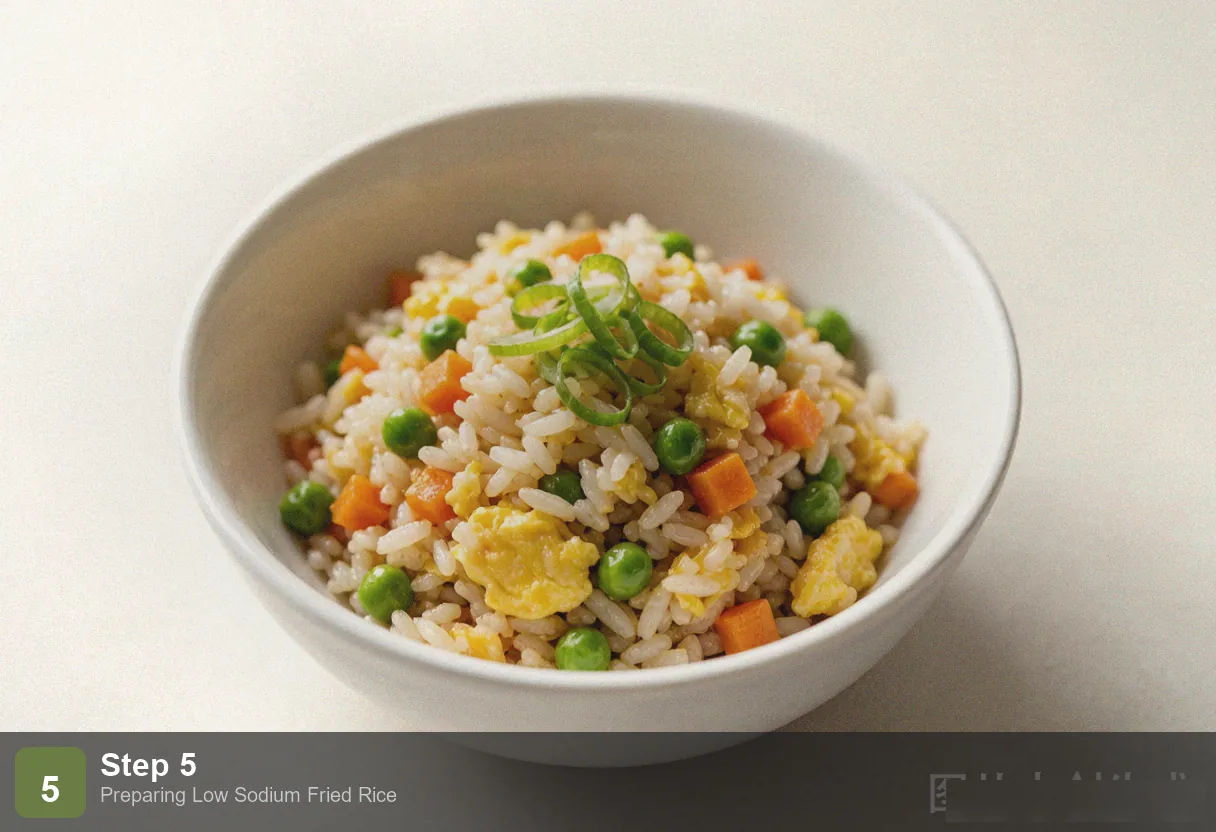
Step 5: Season and Finish
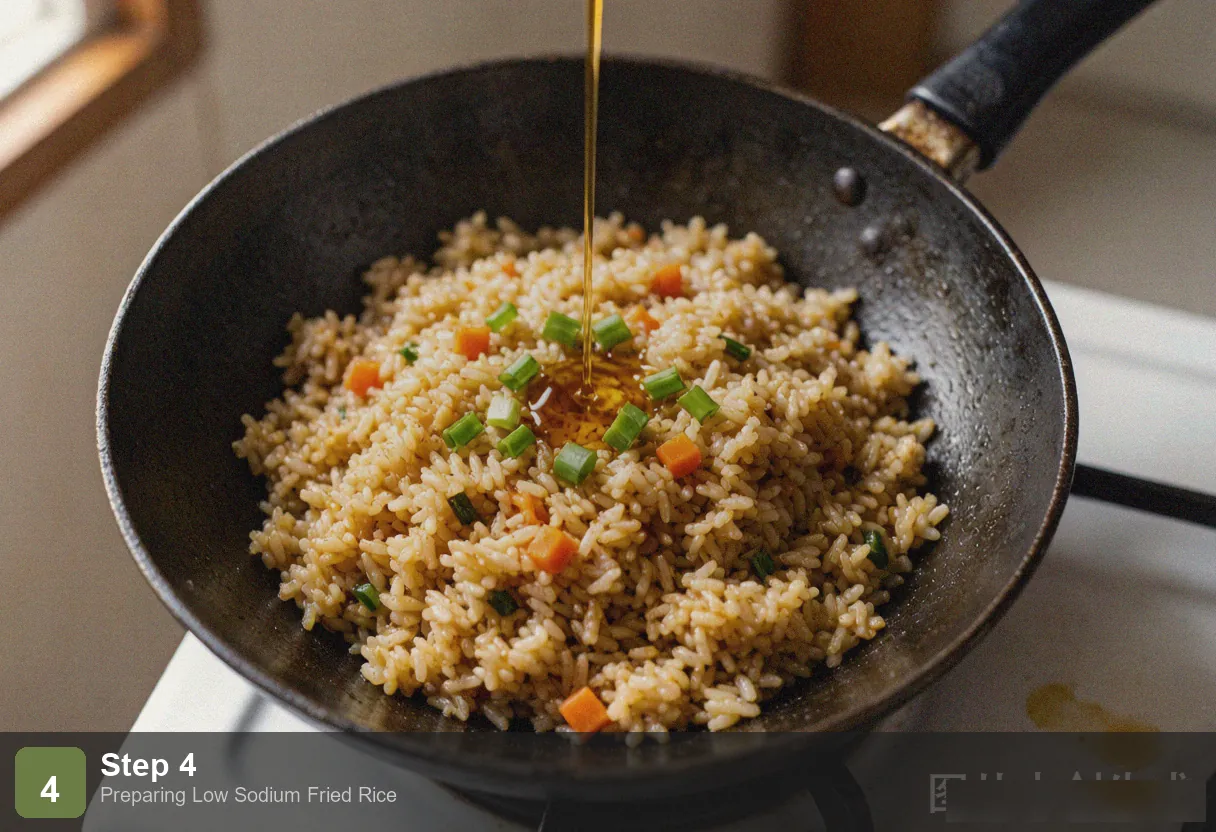
Return the scrambled egg to the wok and toss to distribute. Now the most important technique in fried rice: drizzle the low-sodium soy sauce and oyster sauce down the side of the wok — not directly onto the rice. When the liquid hits the scorching metal, it instantly caramelizes, producing a smoky, savory aroma (what Chinese cooks call “wok hei,” or breath of the wok) that then gets tossed through the rice. If you pour it straight onto the rice, it soaks in unevenly and you lose that caramelized depth. Add the broth or water, toss for another 30 seconds until everything is evenly coated and golden. Finish with the sesame oil and scallion greens, toss once, and kill the heat.
Pro Tips
Drizzle soy sauce against the wok wall, never onto the rice. This is the single most important technique in fried rice and the one home cooks most often skip. Soy sauce poured directly onto rice immediately soaks into a local cluster of grains, turning them dark brown while the rest of the rice remains pale and underseasoned. Drizzled against the hot wok wall, it sizzles and caramelizes on contact — the Maillard reaction transforms the soy sauce into something smokier and more complex — and then you toss the rice through that caramelized layer, distributing the flavor evenly. This is what creates “wok hei,” the elusive smoky aroma of restaurant fried rice.
High heat is not optional. The number one reason homemade fried rice disappoints is insufficient heat. Restaurant wok burners run at 50,000–100,000 BTU; a home gas stove manages about 7,000–12,000 BTU. You can’t close that gap, but you can compensate: preheat your wok until it’s smoking before adding oil, work in batches if your wok is small (overcrowding drops the temperature instantly), and never let the heat drop below high. It’s better to fry two perfect small batches than one large, soggy one.
Break up cold rice with your hands before it hits the wok. Refrigerated rice solidifies into a brick. If you dump that brick into a hot wok, you’ll spend the entire cooking time trying to break it apart while the rice steams instead of fries. Take 30 seconds before you start cooking to rub the cold rice between your fingers until every clump is reduced to individual grains. It’s a small step that determines whether your final dish is “fried rice” or “rice mush.”
Frequently Asked Questions
What if I don’t have day-old rice?
The fastest workaround: spread freshly cooked rice in a thin layer on a large plate and place it in the freezer for 30 minutes. The cold, dry air pulls moisture out of the surface of the grains, approximating the overnight refrigeration effect. If you don’t even have 30 minutes, spread the rice on a plate in front of a fan for 10 minutes. As a last resort, you can use fresh rice — but reduce the soy sauce by ½ tablespoon, since fresh rice’s extra moisture will dilute the seasoning.
Can I add meat?
Yes. Diced chicken, shrimp, or ham all work. The rule: cook the meat separately before adding it to the rice. Never add raw meat directly to the rice — the liquid it releases will turn your fried rice into steamed rice. About 1 cup of diced cooked chicken or 150g of shrimp is a good amount. Adding meat will raise the sodium count to roughly 200mg per bowl.
What’s the best type of rice to use?
Short-grain or medium-grain rice (sushi rice, Calrose) is ideal — it has the right balance of starch to stay distinct yet slightly chewy when fried. Long-grain rice (jasmine, basmati) works too but produces a drier, more separated result that some people prefer. Do not use glutinous (sticky) rice — it will fuse into a single impenetrable mass the moment it hits the wok.
Can I use cauliflower rice instead?
Yes, and it will drop the sodium count to about 80mg per bowl. Cauliflower rice doesn’t need to be day-old — just pat it dry with paper towels before frying to remove excess moisture. Stir-fry it over high heat for 3–4 minutes until the excess water evaporates and the cauliflower begins to take on some golden color, then proceed with the recipe. Note that cauliflower rice releases more water than grain rice, so you may need an extra minute or two of high-heat frying to drive off the moisture.
More Low Sodium Recipes
- Low Sodium Stir Fry Chicken — The perfect main dish to pair with this fried rice
- Low Sodium Chicken Soup — A classic low-sodium comfort soup
- Low Sodium Taco Seasoning — An all-purpose low-sodium seasoning blend
- Low Sodium Salad Dressing — Three low-sodium dressings
Nutrition (per serving, serves 3)
| Nutrient | Amount | % Daily Value |
|---|---|---|
| Calories | 285 kcal | 14% |
| Protein | 8g | 16% |
| Fat | 9g | 12% |
| Carbohydrates | 42g | 15% |
| Fiber | 2g | 8% |
| Sodium | 150mg | 7% |
| Potassium | 180mg | 4% |
| Iron | 2mg | 11% |
Low Sodium Fried Rice - Heart Healthy 15 Min
Ingredients
Method
- Step 1: Prep Everything Before You Turn on the Heat: Fried rice is a speed sport. From the moment the wok gets hot to the moment the rice hits the bowl, the entire cooking sequence takes less than five minutes. There is zero time to chop, measure, or search for ingredients mid-cook. Before you touch the stove: break up any clumps in the cold rice with your fingers until every grain is separate, beat the eggs with a pinch of white pepper, defrost and drain the frozen vegetables, and have your minced garlic, ginger, scallions, soy sauce, sesame oil, and broth measured and waiting within arm's reach. This is mise en place, and in fried rice, it's not optional.
- Step 2: Scramble the Egg: Set a wok or large skillet over high heat until it's just starting to smoke. Add 1 tablespoon of oil and swirl to coat. Pour in the beaten egg. Using your spatula, stir in quick, circular motions — the egg will hit the hot oil and puff up immediately into light, airy curds. This takes 10–15 seconds total. As soon as the egg is set but still soft and glossy, scrape it onto a plate. Overcooked egg turns rubbery and loses its delicate texture, so err on the side of slightly underdone — it'll finish cooking when it goes back in later.
- Step 3: Stir-Fry the Aromatics and Vegetables: Add the remaining 1 tablespoon of oil to the wok. Drop in the scallion whites, minced garlic, and ginger. Stir for 15–20 seconds — just until the fragrance blooms and fills your kitchen. Add the frozen peas and carrots and stir-fry for 1 minute. The vegetables should soften slightly but remain crisp and bright. Their surfaces should look slightly blistered but not limp.
- Step 4: Fry the Rice: Add the cold rice to the wok. Use the back of your spatula to press down on any remaining clumps, breaking them apart, then flip and toss to separate the grains. Stir-fry over high heat for 2–3 minutes. You should hear a faint crackling sound as individual grains hit the hot metal — that's the sound of rice frying, not steaming. The grains will turn glossy as they absorb the oil, and you'll see tiny charred spots developing on some of them, which is exactly what you want.
- Step 5: Season and Finish: Return the scrambled egg to the wok and toss to distribute. Now the most important technique in fried rice: drizzle the low-sodium soy sauce and oyster sauce down the side of the wok — not directly onto the rice. When the liquid hits the scorching metal, it instantly caramelizes, producing a smoky, savory aroma (what Chinese cooks call "wok hei," or breath of the wok) that then gets tossed through the rice. If you pour it straight onto the rice, it soaks in unevenly and you lose that caramelized depth. Add the broth or water, toss for another 30 seconds until everything is evenly coated and golden. Finish with the sesame oil and scallion greens, toss once, and kill the heat.