Microwave Scrambled Eggs
No stove. No pan. No time. No problem. Microwave scrambled eggs are the breakfast hack that sounds too good to be true until you try it: two eggs, a splash of milk, a mug, and a microwave. Two minutes later, you have a portion of fluffy, tender scrambled eggs that hold their own against anything made in a skillet.
The key is technique, not ingredients. Microwaves heat unevenly — the edges cook first while the center stays raw — so you can’t just set a timer and walk away. The fix is absurdly simple: microwave in 30-second bursts, stirring between each one. This redistributes the heat and breaks up the curds, producing eggs that are evenly cooked and genuinely fluffy.
Why You’ll Love This Recipe
- Two minutes, actually. Crack the eggs, whisk for 15 seconds, microwave for 60 seconds in two bursts with a stir in between, season, eat. The total time is shorter than it takes to heat a skillet, and there’s precisely one dish to wash — the mug you ate from.
- No stove required. Office kitchenette, college dorm, hotel room, your desk during a WFH lunch break — anywhere with a microwave becomes a breakfast station. No burner, no pan, no cleanup beyond rinsing a mug.
- The texture actually works. The reputation of microwave eggs as rubbery and sad comes from one mistake: cooking them in a single, uninterrupted blast. The 30-second burst method — cook, stir, cook, stir — produces curds that are tender and creamy, not tough and bouncy. Adding a tablespoon of milk introduces steam during cooking, which lightens the texture even further.
- Twelve grams of protein for under $0.50. Two large eggs deliver 12g of complete protein and cost roughly 40–50 cents. That’s hard to beat as a protein-to-cost ratio, and the microwave method removes every barrier to actually making them on a busy morning.
Ingredients You’ll Need
- 2 large eggs
- 1 tablespoon milk (or water, for fluffier eggs)
- 1 small pat of butter (about 5g, optional but recommended)
- Pinch of salt and black pepper
- 1 microwave-safe mug (at least 350ml / 12oz capacity)
Optional Add-Ins
- 1 tablespoon shredded cheddar cheese
- 1 tablespoon diced ham or crumbled bacon
- 1 teaspoon chopped scallions
- ¼ cup baby spinach, roughly chopped
The mug matters more than you think. Eggs expand dramatically as they cook — two beaten eggs can rise from barely an inch in the mug to nearly overflowing during a 30-second microwave burst. A mug with at least 350ml (12oz) capacity prevents messes. Use a wide-mouthed mug rather than a tall, narrow one — it heats more evenly and is easier to stir. Ceramic is ideal; glass works but gets hotter to the touch.
How to Make Microwave Scrambled Eggs
Step 1: Whisk Everything Together
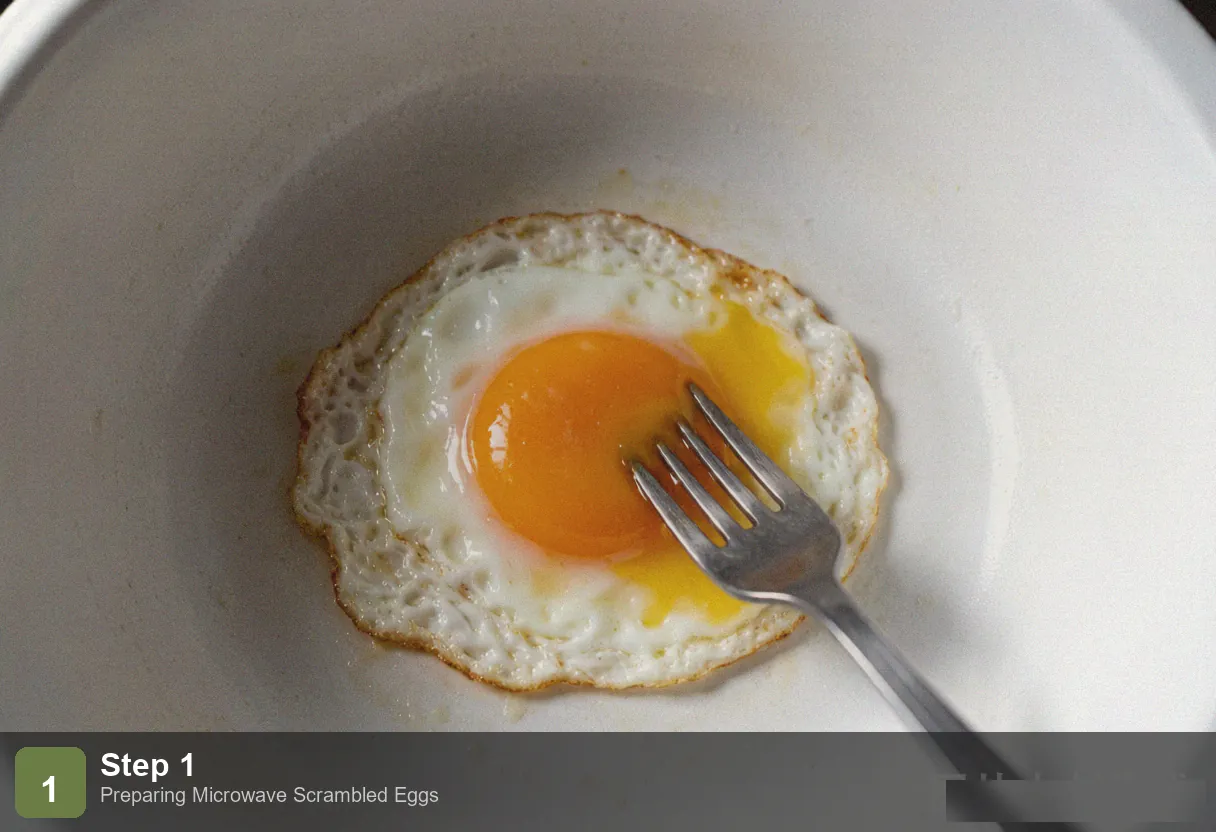
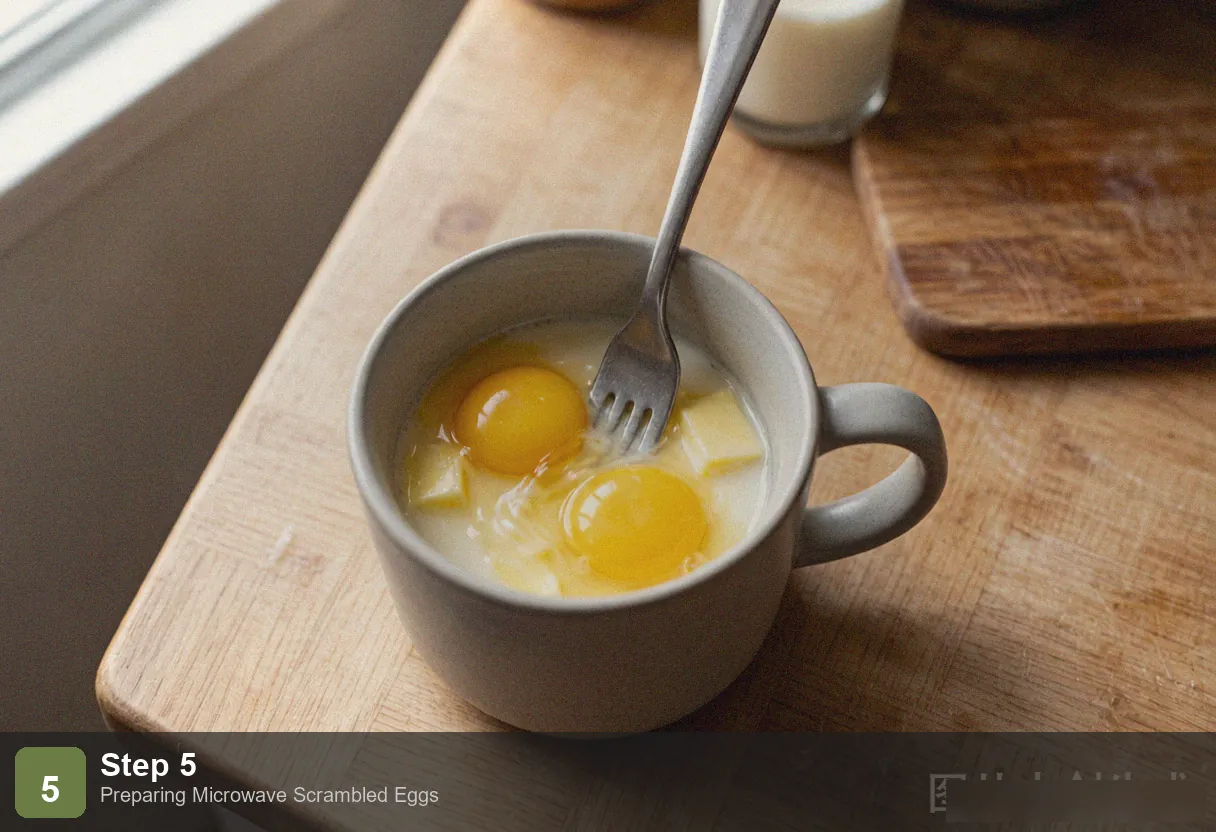
Crack both eggs into the mug. Add the milk and the pat of butter. Using a fork, whisk vigorously for about 20 seconds until the yolks and whites are completely blended into a uniform pale yellow and you see small bubbles on the surface. The milk adds moisture that turns to steam in the microwave, creating a lighter, fluffier texture. The butter melts as the egg cooks and distributes richness throughout.
Step 2: First Microwave Burst — 30 Seconds
Place the mug in the microwave and cook on high for 30 seconds. Remove it — use a towel or oven mitt; the mug handle will be hot. The egg will have set around the edges while the center remains liquid. This is exactly what you want. Use the fork to push the cooked edges toward the center, allowing the uncooked liquid to flow outward toward the hot mug walls. This stirring step is what prevents the eggs from overcooking at the edges while staying raw in the middle.
Step 3: Second Microwave Burst — 20–30 Seconds
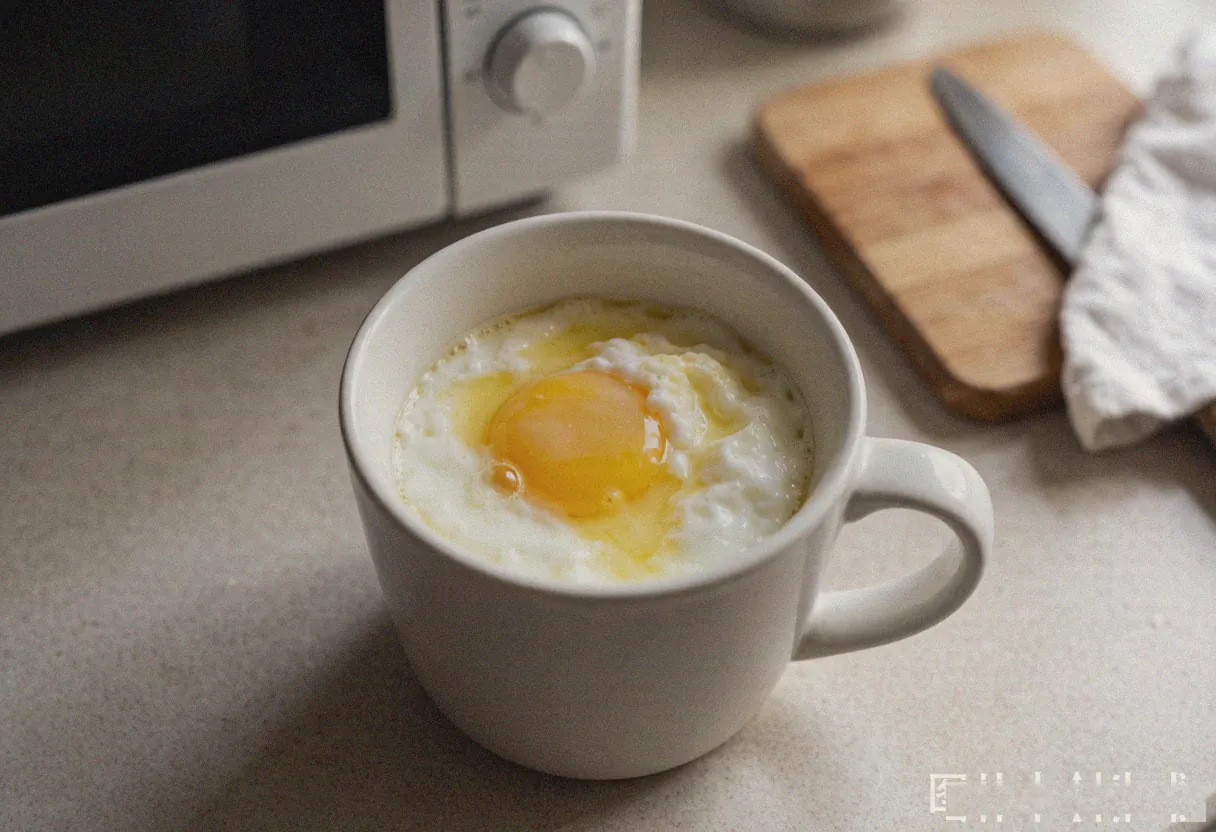
Return the mug to the microwave and cook for another 20–30 seconds. Check: the egg should be mostly set but the surface should still look slightly moist and glossy. If there’s still visible liquid, give it another 10 seconds. The carryover heat will finish cooking the egg after you remove it from the microwave, so err on the side of slightly underdone — eggs that look fully cooked in the microwave will be overcooked and rubbery by the time you sit down to eat.
Step 4: Season and Add Toppings
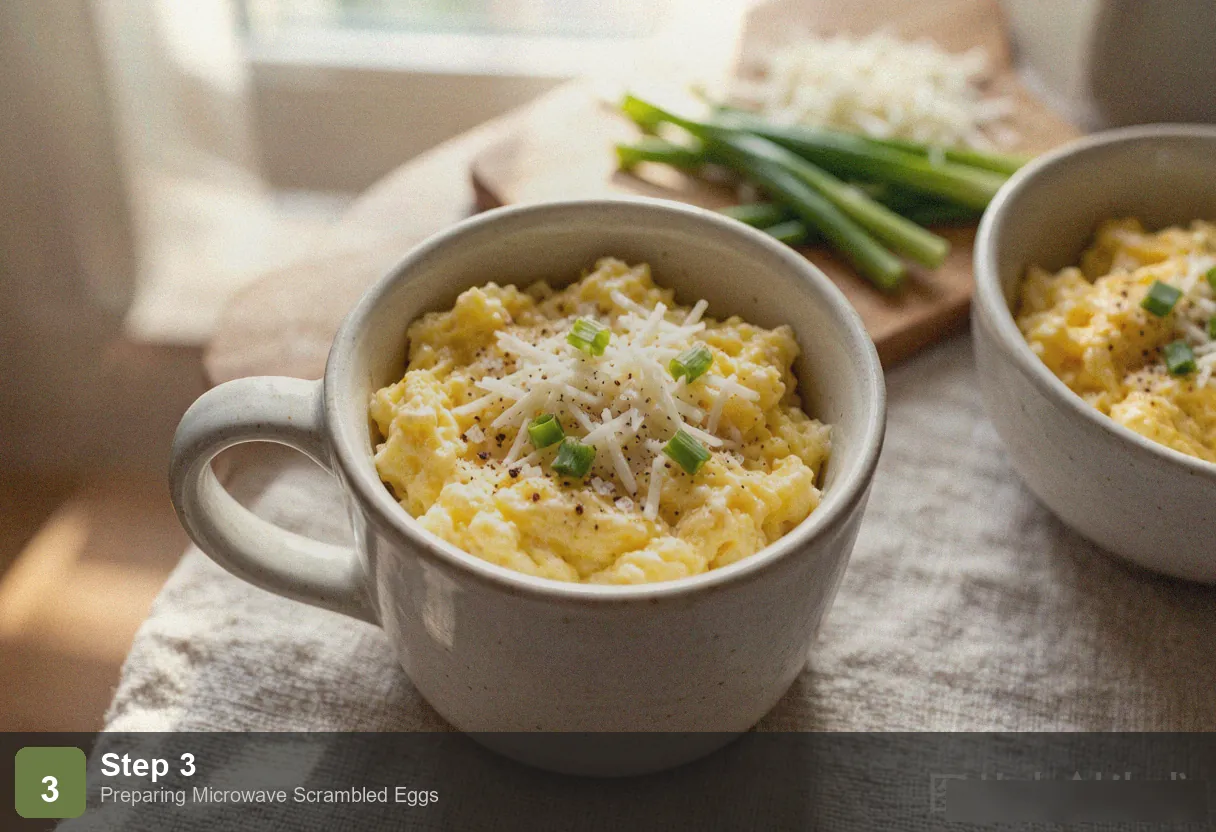
Use the fork to break the egg into bite-sized curds. Season with salt and pepper. If you’re adding cheese, stir it in now while the egg is hot enough to melt it. Mix-ins like diced ham, bacon, or spinach should be added before cooking — stir them into the raw egg mixture in Step 1 so they heat through. Scallions and fresh herbs go on last as a garnish.
Step 5: Eat Straight from the Mug or Plate It
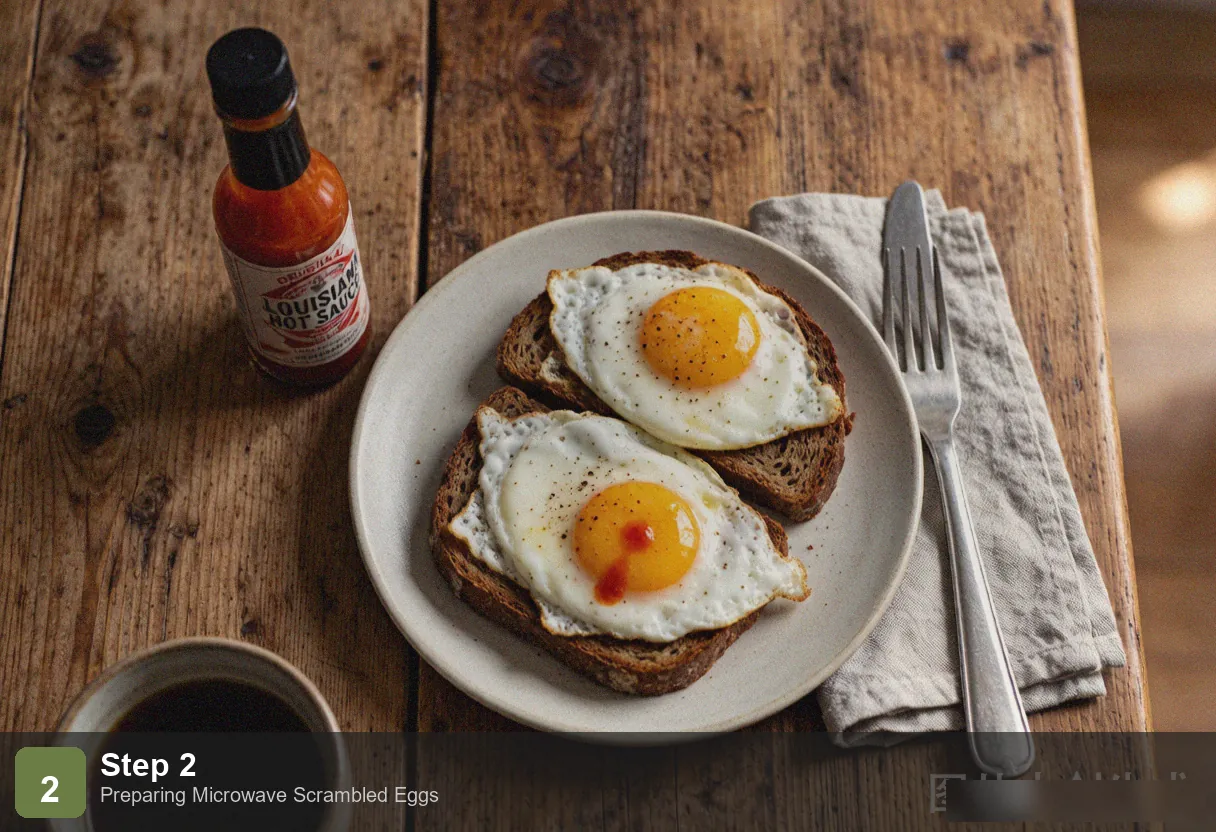
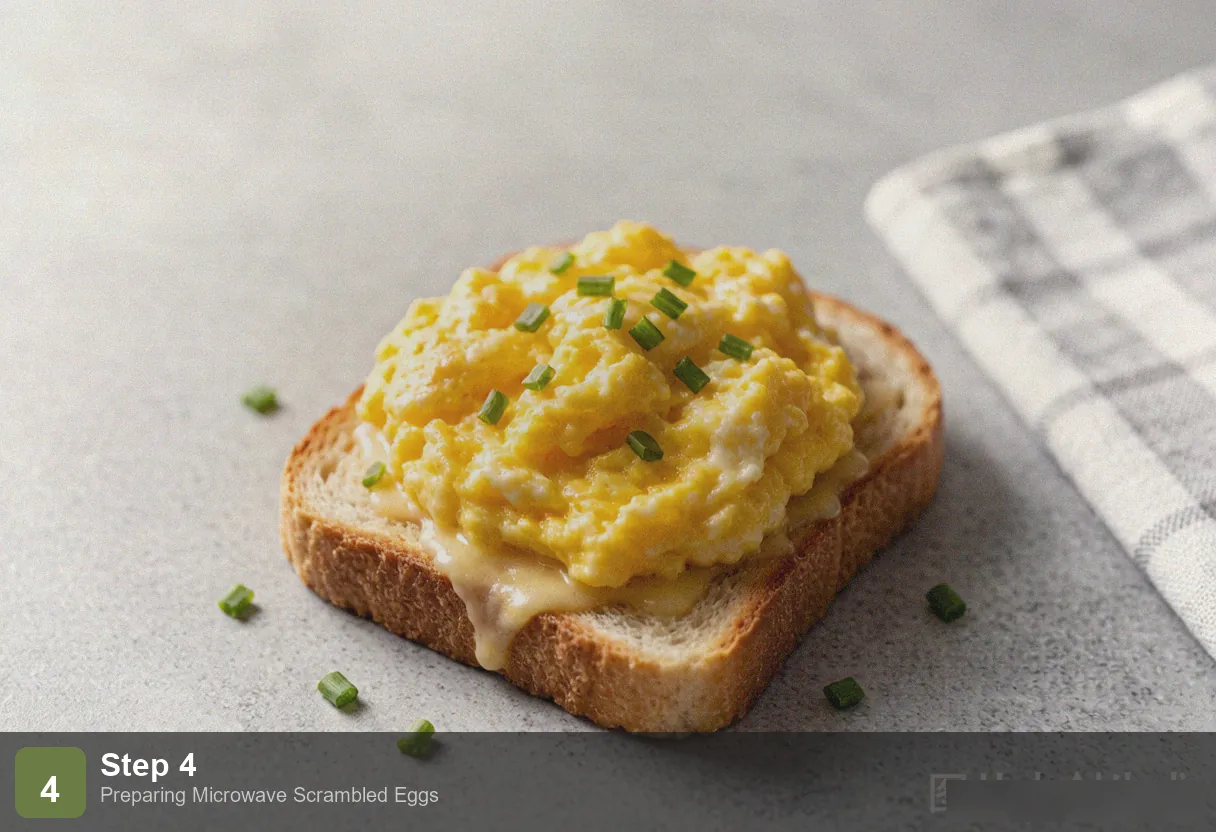
You can eat directly from the mug — it’s the ultimate low-effort breakfast — or tip the eggs onto a plate or a piece of toast. For a complete breakfast in under 5 minutes: toast a slice of bread while the eggs are in the microwave, slide the eggs onto the toast, and add a drizzle of hot sauce or a spoonful of salsa. Coffee optional but strongly encouraged.
Pro Tips
Short bursts with stirring — this is the entire method. Microwaves cook from the outside in, and without stirring, the eggs at the mug’s edge overcook into a rubbery ring while the center stays raw. The solution is two short cooking bursts (30 seconds, then 20–30 seconds) with a thorough stir in between. Never microwave eggs for longer than 30 seconds without pausing to stir — that single rule eliminates 95% of microwave egg failures.
Milk is what makes them fluffy. Plain eggs in the microwave lose moisture quickly and set into a dense, firm mass. A tablespoon of milk adds extra water that turns to steam during cooking, creating tiny pockets of air throughout the eggs. The difference between eggs with milk and eggs without is immediately visible — the milk version rises higher in the mug and has a visibly lighter, more open texture.
No metal, no narrow mugs. Anything metallic in a microwave creates sparks — this includes mugs with metallic trim or gold rims. Narrow, tall mugs (like travel mugs) concentrate the egg at the bottom where it heats unevenly and is impossible to stir properly. A wide, straight-sided ceramic mug is the ideal vessel: microwave-safe, easy to stir in, and the right shape for even heating.
Frequently Asked Questions
Are microwave scrambled eggs safe?
Completely safe, as long as you use a microwave-safe container (ceramic or glass). The eggs will be fully cooked — the USDA recommends cooking eggs to 160°F (71°C), which microwave eggs reach easily after two 30-second bursts. The only safety note: never microwave an egg in its shell. The shell is a sealed container, and the steam building inside has no way to escape — the egg will explode, creating a spectacular mess and a potential burn hazard.
Why do my eggs make popping sounds in the microwave?
Water pockets in the egg mixture heat faster than the surrounding protein and turn to steam, which bursts through the surface with an audible pop. This is normal and harmless. Cooking at 70% power instead of full power reduces popping by heating more gently, though it extends the total cooking time to about 90 seconds total. Alternatively, cover the mug loosely with a paper towel to catch any stray pops.
Can I make more than two eggs?
Three eggs work in a larger mug (at least 500ml / 16oz) with an adjusted timing: 30 seconds → stir → 30 seconds → stir → 20 seconds. Don’t attempt more than three eggs in a single mug — the volume is too large for even heating, and you’ll end up with a raw center and overcooked edges no matter how many times you stir. For more than three eggs, cook in two separate batches.
Can I prep the eggs the night before?
You can crack and beat the eggs the night before and store them in a sealed container in the refrigerator, but don’t add the milk until morning. Milk sitting in raw egg overnight alters the protein structure and the eggs won’t fluff up as well. In the morning, pour the pre-beaten eggs into a mug, add the milk, whisk briefly, and microwave.
More Quick Meals
- Quick Breakfast Ideas — More breakfast options
- 10-Minute Lunch Ideas — Fast lunches
- Quick Fried Rice — 15-minute rice dish
- 5-Ingredient Pasta Dinner — Minimalist dinner
Nutrition (per serving, 1 person)
| Nutrient | Amount | % Daily Value |
|---|---|---|
| Calories | 175 kcal | 9% |
| Protein | 13g | 26% |
| Fat | 12g | 15% |
| Carbohydrates | 1g | 0% |
| Fiber | 0g | 0% |
| Sodium | 180mg | 8% |
| Potassium | 140mg | 3% |
| Vitamin B12 | 1.2μg | 50% |
Microwave Scrambled Eggs - 2 Minute No-Stove Breakfast
Ingredients
Method
- Step 1: Whisk Everything Together: Crack both eggs into the mug. Add the milk and the pat of butter. Using a fork, whisk vigorously for about 20 seconds until the yolks and whites are completely blended into a uniform pale yellow and you see small bubbles on the surface. The milk adds moisture that turns to steam in the microwave, creating a lighter, fluffier texture. The butter melts as the egg cooks and distributes richness throughout.
- Step 2: First Microwave Burst — 30 Seconds: Place the mug in the microwave and cook on high for 30 seconds. Remove it — use a towel or oven mitt; the mug handle will be hot. The egg will have set around the edges while the center remains liquid. This is exactly what you want. Use the fork to push the cooked edges toward the center, allowing the uncooked liquid to flow outward toward the hot mug walls. This stirring step is what prevents the eggs from overcooking at the edges while staying raw in the middle.
- Step 3: Second Microwave Burst — 20–30 Seconds: Return the mug to the microwave and cook for another 20–30 seconds. Check: the egg should be mostly set but the surface should still look slightly moist and glossy. If there's still visible liquid, give it another 10 seconds. The carryover heat will finish cooking the egg after you remove it from the microwave, so err on the side of slightly underdone — eggs that look fully cooked in the microwave will be overcooked and rubbery by the time you sit down to eat.
- Step 4: Season and Add Toppings: Use the fork to break the egg into bite-sized curds. Season with salt and pepper. If you're adding cheese, stir it in now while the egg is hot enough to melt it. Mix-ins like diced ham, bacon, or spinach should be added before cooking — stir them into the raw egg mixture in Step 1 so they heat through. Scallions and fresh herbs go on last as a garnish.
- Step 5: Eat Straight from the Mug or Plate It: You can eat directly from the mug — it's the ultimate low-effort breakfast — or tip the eggs onto a plate or a piece of toast. For a complete breakfast in under 5 minutes: toast a slice of bread while the eggs are in the microwave, slide the eggs onto the toast, and add a drizzle of hot sauce or a spoonful of salsa. Coffee optional but strongly encouraged.