Step 1: Load Liquids and Dry Ingredients in Order: Follow your bread machine's recommended loading order. Most machines want liquids first: pour in the warm water and softened butter, then add the flour. Make a small well in the flour and add the yeast, then place the salt and sugar in opposite corners. Make sure the yeast never touches the salt or the water directly — salt can inhibit yeast activity on contact.
Step 2: Lock the Pan into the Machine: Seat the pan firmly until it clicks into place, and check that the kneading paddle is properly installed. A paddle that isn't locked will detach mid-knead, and the dough won't mix evenly — a common beginner stumble that ruins an otherwise good bake.
Step 3: Select the Quick / Express Cycle: On the menu, choose "Quick," "Express," or "Rapid" (brands name it differently, but all of them shorten the proofing time). Set the loaf weight to 2 lb and the crust to light or medium — the quick cycle bakes for less time, so a medium setting can come out under-colored. Press start and the display should show roughly a 2-hour total.
Step 4: Let the Machine Work Fast: The quick cycle finishes kneading, a single short proof, and baking in about 40 minutes of active work. Don't open the lid during this time — both proofing and baking are sensitive to temperature and humidity swings. Through the viewing window you'll see the dough rise quickly and turn golden as the bake phase begins.
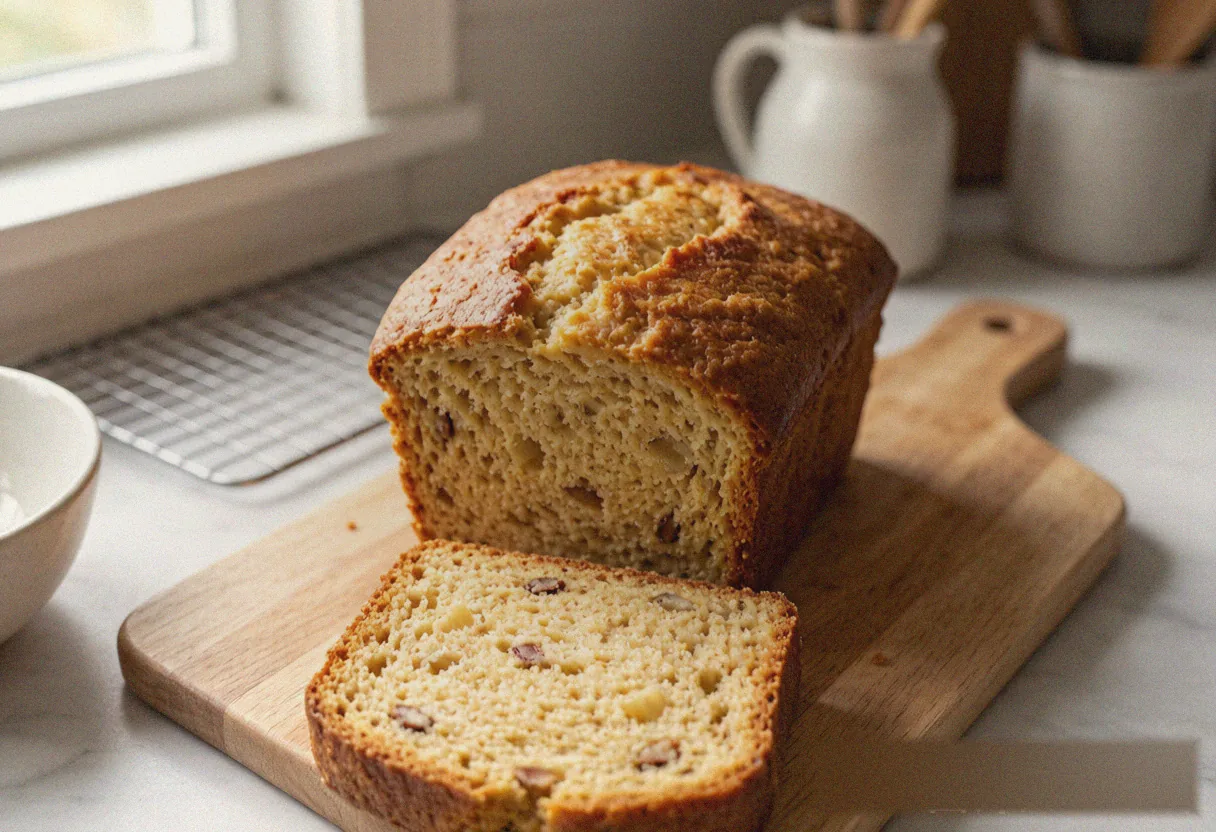
Step 5: Remove, Unmold, Cool, and Slice: When the cycle ends, immediately use oven mitts to lift out the pan and invert it to release the loaf. Cool on a wire rack for at least 30 minutes before slicing — straight from the machine the interior is still a liquid structure, and cutting too early will collapse it into a gummy mass. Once cool, slice with a serrated knife to reveal the soft, even crumb.