Waiting three hours for a loaf of bread isn’t always realistic, but that doesn’t mean you have to settle for supermarket bread. Bread machine quick bread uses your machine’s Quick or Express cycle to deliver a soft, fresh sandwich loaf in about two hours — a full hour faster than the standard program, trading away only a little of the long-fermentation flavor.
Why You’ll Love This Bread Machine Quick Bread
Want fresh bread but can’t spare three hours? This bread machine quick bread compresses a loaf’s wait down to about two hours by leaning on the machine’s accelerated cycle. You trade away a little fermentation flavor, but you get the convenience of “start it in the afternoon, eat it before dinner.”
- Fresh bread in about 2 hours, no babysitting. Pick the right cycle, load the ingredients, press start, and walk away. That’s a full hour faster than the standard 3-hour program.
- Zero kneading skill required. The quick cycle automatically handles mixing, a short proof, and baking. You don’t need to know how to knead or how to read proofing by eye.
- The texture is still real bread. A quick-cycle loaf is far softer than supermarket toast — warm from the machine, the crumb springs back and butter melts right into it.
-
Fresh bread on demand. Unexpected guests, hungry kids after school, a sudden sandwich craving — two hours rescues the moment without a trip to the store.
-
Built for sandwiches. The crumb is soft and even, so it slices thin without tearing — perfect for lunchbox sandwiches or a quick egg toast.
Ingredients
- 1 cup + 1 tbsp warm water (about 40°C / 105°F)
- 3 cups bread flour
- 2 tbsp butter, softened
- 2 tbsp granulated sugar
- 1.5 tsp salt
- 2.25 tsp active dry yeast (the quick cycle needs slightly more — see the tips below)
Why more yeast for the quick cycle? The standard program proofs the dough twice across 3 hours, so the yeast works slowly and that’s plenty. The quick cycle compresses proofing to about 40 minutes, so the yeast has to generate the lifting gas in far less time — that’s why we bump it from 2 tsp to 2.25 tsp. Too little and the bread won’t rise, leaving you with a short, dense loaf.
Instructions
Step 1: Load Liquids and Dry Ingredients in Order
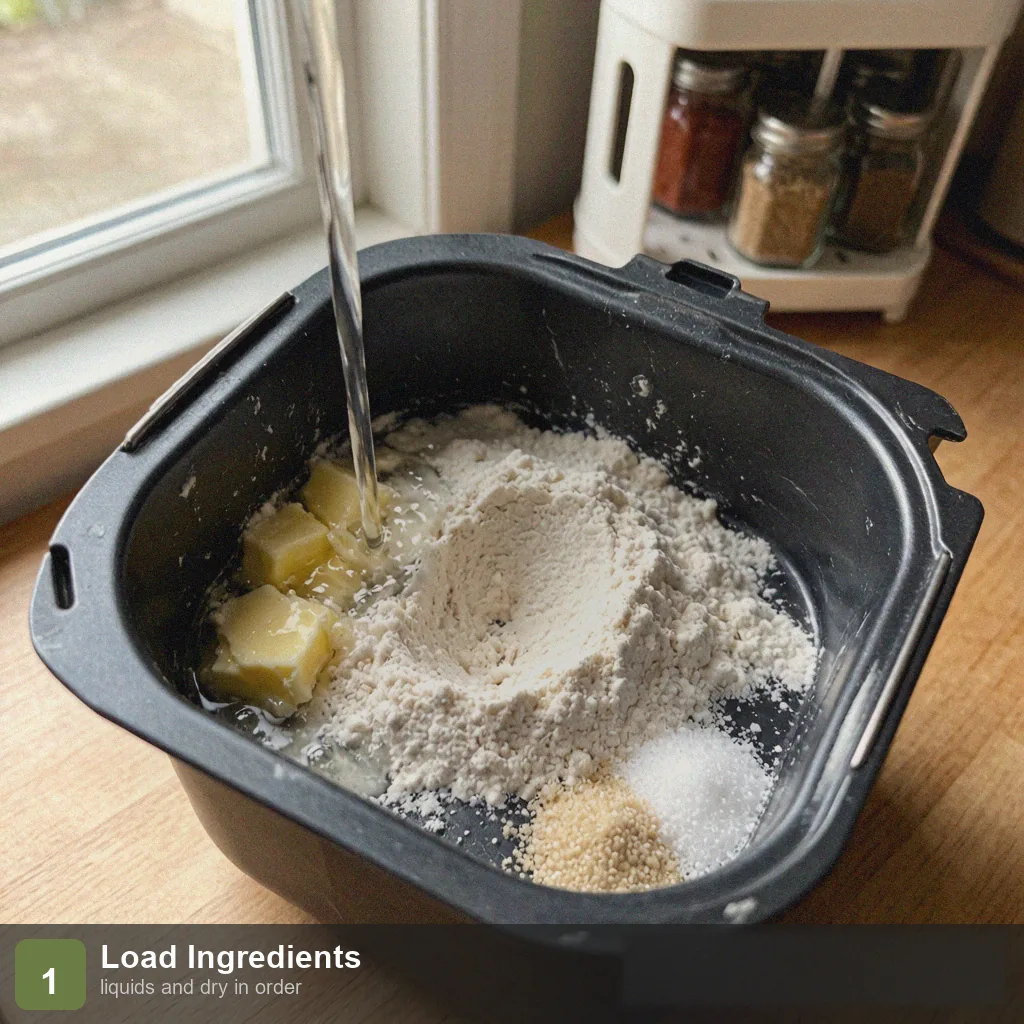
Follow your bread machine’s recommended loading order. Most machines want liquids first: pour in the warm water and softened butter, then add the flour. Make a small well in the flour and add the yeast, then place the salt and sugar in opposite corners. Make sure the yeast never touches the salt or the water directly — salt can inhibit yeast activity on contact.
Step 2: Lock the Pan into the Machine
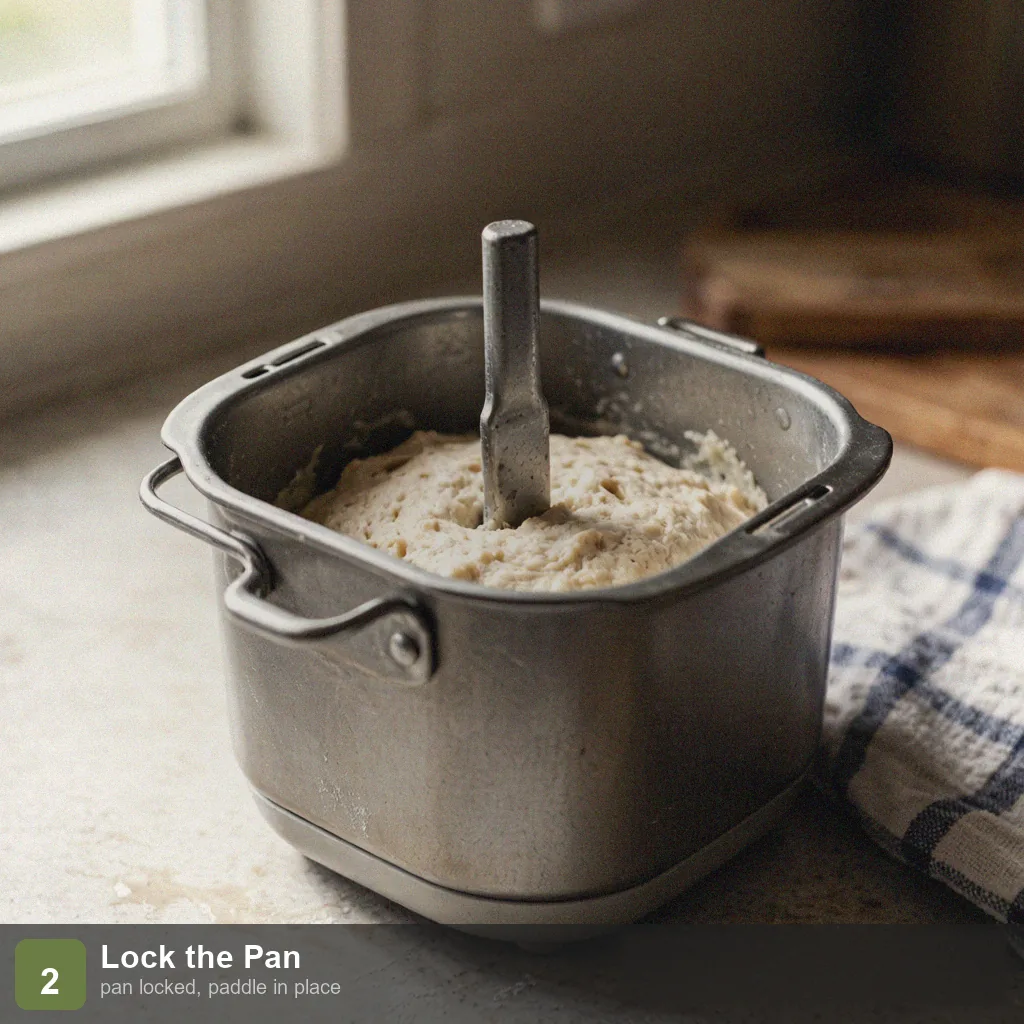
Seat the pan firmly until it clicks into place, and check that the kneading paddle is properly installed. A paddle that isn’t locked will detach mid-knead, and the dough won’t mix evenly — a common beginner stumble that ruins an otherwise good bake.
Step 3: Select the Quick / Express Cycle
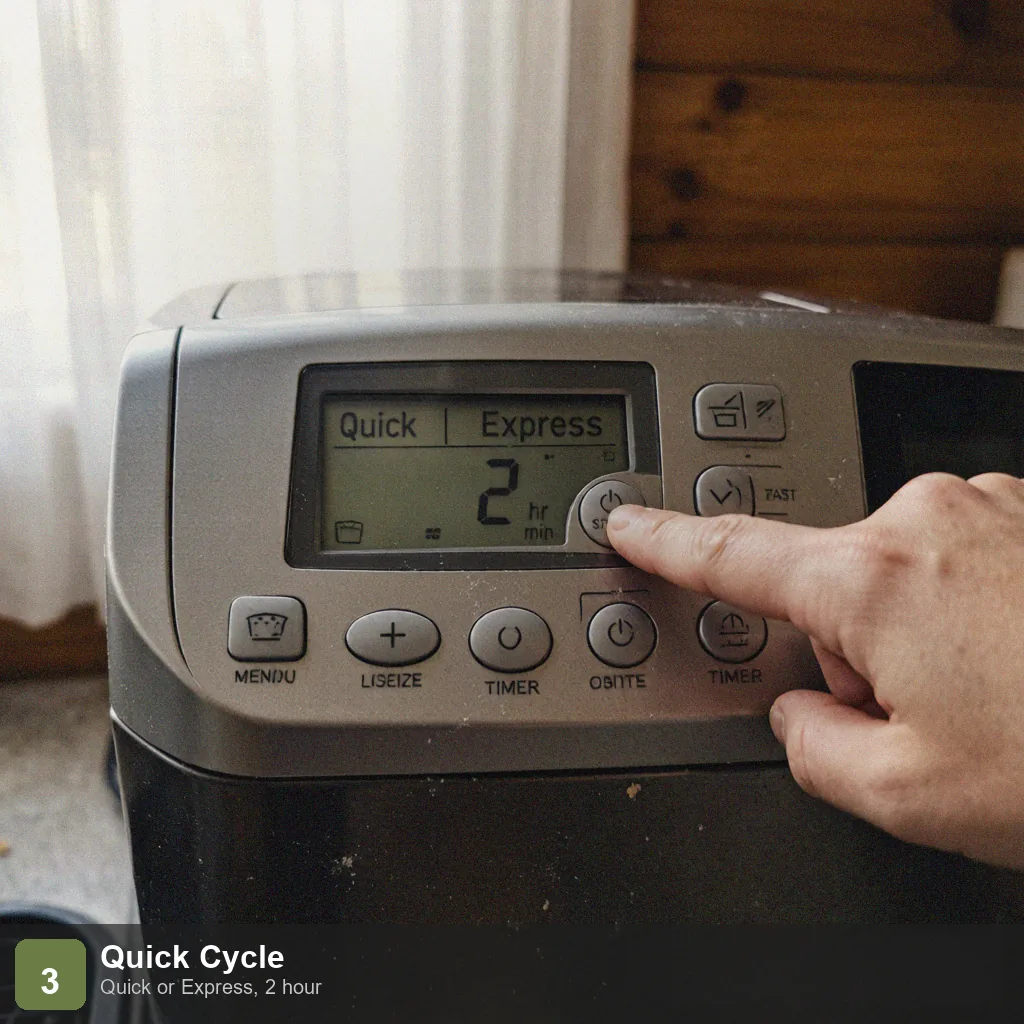
On the menu, choose “Quick,” “Express,” or “Rapid” (brands name it differently, but all of them shorten the proofing time). Set the loaf weight to 2 lb and the crust to light or medium — the quick cycle bakes for less time, so a medium setting can come out under-colored. Press start and the display should show roughly a 2-hour total.
Step 4: Let the Machine Work Fast
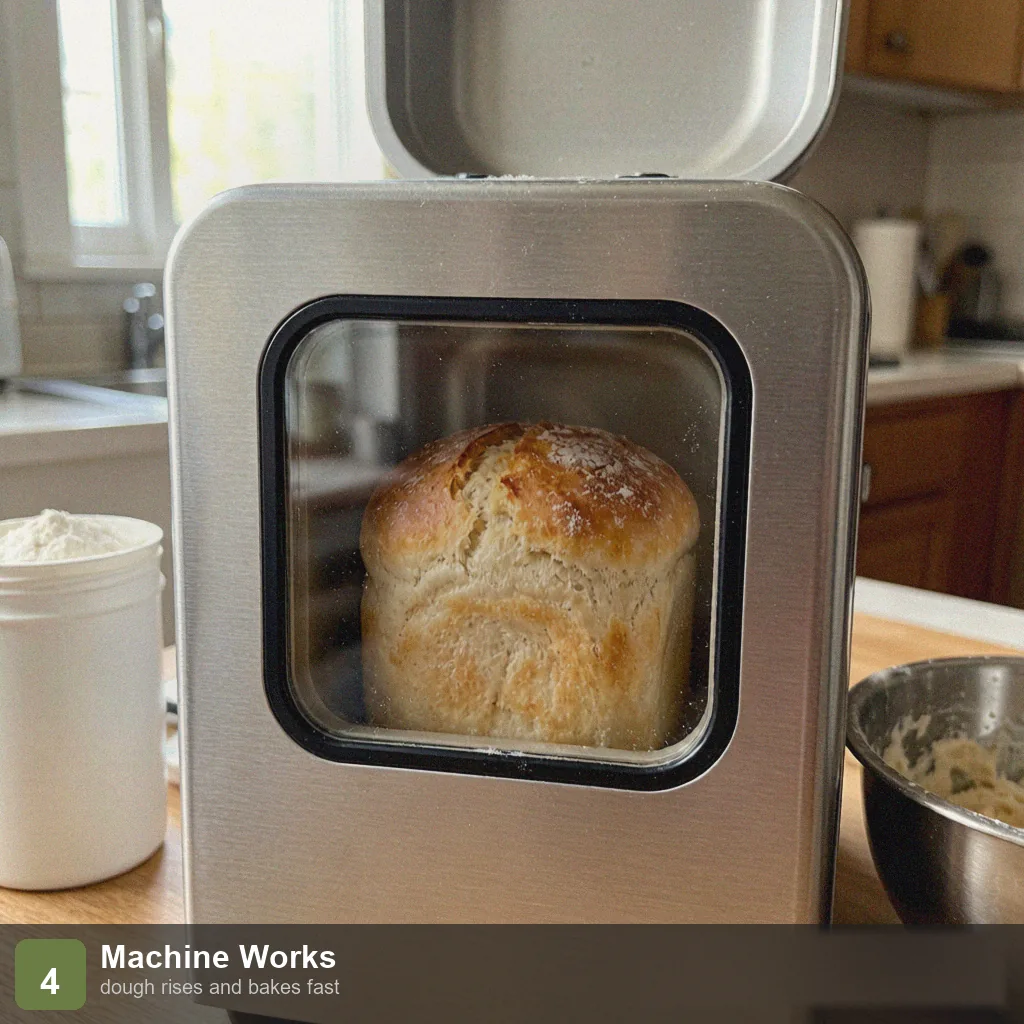
The quick cycle finishes kneading, a single short proof, and baking in about 40 minutes of active work. Don’t open the lid during this time — both proofing and baking are sensitive to temperature and humidity swings. Through the viewing window you’ll see the dough rise quickly and turn golden as the bake phase begins.
Step 5: Remove, Unmold, Cool, and Slice
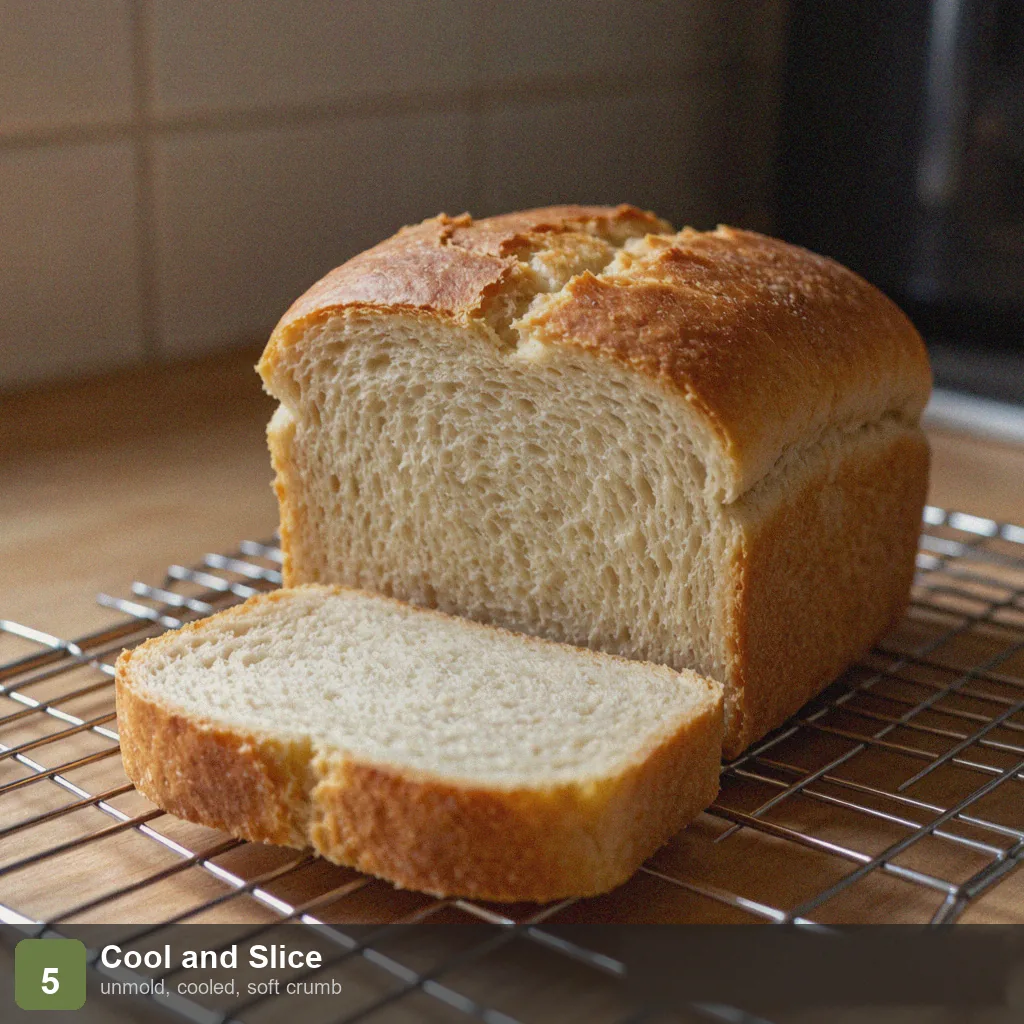
When the cycle ends, immediately use oven mitts to lift out the pan and invert it to release the loaf. Cool on a wire rack for at least 30 minutes before slicing — straight from the machine the interior is still a liquid structure, and cutting too early will collapse it into a gummy mass. Once cool, slice with a serrated knife to reveal the soft, even crumb.
Tips for the Best Results
Confirm your machine has a quick cycle. Not every bread machine calls it “Quick” — Panasonic labels it “Rapid,” Zojirushi uses “Quick,” and many entry-level models simply say “Express.” If you can’t find it in the menu, that model has no proof-shortening program and you’ll need to use the standard 3-hour cycle instead.
Choose light or medium crust. The quick cycle is about an hour shorter overall than standard, and the bake segment is shortened to match. If you pick medium or dark, you’ll often end up with “cooked inside, under-colored outside.” Light or medium keeps the crust just golden while the crumb finishes all the way through.
Keep the yeast fresh. The quick cycle gives yeast roughly a third of the standard time, so any weakness shows up immediately as a flat loaf. Buy small packs, store them sealed in the fridge, and watch the expiration date. To test viability, stir the yeast into 40°C water with a pinch of sugar — bubbles within 5 minutes means it’s alive.
Add water if the dough is too dry. The quick cycle kneads briefly, so a dry dough has no long proof to “recover.” Open the lid 5 minutes into kneading: the dough should be a soft ball that’s tacky but not sticky. Too dry? Add 1 tbsp water. Too wet? Add 1 tbsp flour. Different flour brands absorb water differently, so minor adjustments are normal.
Storage
Cool the loaf completely, then store it cut-side down on a bread board or in a bread box at room temperature for up to 2–3 days. For longer keeping, slice the whole loaf and freeze the slices in a sealed freezer bag for up to 1 month — pull out what you need and toast straight from frozen. Because this is a no-preservative homemade loaf, it dries out faster than store bread, so freezing is the best way to keep it tasting fresh.
FAQ
Why is quick-cycle bread a little shorter than standard?
Because proofing time is cut by nearly half, the dough produces less gas and the loaf typically comes out 1–2 cm shorter. That’s the normal trade-off of the quick cycle. If you want to get closer to standard height, bump the yeast by another 0.25 tsp (to 2.5 tsp), but don’t go beyond that — too much yeast leaves a noticeable yeasty taste.
Does quick bread taste much worse than standard?
The gap is mostly in flavor, not texture. The standard program’s long fermentation builds more flavor compounds (that classic “bread aroma”); the quick loaf tastes plainer. But softness and crumb structure are nearly identical. To fix blandness, add 1 tsp milk powder or 1 tbsp honey to the dough — both bring back some dairy sweetness and aroma.
Can I make quick bread with whole wheat flour?
Yes, but whole wheat is lower in gluten and thirstier, so the short quick cycle is more likely to under-proof and bake heavy. Use a blend of 2 cups bread flour + 1 cup whole wheat, plus 2 extra tbsp water. Pure whole wheat on the quick cycle has a low success rate — the standard whole wheat program is the better choice.
Can the quick cycle make sweet bread with fruit or chocolate?
It can, but add the fruit or chocolate at the beep (the add-in signal) late in kneading, not at the start — otherwise they get crushed and sink to the bottom. The quick cycle still has an add-in chime; open the lid and scatter them in as soon as you hear it.
More Bread Machine Recipes to Try
If you enjoy quick bread machine bakes, these fit right in:
- Bread Machine White Bread — the classic 3-hour standard loaf
- Bread Machine Whole Wheat Bread — the healthy everyday version
- Bread Machine Banana Bread — another quick-bread (cake) option
- Bread Machine Cinnamon Raisin Bread — a sweet breakfast loaf
- Bread Machine Pizza Dough — Friday night pizza
Conclusion
This bread machine quick bread proves you don’t need three hours or any kneading skill to put real, soft, fresh bread on the table. Load the pan, press the Express cycle, and about two hours later you’ve got a warm loaf that beats any supermarket slice. Keep the yeast fresh, pick a light crust, and you’ll have a reliable weekday bake whenever the craving hits.
Nutrition Information (Per Slice, ~1/12 Loaf)
| Nutrient | Amount | % Daily Value |
|---|---|---|
| Calories | 145 kcal | 7% |
| Protein | 4 g | 8% |
| Fat | 3 g | 4% |
| Carbohydrates | 26 g | 9% |
| Sugar | 3 g | 6% |
| Dietary Fiber | 1 g | 4% |
| Sodium | 295 mg | 13% |
| Data source: USDA FoodData Central. Values are approximate. |
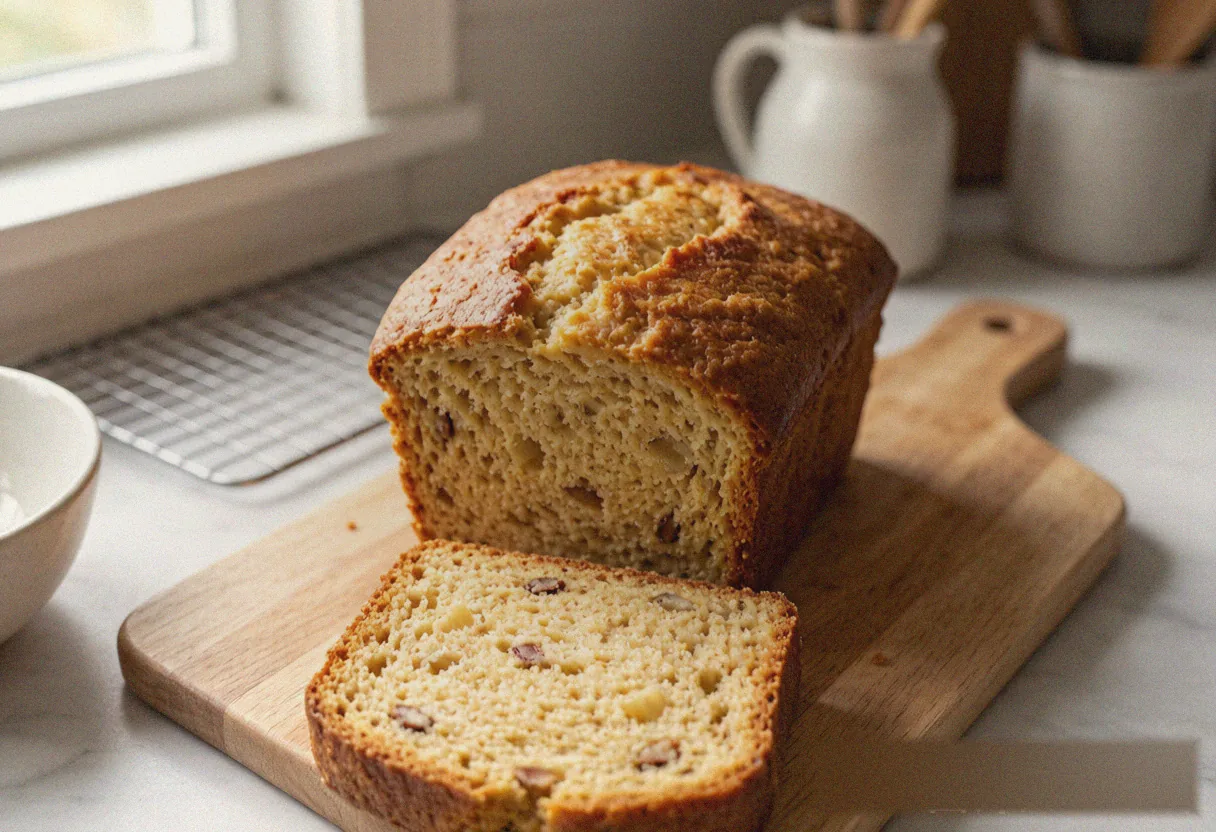
Bread Machine Quick Bread - Soft Sandwich Loaf in 2 Hours
Ingredients
Method
- Step 1: Load Liquids and Dry Ingredients in Order: Follow your bread machine's recommended loading order. Most machines want liquids first: pour in the warm water and softened butter, then add the flour. Make a small well in the flour and add the yeast, then place the salt and sugar in opposite corners. Make sure the yeast never touches the salt or the water directly — salt can inhibit yeast activity on contact.
- Step 2: Lock the Pan into the Machine: Seat the pan firmly until it clicks into place, and check that the kneading paddle is properly installed. A paddle that isn't locked will detach mid-knead, and the dough won't mix evenly — a common beginner stumble that ruins an otherwise good bake.
- Step 3: Select the Quick / Express Cycle: On the menu, choose "Quick," "Express," or "Rapid" (brands name it differently, but all of them shorten the proofing time). Set the loaf weight to 2 lb and the crust to light or medium — the quick cycle bakes for less time, so a medium setting can come out under-colored. Press start and the display should show roughly a 2-hour total.
- Step 4: Let the Machine Work Fast: The quick cycle finishes kneading, a single short proof, and baking in about 40 minutes of active work. Don't open the lid during this time — both proofing and baking are sensitive to temperature and humidity swings. Through the viewing window you'll see the dough rise quickly and turn golden as the bake phase begins.
- Step 5: Remove, Unmold, Cool, and Slice: When the cycle ends, immediately use oven mitts to lift out the pan and invert it to release the loaf. Cool on a wire rack for at least 30 minutes before slicing — straight from the machine the interior is still a liquid structure, and cutting too early will collapse it into a gummy mass. Once cool, slice with a serrated knife to reveal the soft, even crumb.