When you want warm, buttery rolls with dinner but don’t have all afternoon, bread machine quick dinner rolls are the move. The bread machine handles the dirty work — kneading and one proof in about 45 minutes — then you shape the dough, give it a quick second rise, and bake in the oven for 15 minutes. About an hour after you start, a pan of soft, pull-apart, butter-brushed rolls is on the table.
Why You’ll Love These Bread Machine Quick Dinner Rolls
Bread machine quick dinner rolls combine “bread machine does the kneading” with “oven does the fast bake” — the machine only kneads and proofs one round (about 45 minutes), then you portion, shape, and oven-bake for 15 minutes. In about an hour you’ve got a tray of fluffy, stringy, buttery rolls. These bread machine quick dinner rolls are perfect for:
- On the table in 1 hour. Faster than a full machine-baked loaf, because the oven bakes small rolls far quicker than the machine bakes a big loaf.
- Softer and more buttery. Brushed with butter and small in size, rolls are softer and more pull-apart than sandwich toast — amazing with soup or meat.
- The machine does the dirty work. Kneading and proofing go to the machine; you control shaping and baking, so the form is yours (balls, braids, pull-apart).
- Rescues gatherings. Last-minute guests or a holiday extra dish — a hot tray of rolls in an hour earns real points.
Ingredients
- 3/4 cup warm water (about 40°C / 105°F)
- 2.5 cups bread flour
- 3 tbsp butter, softened (used in two stages)
- 2 tbsp granulated sugar
- 1 tsp salt
- 2 tsp active dry yeast
- Extra: melted butter for brushing after baking
Why the Dough cycle instead of a bake-bread cycle? Rolls want “small, soft, buttery, shapeable” — a machine-baked big loaf can’t deliver that texture. The Dough cycle only kneads and proofs (no bake), handing you the dough to shape and send to the oven. The oven’s high heat bakes them fast and locks in softness, and the butter brush adds aroma — that’s the secret to great rolls.
Instructions
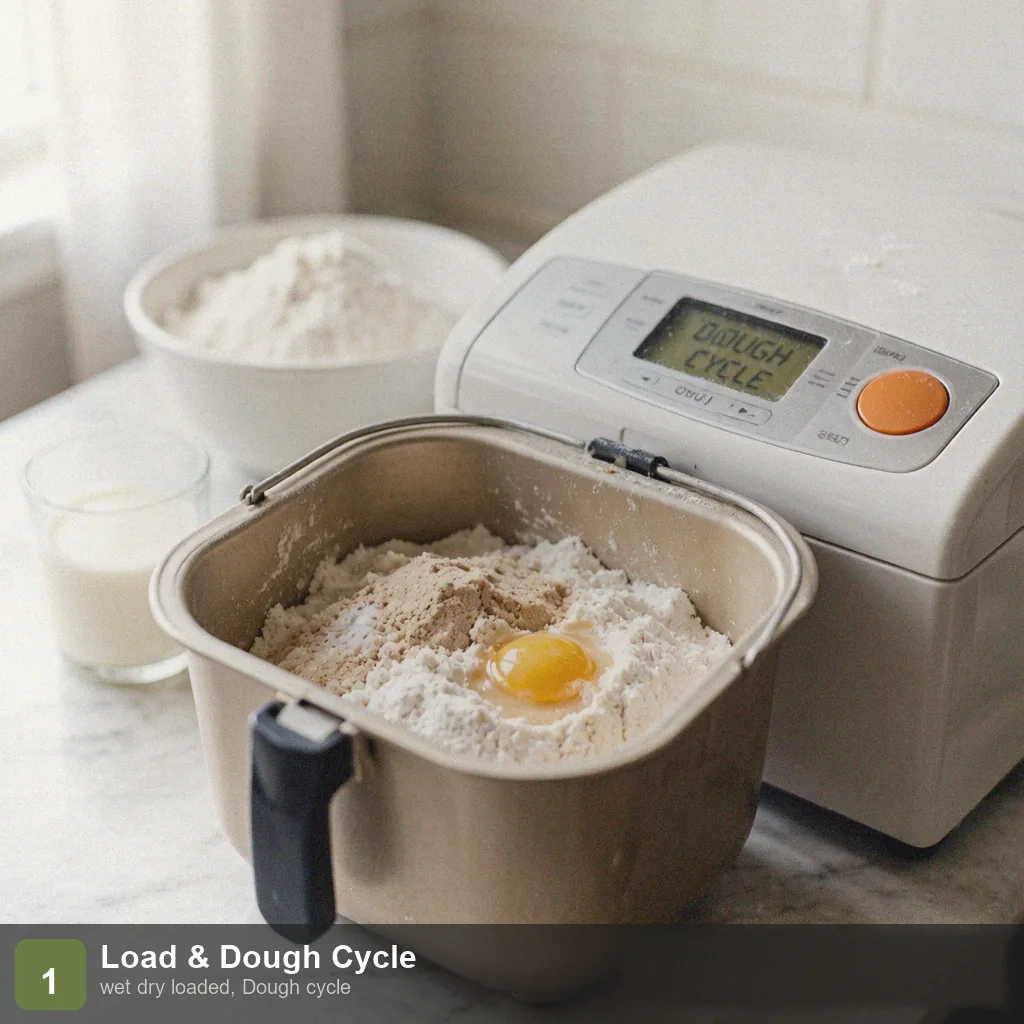
Step 1: Load Wet and Dry Ingredients (Dough Cycle)
Add the warm water and 1 tbsp softened butter first, then the flour. Make a well for the yeast and add it, with salt and sugar in the corners. Select the “Dough” cycle (knead and proof only, about 45 minutes) and press start.
Step 2: Machine Kneads and Proofs About 45 Minutes
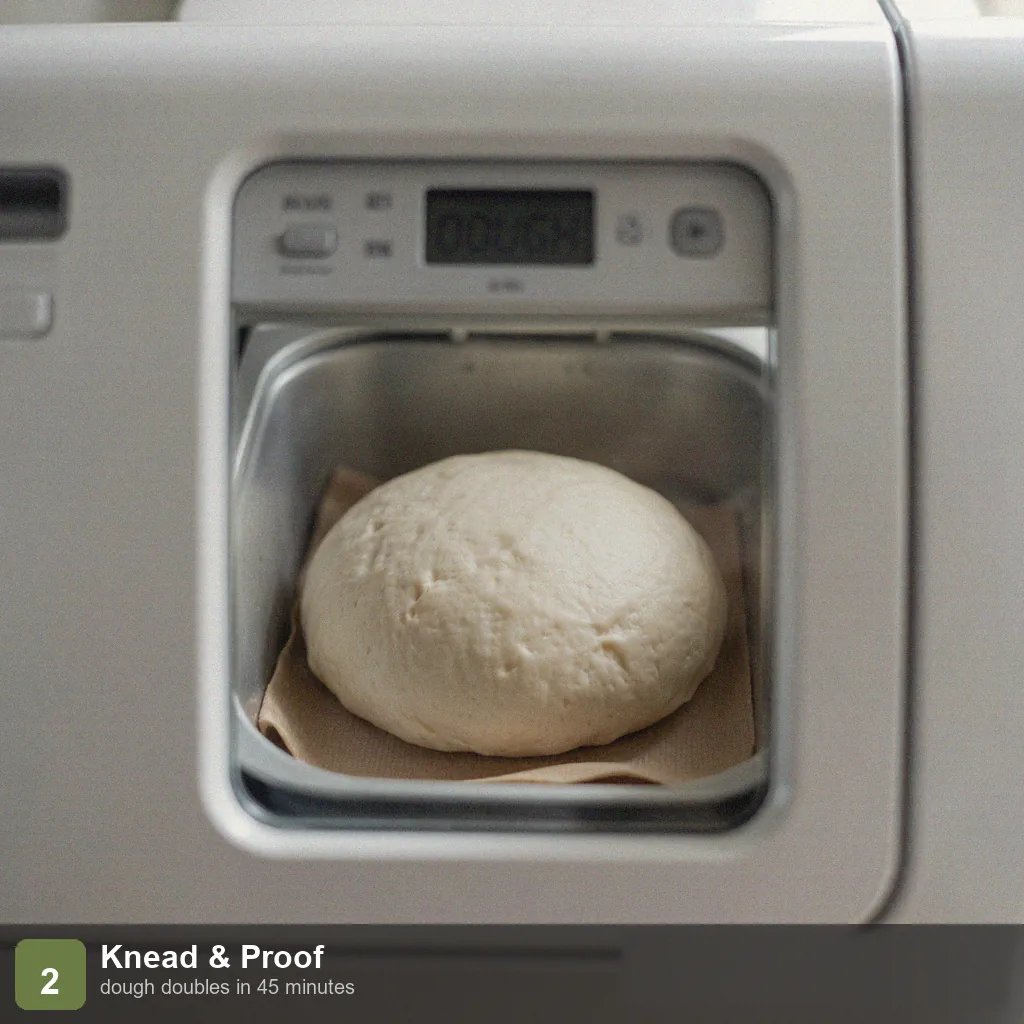
The machine kneads the ingredients into a smooth dough ball and proofs it to about double in size. Don’t open the lid mid-cycle. When proofing finishes, the machine beeps and the dough should be puffy and spring back lightly when pressed.
Step 3: Divide, Shape, and Pan
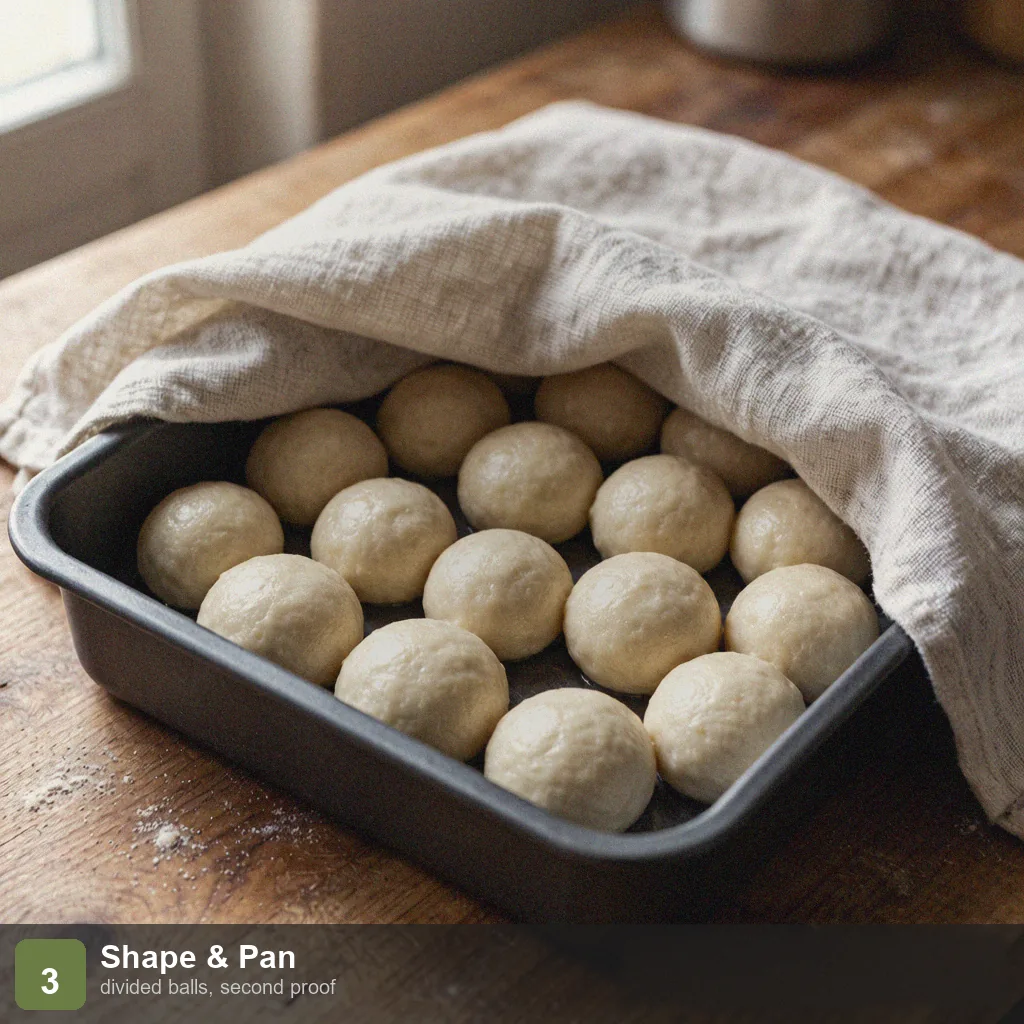
Turn the dough out, pat it down to release air, divide into 9–12 small pieces, and roll each into a ball. Place them in a greased 8-inch pan with space between. Cover with a damp cloth and let them rest for a second proof of 15 minutes.
Step 4: Bake in the Oven at 190°C for 15 Minutes
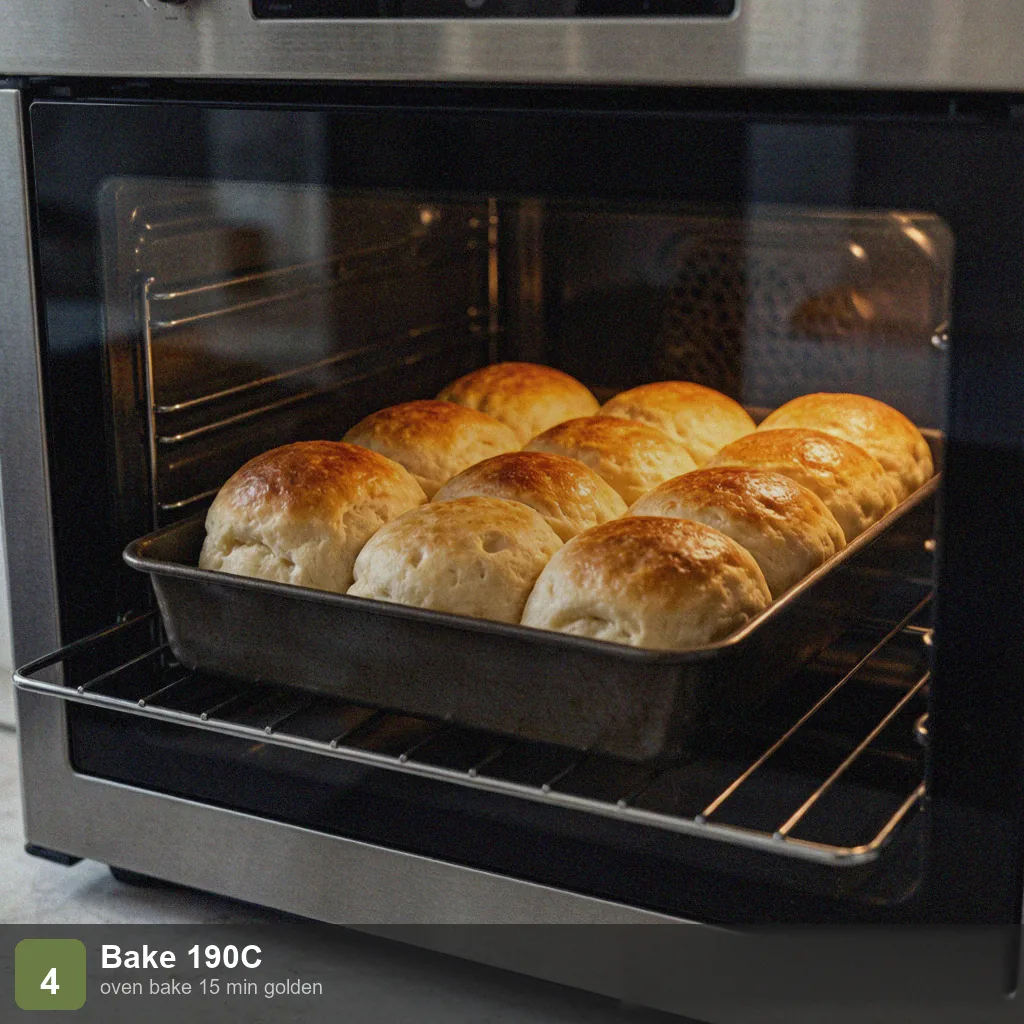
Preheat the oven to 190°C (375°F). Bake the rolls for 12–15 minutes until golden on top. Small rolls bake fast, so watch the last 3 minutes so they don’t over-color.
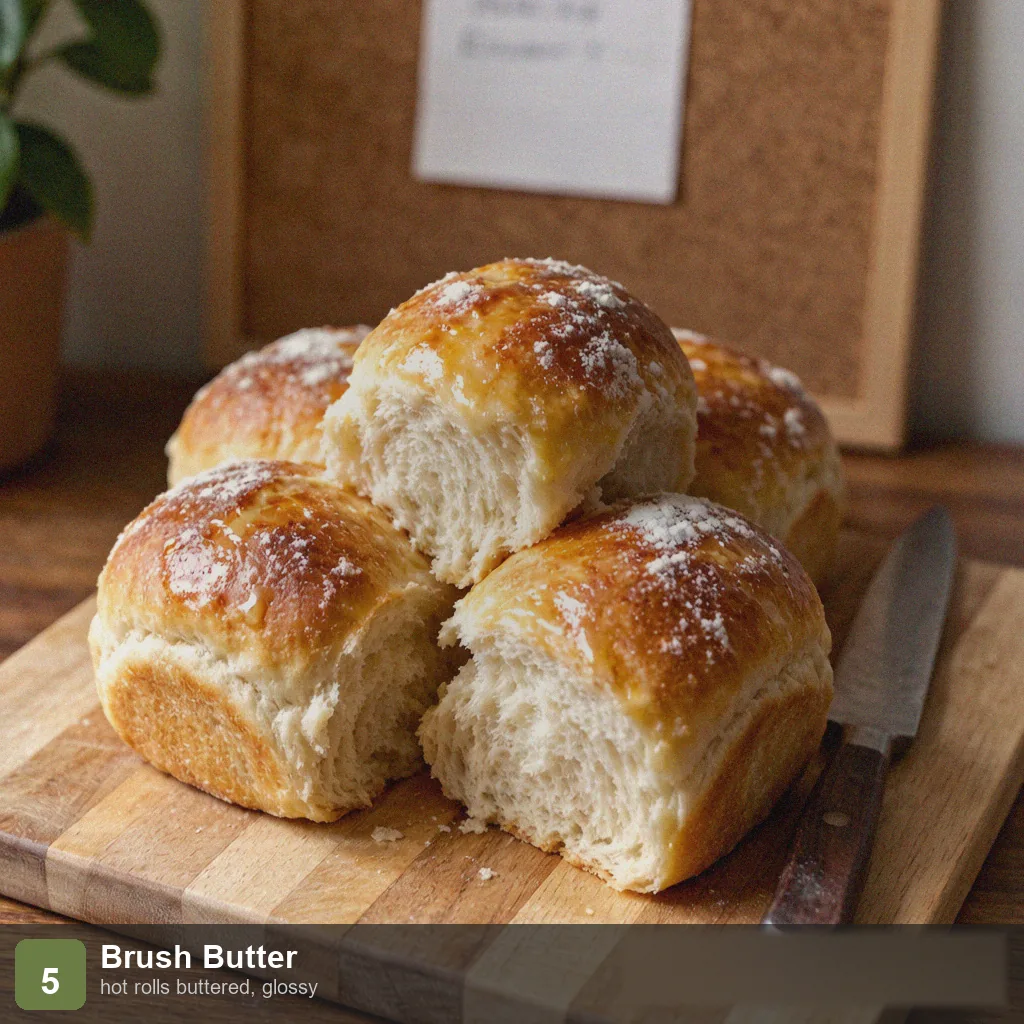
Step 5: Brush with Butter Out of the Oven
The moment they come out, brush the tops with a layer of melted butter — this gives the rolls a glossy surface, a burst of aroma, and extra softness. Let them cool just 5 minutes, then serve; they pull apart best while still warm.
Tips for the Best Results
The Dough cycle is the shortcut for rolls. Machine kneading is easier than hand-kneading and proofs at a stable temperature. You only take over to shape after proofing — that saves at least 20 minutes versus kneading by hand, and it’s far more flexible than a full machine bake.
Don’t skip the second proof. Those 15 minutes of rest after dividing and shaping are what make the rolls soft. Skip them and you get tight, bun-like rolls. Keep the damp cloth on so the surface doesn’t dry into a skin.
Brush the butter while hot. Butter on a hot roll melts and soaks in instantly, creating a glossy top and aroma. Brushed on cold, it just sits on the surface and doesn’t absorb.
Add an egg for softer rolls. Stir 1 egg into the liquids (reduce the water to 1/2 cup to balance moisture) and the rolls come out more yellow, softer, and more pull-apart — close to a store-bought “Hokkaido” roll. That’s the advanced version; beginners should start with the base recipe.
Storage
Cool the rolls, then store them in a sealed container at room temperature for 2–3 days. To keep them longer, freeze the baked rolls and reheat at 150°C (300°F) for about 8 minutes — freezing best preserves the soft texture. Avoid the fridge, which stales them quickly.
FAQ
Can I make the rolls the night before?
Yes, two ways: ① after the Dough cycle proofs the dough, shape it into the pan and refrigerate for an overnight second proof, then bake straight from the fridge the next day; or ② bake the rolls, freeze them, and reheat at 150°C for 8 minutes before serving. Method ② tastes closest to fresh-baked.
Why aren’t my rolls pull-apart and they’re dense?
The most common cause is under-proofing. Check your Dough cycle time — some machines only knead on Dough and don’t fully proof, so you need to extend proofing manually (after kneading, leave the dough in, covered, in a warm spot for 30 minutes). Another cause: not using bread flour, so there isn’t enough gluten for the pull-apart structure.
Can I use milk instead of water?
Yes — milk rolls are softer, more aromatic, and whiter. Use an equal amount of warm milk (or 1/2 cup milk + 1/4 cup water) and keep everything else the same. Note that milk versions color faster in the oven, so watch them closely.
The tops of my rolls cracked?
Cracking usually means over-proofing the second rise (the surface skins, then the oven heat splits it) or too-high oven temperature. Fix: keep the damp cloth on during the second proof, hold the oven at a strict 190°C, and spritz the surface with a little water before baking.
More Bread Machine Recipes to Try
If you like rolls, these round out the table:
- Bread Machine White Bread — the standard loaf
- Bread Machine French Bread — a crusty European loaf
- Bread Machine Pizza Dough — also uses the Dough cycle
- Bread Machine Cinnamon Raisin Bread — a sweet loaf
- Bread Machine Whole Wheat Bread — the healthy everyday loaf
Conclusion
Bread machine quick dinner rolls turn “I want warm bread with dinner” into a done deal in about an hour. Let the machine knead and proof, shape the dough, bake in a hot oven, and brush with butter while hot — and you’ve got a tray of soft, pull-apart rolls that beat anything from a can. Keep the second proof, use bread flour, and they’ll come out perfect every time.
Nutrition Information (Per Roll, ~1/12 Pan)
| Nutrient | Amount | % Daily Value |
|---|---|---|
| Calories | 130 kcal | 6% |
| Protein | 4 g | 8% |
| Fat | 4 g | 5% |
| Carbohydrates | 20 g | 7% |
| Sugar | 2 g | 4% |
| Dietary Fiber | 1 g | 4% |
| Sodium | 220 mg | 10% |
| Data source: USDA FoodData Central. Values are approximate. |
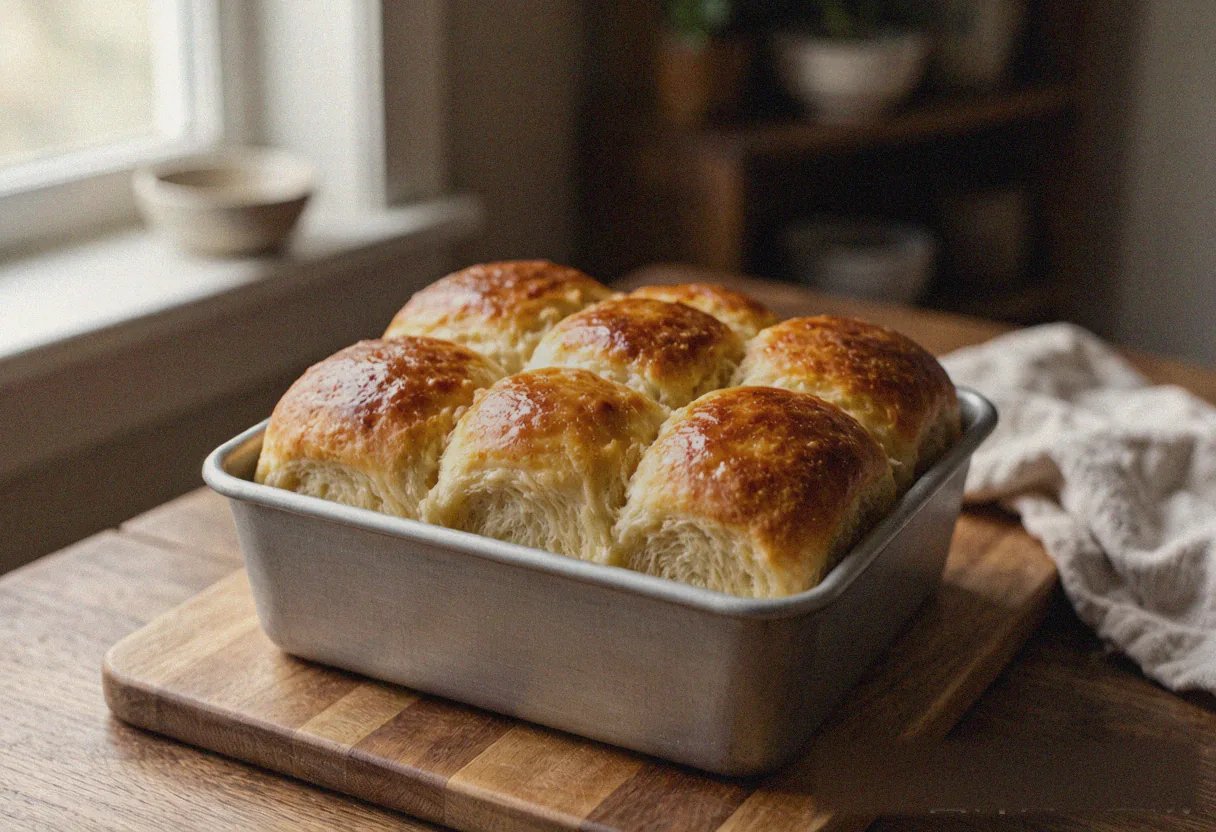
Bread Machine Quick Dinner Rolls - Soft in 1 Hour
Ingredients
Method
- Step 1: Load Wet and Dry Ingredients (Dough Cycle): Add the warm water and 1 tbsp softened butter first, then the flour. Make a well for the yeast and add it, with salt and sugar in the corners. Select the "Dough" cycle (knead and proof only, about 45 minutes) and press start.
- Step 2: Machine Kneads and Proofs About 45 Minutes: The machine kneads the ingredients into a smooth dough ball and proofs it to about double in size. Don't open the lid mid-cycle. When proofing finishes, the machine beeps and the dough should be puffy and spring back lightly when pressed.
- Step 3: Divide, Shape, and Pan: Turn the dough out, pat it down to release air, divide into 9–12 small pieces, and roll each into a ball. Place them in a greased 8-inch pan with space between. Cover with a damp cloth and let them rest for a second proof of 15 minutes.
- Step 4: Bake in the Oven at 190°C for 15 Minutes: Preheat the oven to 190°C (375°F). Bake the rolls for 12–15 minutes until golden on top. Small rolls bake fast, so watch the last 3 minutes so they don't over-color.
- Step 5: Brush with Butter Out of the Oven: The moment they come out, brush the tops with a layer of melted butter — this gives the rolls a glossy surface, a burst of aroma, and extra softness. Let them cool just 5 minutes, then serve; they pull apart best while still warm.