Some people are told by their doctor to eat “almost no sodium” — heart failure, severe hypertension, or mid-stage kidney disease. For them, even a potassium salt substitute is off the table. This bread machine sodium free bread is built for exactly that strict scenario: no salt and no potassium substitute, bringing each slice under 5mg of sodium — only the trace naturally in flour and yeast. It is the lowest-sodium homemade loaf you can make.
Why You’ll Love This Bread Machine Sodium Free Bread
When a care plan says “near zero sodium,” most low sodium recipes still lean on a potassium salt substitute. This bread machine sodium free bread drops that too, landing under 5mg per slice. Here is why it matters.
- Under 5mg sodium per slice — truly zero added. No table salt, no potassium substitute. The only sodium is in the flour itself (bread flour naturally carries about 2mg per 100g). This is the lowest-sodium homemade bread possible.
- Strict diets still get “bread.” Many low sodium eaters think bread is gone for good. This loaf brings back a real staple loaf for sandwiches and sides.
- Just five simple ingredients. Flour, water, yeast, a little sugar, and unsalted butter. Nothing fancy to swap, so the failure rate is low — great for beginners.
- Flavor from technique, not salt. Full fermentation and the right bake draw out the wheat’s natural sweetness. Anyone who knows bread knows good flour tastes good without salt.
Ingredients
- 1 cup + 2 tablespoons warm water (about 40°C / 105°F)
- 3 cups bread flour
- 2 tablespoons unsalted butter, softened
- 1.5 tablespoons white sugar
- 2 teaspoons active dry yeast
- 0 salt, 0 potassium substitute — this is what separates “sodium free” from “low sodium”
What is the real difference between “sodium free” and “low sodium”? Low sodium recipes often use a potassium chloride substitute to fake the salty note — low in sodium, but not zero, and potassium is a problem for kidney patients. “Sodium free” (the FDA defines it as under 5mg per serving) drops the potassium substitute too, leaving only the flour and yeast’s natural sodium (under 5mg per slice). This recipe targets strict sodium- and potassium-limited eaters, so neither salty agent is used. If your doctor limits sodium but not potassium, you may add 1/2 teaspoon of potassium substitute for more flavor.
Instructions
Step 1: Add the Ingredients in Order
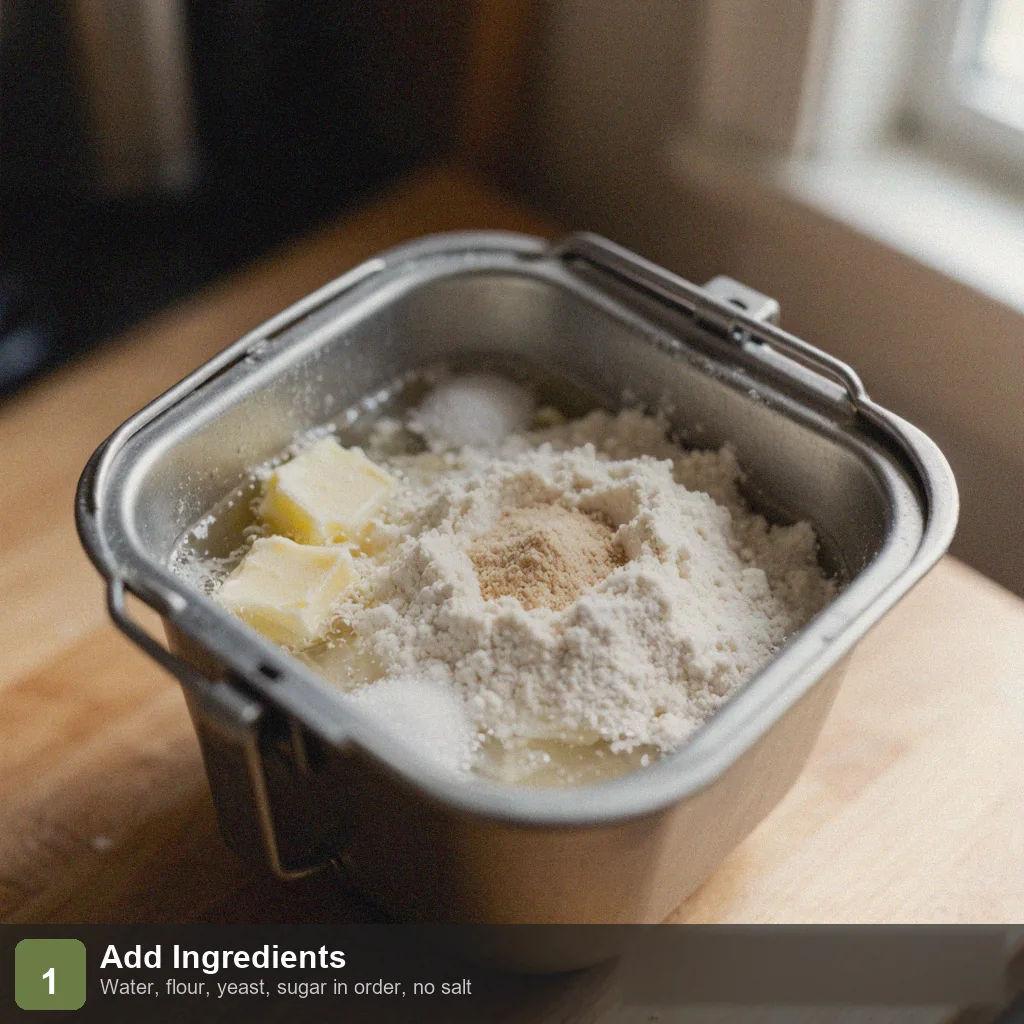
Pour the warm water and softened butter into the pan, add the flour, dig a well and drop in the yeast, and place the sugar in a corner away from the yeast. Because there is no salty agent at all, the flour and yeast order matters even more — keep the yeast out of the liquid. Select “Basic,” 2-pound, medium crust.
Step 2: Seat the Pan and Start
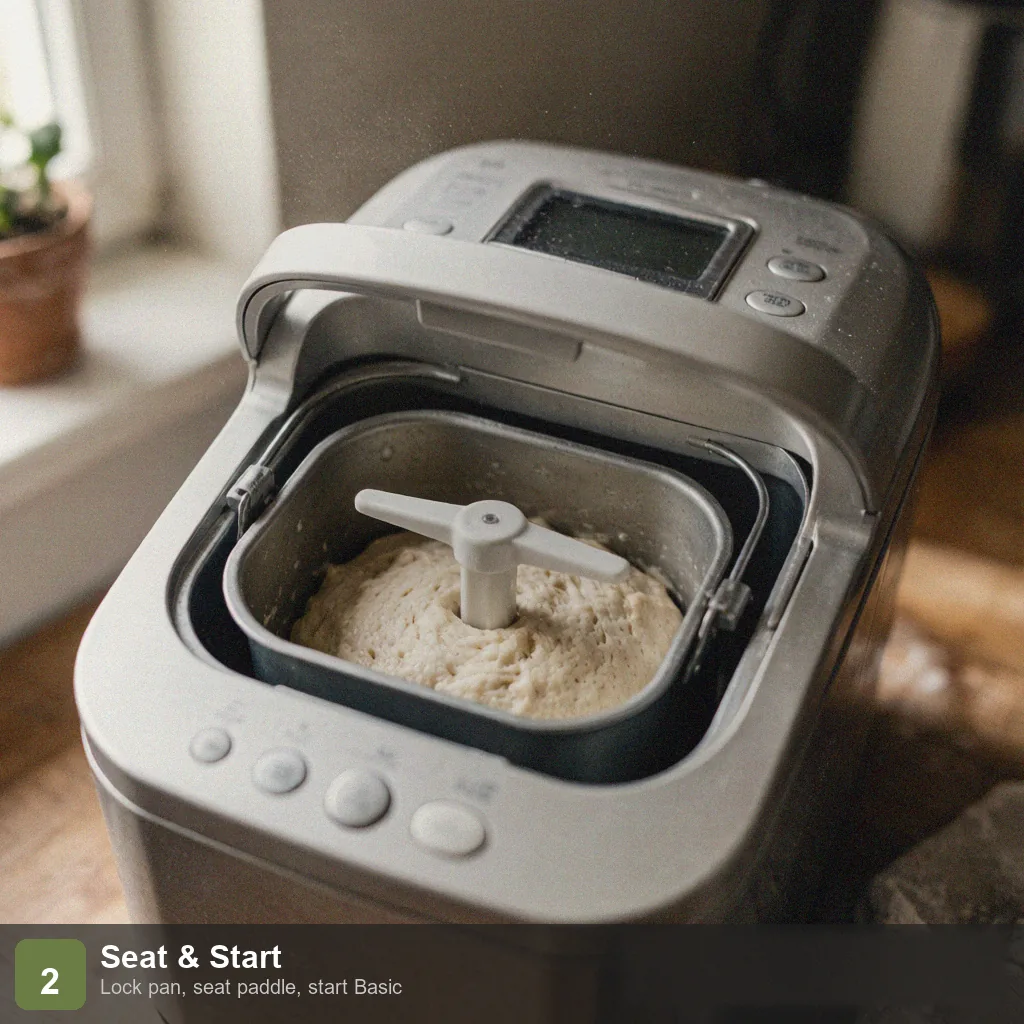
Lock the pan into the machine, confirm the paddle is seated, close the lid, and press start. A sodium-free dough rises a little faster than a salted one (no “brake”), which is normal.
Step 3: Let the Machine Work
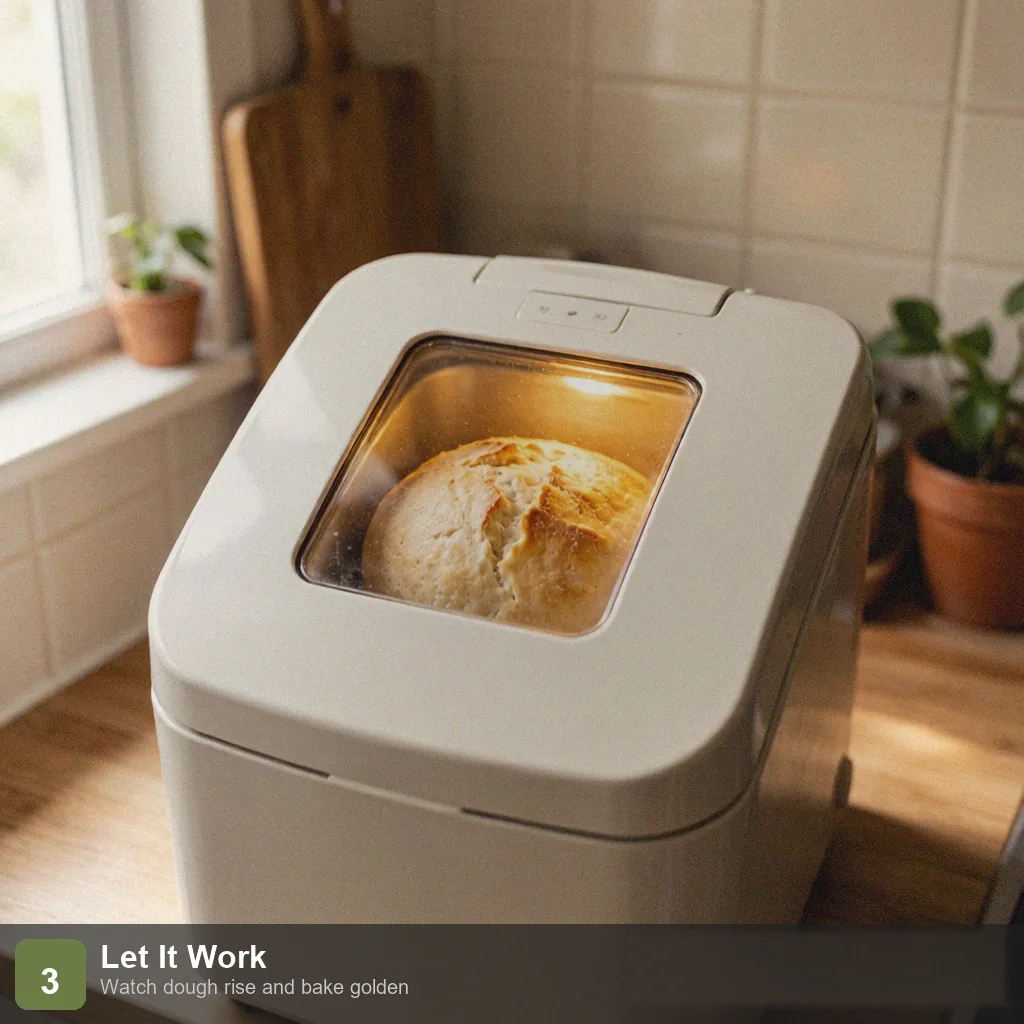
Through the window, watch the dough form a ball, swell, and bake to gold. A no-salt dough may rise a touch higher — do not worry. The full cycle runs about 3 hours.
Step 4: Remove and De-pan
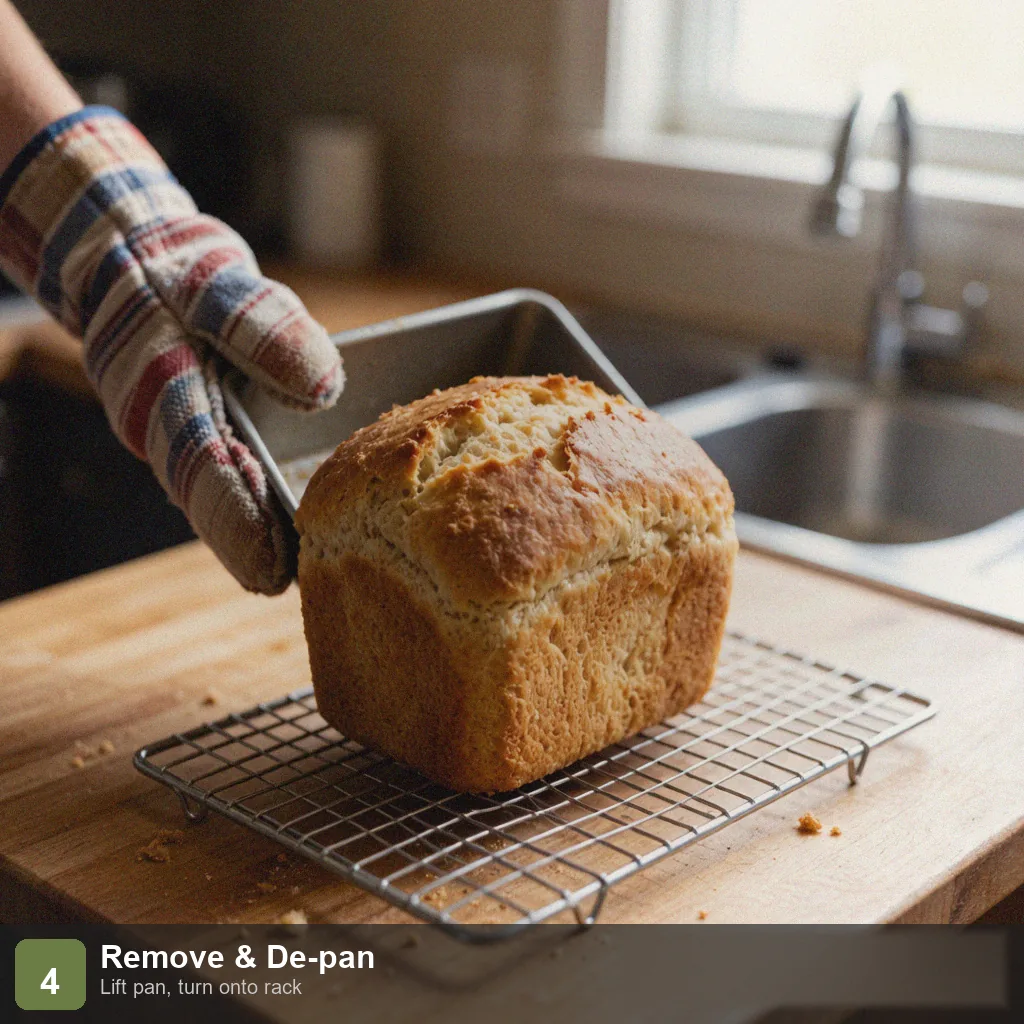
The moment the cycle ends, lift the pan out with mitts and turn it out onto a cooling rack. Because there is no salt to “structure” the crumb, a sodium-free loaf is a bit more likely to slump after baking — so cool it thoroughly (at least 45 minutes) before slicing, or the crumb will compress.
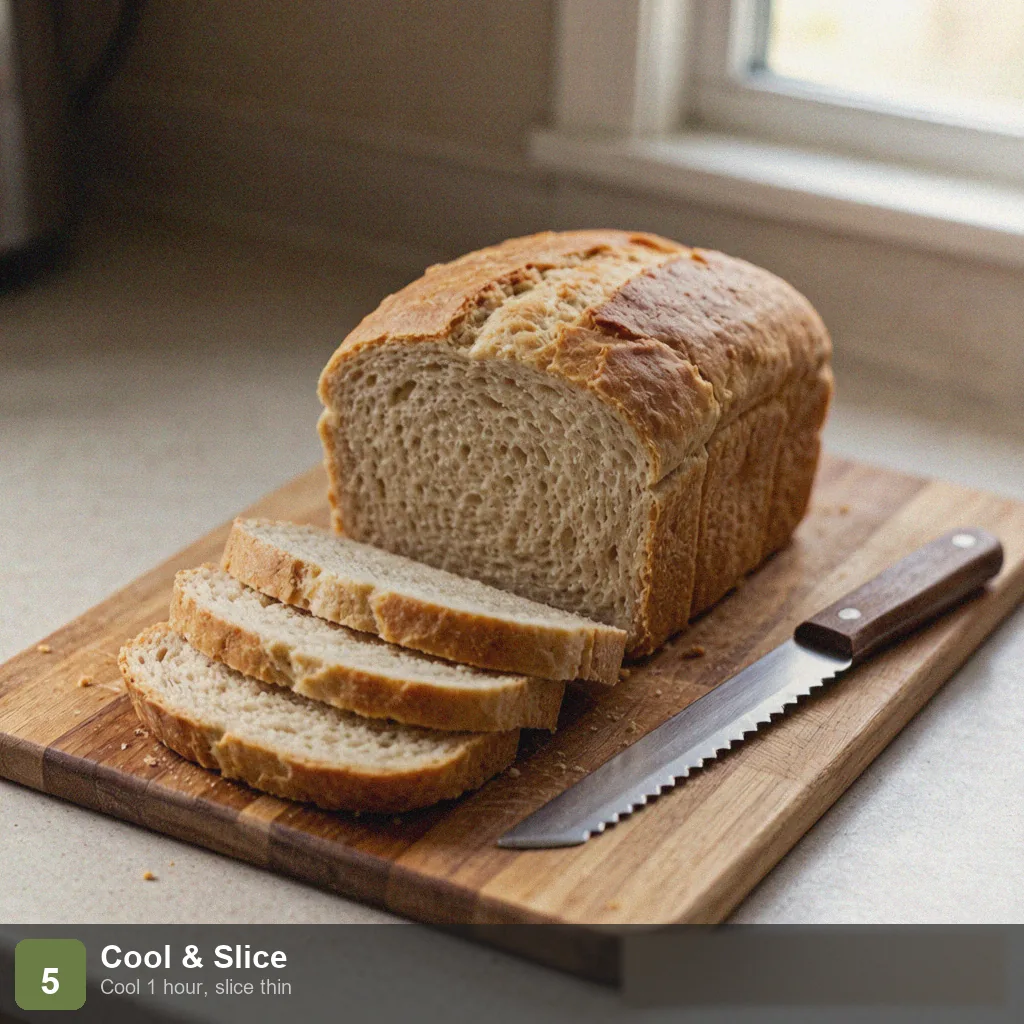
Step 5: Cool Fully and Slice
Wait until the center is just warm — about 1 hour — before slicing with a serrated knife (about 1cm thick). A sodium-free crumb is a little firmer than a salted loaf; that is the natural result of no salt strengthening the gluten, and it does not affect eating.
Tips
A sodium-free loaf collapses more easily — save it with full cooling. Salt strengthens gluten and helps the loaf hold its shape. Without it, the baked crumb has less internal support and will slump if cut hot. The only fix is to cool completely (center just warm, about 1 hour) before slicing. In a rush, chill it 20 minutes in the fridge to speed cooling.
Here, sugar is not “sweet” — it is yeast food and structure help. Strict sodium control is not sugar control. The 1.5 tablespoons of sugar keeps the yeast active and the crust nicely browned. You can drop to 1 tablespoon, but the loaf will be shorter and paler.
Flour quality decides how good a no-salt loaf tastes. With no salt to hide behind, the flour’s true character shows. Use a quality bread flour at 12–14% protein (labeled “bread flour”). Cheap flour can leave a raw, pasty taste in a salt-free loaf.
Do not open the lid to check the rise. A no-salt dough ferments fast; each lid opening drops the temperature and can leave the loaf short. Except for a quick moisture check after 5 minutes of kneading, trust the machine.
Freezing is required, not optional. With neither salt nor much sugar to preserve it, this loaf goes dry in 1 day at room temperature and may mold by day 2. Slice, seal, and freeze; crisp in a toaster or a 160°C (320°F) oven for 3 minutes and it returns to about 90% fresh.
Storage
Slice the fully cooled loaf, pack in a sealed freezer bag, and freeze for up to 1 month. Avoid room-temperature storage beyond a single day. From frozen, a toaster or 160°C (320°F) oven for 3 minutes restores the soft crumb.
FAQ
With no salt at all, is the bread safe? Could there be bacteria?
Safe. The bread machine’s bake stage reaches 190°C (374°F) and higher, more than enough to kill yeast and any stray microbes. Salt in bread is a flavor and texture agent, not a preservative. The only “cost” of a sodium-free loaf is a shorter shelf life, solved by freezing.
Why leave out the potassium substitute too?
Because this recipe serves people who limit sodium and may also limit potassium (such as chronic kidney disease). A potassium chloride substitute is harmless for normal kidney function and restores saltiness, but harmful for those who must limit potassium. If you only limit sodium, not potassium, add 1/2 teaspoon of potassium substitute for much better flavor.
Can I make a whole wheat sodium-free version?
Yes. Swap the bread flour for whole wheat (or a 1:1 bread-whole wheat mix) and add 1 extra tablespoon of water. Whole wheat sodium-free bread is higher in fiber, but with no salt its crumb is firmer than the salted whole wheat version — that is normal.
Does “sodium free” here match what my doctor means?
The FDA’s “sodium free” standard is under 5mg of sodium per serving. This recipe runs about 3–5mg per slice (all from the flour and yeast), which meets that definition. Your specific eating plan is a medical decision — follow your doctor’s advice; this recipe is not medical guidance.
Conclusion
This bread machine sodium free bread shows that even a strict, near-zero-sodium plan does not have to give up real bread. At under 5mg of sodium per slice and just five ingredients, it is the most careful loaf in this series.
More Low Sodium Recipes
For a strict low sodium plan, also see:
- Bread Machine Low Sodium Bread — the looser version that allows a potassium substitute
- Bread Machine Low Sodium Whole Wheat Bread — the high-fiber version
- Low Sodium Vegetable Soup — a warming low sodium bowl
- Low Sodium Salad Dressing — a no-salt topping to pair with bread
- Low Sodium Baked Chicken Breast — a high-protein main
Nutrition Information (Per Slice, about 1/12 of the loaf)
| Item | Amount | % Daily Value* |
|---|---|---|
| Calories | 130 kcal | 7% |
| Protein | 4 g | 8% |
| Fat | 3 g | 4% |
| Carbohydrates | 23 g | 8% |
| Sugar | 2 g | — |
| Fiber | 1 g | 4% |
| Sodium | 4 mg | <1% |
*Daily values are based on a 2,000 kcal diet. Sodium is estimated from USDA FoodData Central (the natural sodium in flour and yeast); no salt or potassium substitute is added, meeting the FDA “sodium free” definition of under 5mg per serving.
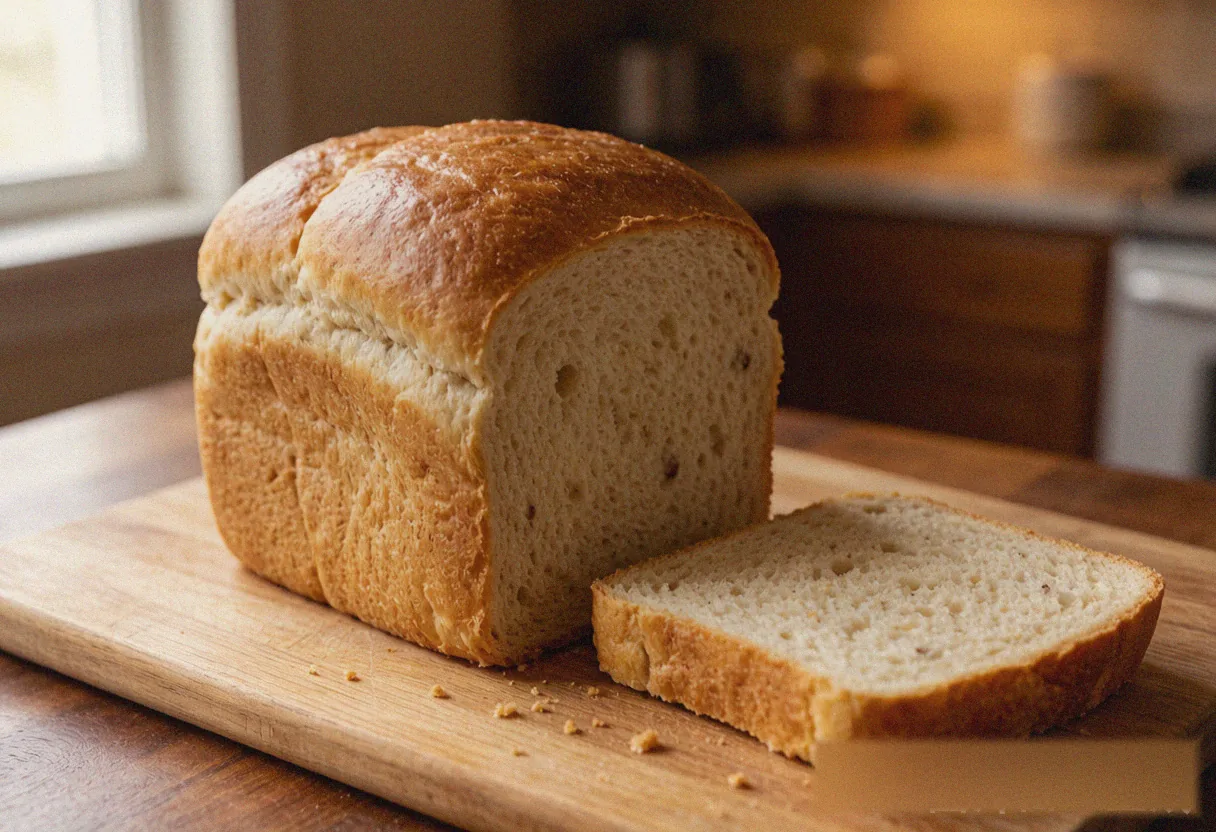
Bread Machine Sodium Free Bread - Truly No Salt
Ingredients
Method
- Step 1: Add the Ingredients in Order: Pour the warm water and softened butter into the pan, add the flour, dig a well and drop in the yeast, and place the sugar in a corner away from the yeast. Because there is no salty agent at all, the flour and yeast order matters even more — keep the yeast out of the liquid. Select "Basic," 2-pound, medium crust.
- Step 2: Seat the Pan and Start: Lock the pan into the machine, confirm the paddle is seated, close the lid, and press start. A sodium-free dough rises a little faster than a salted one (no "brake"), which is normal.
- Step 3: Let the Machine Work: Through the window, watch the dough form a ball, swell, and bake to gold. A no-salt dough may rise a touch higher — do not worry. The full cycle runs about 3 hours.
- Step 4: Remove and De-pan: The moment the cycle ends, lift the pan out with mitts and turn it out onto a cooling rack. Because there is no salt to "structure" the crumb, a sodium-free loaf is a bit more likely to slump after baking — so cool it thoroughly (at least 45 minutes) before slicing, or the crumb will compress.
- Step 5: Cool Fully and Slice: Wait until the center is just warm — about 1 hour — before slicing with a serrated knife (about 1cm thick). A sodium-free crumb is a little firmer than a salted loaf; that is the natural result of no salt strengthening the gluten, and it does not affect eating.