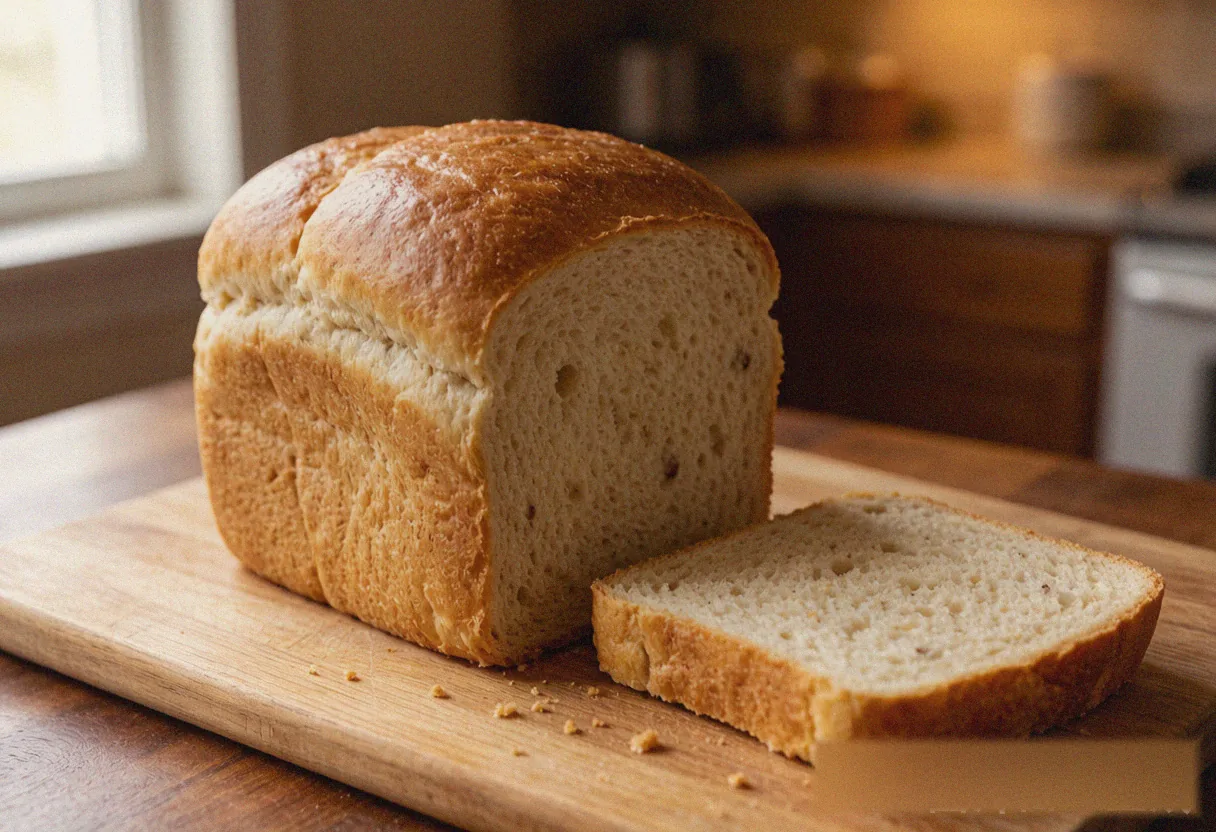
Step 1: Add the Ingredients in Order: Pour the warm water and softened butter into the pan, add the flour, dig a well and drop in the yeast, and place the sugar in a corner away from the yeast. Because there is no salty agent at all, the flour and yeast order matters even more — keep the yeast out of the liquid. Select "Basic," 2-pound, medium crust.
Step 2: Seat the Pan and Start: Lock the pan into the machine, confirm the paddle is seated, close the lid, and press start. A sodium-free dough rises a little faster than a salted one (no "brake"), which is normal.
Step 3: Let the Machine Work: Through the window, watch the dough form a ball, swell, and bake to gold. A no-salt dough may rise a touch higher — do not worry. The full cycle runs about 3 hours.
Step 4: Remove and De-pan: The moment the cycle ends, lift the pan out with mitts and turn it out onto a cooling rack. Because there is no salt to "structure" the crumb, a sodium-free loaf is a bit more likely to slump after baking — so cool it thoroughly (at least 45 minutes) before slicing, or the crumb will compress.
Step 5: Cool Fully and Slice: Wait until the center is just warm — about 1 hour — before slicing with a serrated knife (about 1cm thick). A sodium-free crumb is a little firmer than a salted loaf; that is the natural result of no salt strengthening the gluten, and it does not affect eating.