Step 1: Add All Ingredients to the Pan: Follow your bread machine's recommended ingredient order. Most machines want liquids first: pour the warm water and add the butter to the pan, then add the flour. Make a small well in the flour and add the yeast. Place the salt and sugar in separate corners. Ensure the yeast doesn't directly touch the salt or water.
Step 2: Insert Pan into the Machine: Lock the pan into the bread machine until it clicks into place. Check that the kneading paddle is properly seated — if the paddle isn't secure, it will detach during kneading and the dough won't mix evenly.
Step 3: Select the Basic Bread Cycle: Choose the "Basic" or "White Bread" cycle. This cycle includes the full process: kneading → first proof → shaping → second proof → baking, totaling about 3 hours. Set the weight to 2 pounds and crust color to "Medium." Press start.
Step 4: Let the Machine Work: Don't open the lid during the cycle — temperature and humidity fluctuations will disrupt proofing. Through the viewing window, you can watch the dough transform from a pile of loose flour into a smooth dough ball, gradually expanding to nearly fill the pan, then setting and turning golden during the bake phase. The machine controls temperature and timing automatically throughout.
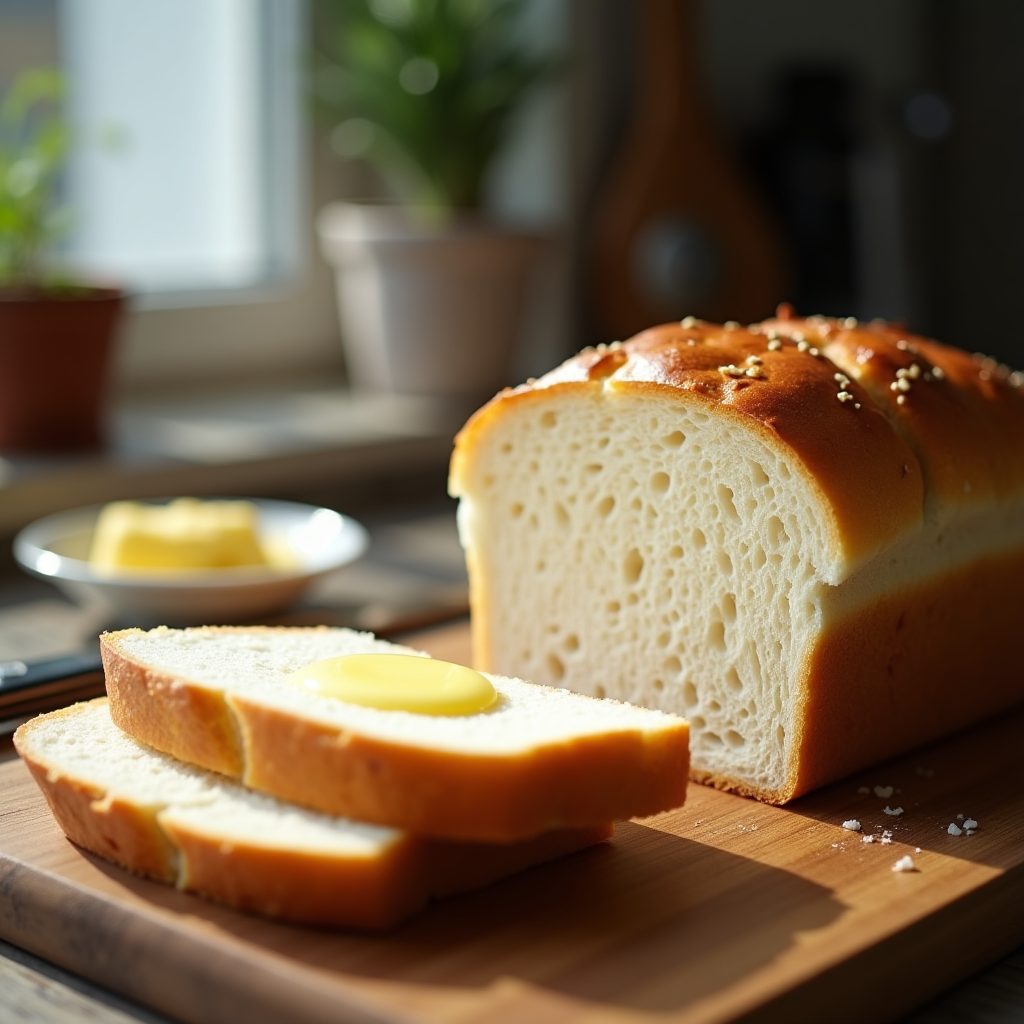
Step 5: Remove, Cool, and Slice: When the cycle ends, immediately use oven mitts to remove the pan. Invert to release the loaf — if it sticks, run a silicone spatula around the inside edge. Cool on a wire rack for at least 30 minutes. Once cooled, slice with a serrated knife to reveal the square cross-section and soft white crumb. A perfect white bread slice has uniform small air pockets, springs back when pressed, and doesn't stick to the knife.