Low Sodium Stir Fry Chicken
When your doctor says “cut back on salt,” stir fry is probably the last thing you’d expect to keep on your menu. One tablespoon of regular soy sauce packs over 900mg of sodium — and most stir fry recipes call for two or three. This low sodium stir fry chicken proves that cutting salt doesn’t mean cutting flavor. By swapping regular soy sauce for a low-sodium version and layering aromatics like garlic, ginger, and scallion, you get a glossy, savory stir fry that clocks in at just 180mg of sodium per serving.
The secret isn’t complicated. It’s using the right soy sauce, letting aromatics do the heavy lifting for flavor, and finishing with a splash of sesame oil and rice vinegar — two ingredients that boost your perception of savoriness without adding a single milligram of sodium.
Why You’ll Love This Recipe
Health Notice: This recipe is designed for low-sodium diets. The American Heart Association recommends no more than 2,300mg of sodium per day, with an ideal limit of 1,500mg for most adults. Sodium values are estimates based on USDA food composition data. Always consult your healthcare provider before making dietary changes. See our Medical Disclaimer for more information.
- Only 180mg sodium per serving. A standard takeout stir fry easily exceeds 800mg of sodium — often before you even add soy sauce at the table. By switching to low-sodium soy sauce (which cuts sodium by over 50%) and using aromatics instead of salt, this version keeps every bite flavorful while staying firmly in heart-healthy territory.
- Fifteen minutes start to finish. Slice the chicken thin, chop the vegetables while the wok heats up, and everything comes together faster than delivery. On a busy weeknight, that’s the difference between a home-cooked meal and reaching for something far saltier.
- Aromatics replace salt. Minced garlic, ginger, and scallion whites bloomed in hot oil create a flavor base so savory and fragrant that you genuinely won’t notice the missing salt. A splash of rice vinegar adds brightness, and a drizzle of sesame oil at the end brings it all together.
- Protein and vegetables in one pan. Two chicken breasts deliver 28g of lean protein, while broccoli and bell peppers add fiber, vitamin C, and color. One pan, one meal, no extra sides required.
Ingredients You’ll Need
- 2 chicken breasts (about 300g, thinly sliced against the grain)
- 1 small head of broccoli (about 200g, cut into florets)
- ½ red bell pepper, sliced into strips
- ½ yellow bell pepper, sliced into strips
- 3 garlic cloves, minced
- 1 small piece fresh ginger (about 15g), minced
- 2 scallions, white parts cut into segments, green parts reserved for garnish
- 1 tablespoon low-sodium soy sauce (sodium content roughly half of regular soy sauce)
- 1 tablespoon rice vinegar
- 1 teaspoon cornstarch
- 1 teaspoon sesame oil
- 1 tablespoon neutral cooking oil (canola, vegetable, or avocado)
- Pinch of white pepper
Low-sodium soy sauce buying guide: Look for bottles labeled “reduced sodium” or “less sodium” — these typically contain 300–400mg of sodium per tablespoon, compared to 900mg in regular soy sauce. If you can’t find it, coconut aminos are an excellent substitute with only 90mg of sodium per tablespoon and a slightly sweeter flavor profile.
How to Make Low Sodium Stir Fry Chicken
Step 1: Slice and Marinate the Chicken
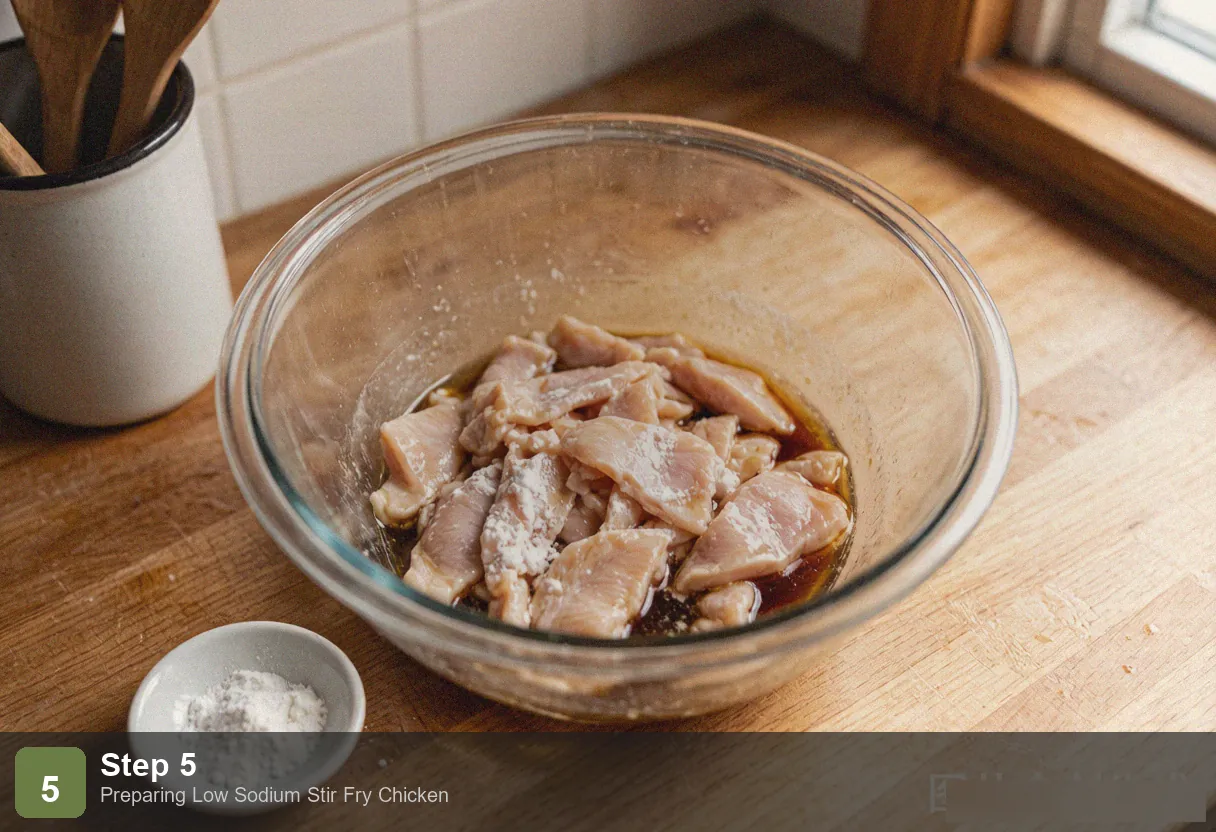
Slice the chicken breasts against the grain into pieces about 3mm thick — thin enough to cook quickly and stay tender. Toss the slices in a bowl with 1 teaspoon of cornstarch, 1 teaspoon of low-sodium soy sauce, and a pinch of white pepper. Use your hands to coat every piece evenly. The cornstarch forms a protective layer around the meat, locking in moisture so the chicken stays juicy through high-heat cooking. Let it marinate for 10 minutes while you prep everything else.
Step 2: Mix the Low-Sodium Sauce
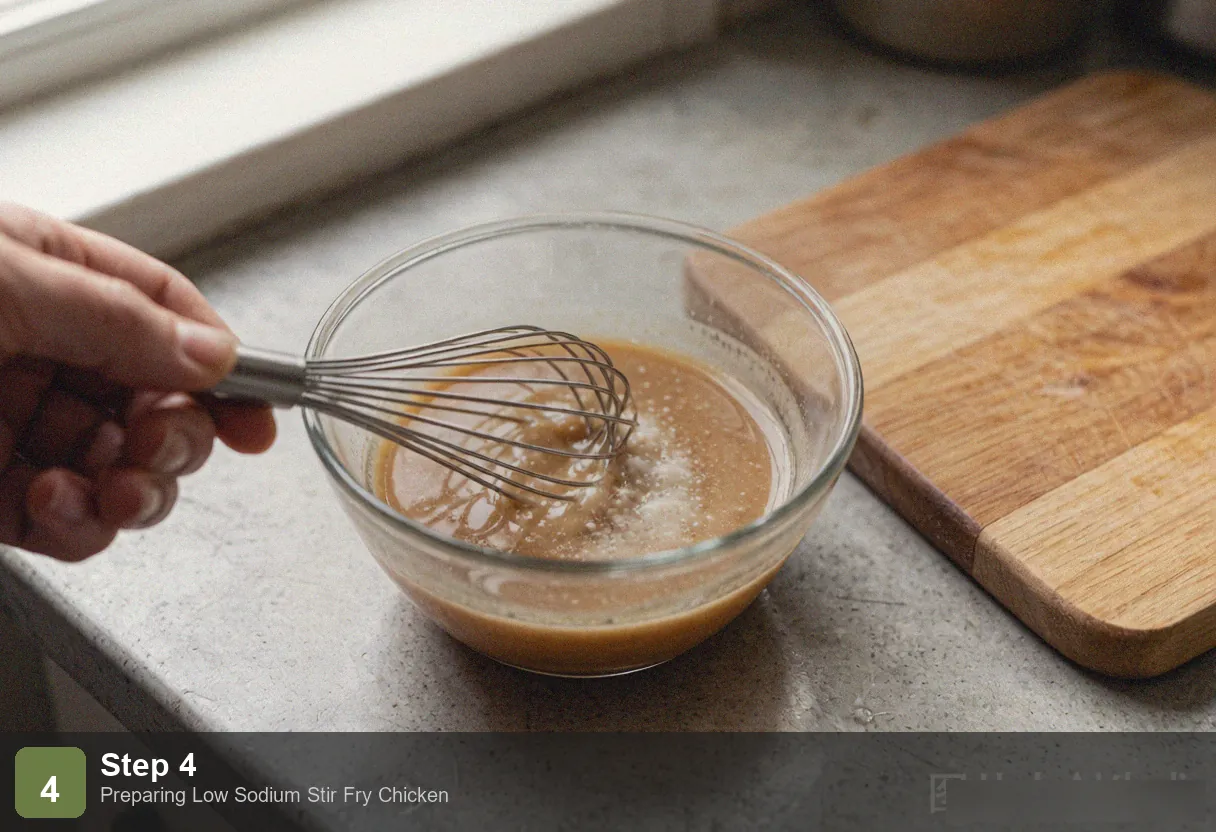
In a small bowl, combine the remaining 1 tablespoon of low-sodium soy sauce, 1 tablespoon of rice vinegar, and 1 teaspoon of cornstarch. Whisk until the cornstarch dissolves completely — no lumps. This sauce is the heart of the dish. The rice vinegar’s acidity amplifies your perception of savoriness, which means your palate registers “well-seasoned” even though the sodium content is a fraction of what you’d get from a regular stir fry. Set the bowl next to the stove so you can grab it fast when the wok is screaming hot.
Step 3: Sear the Chicken Over High Heat
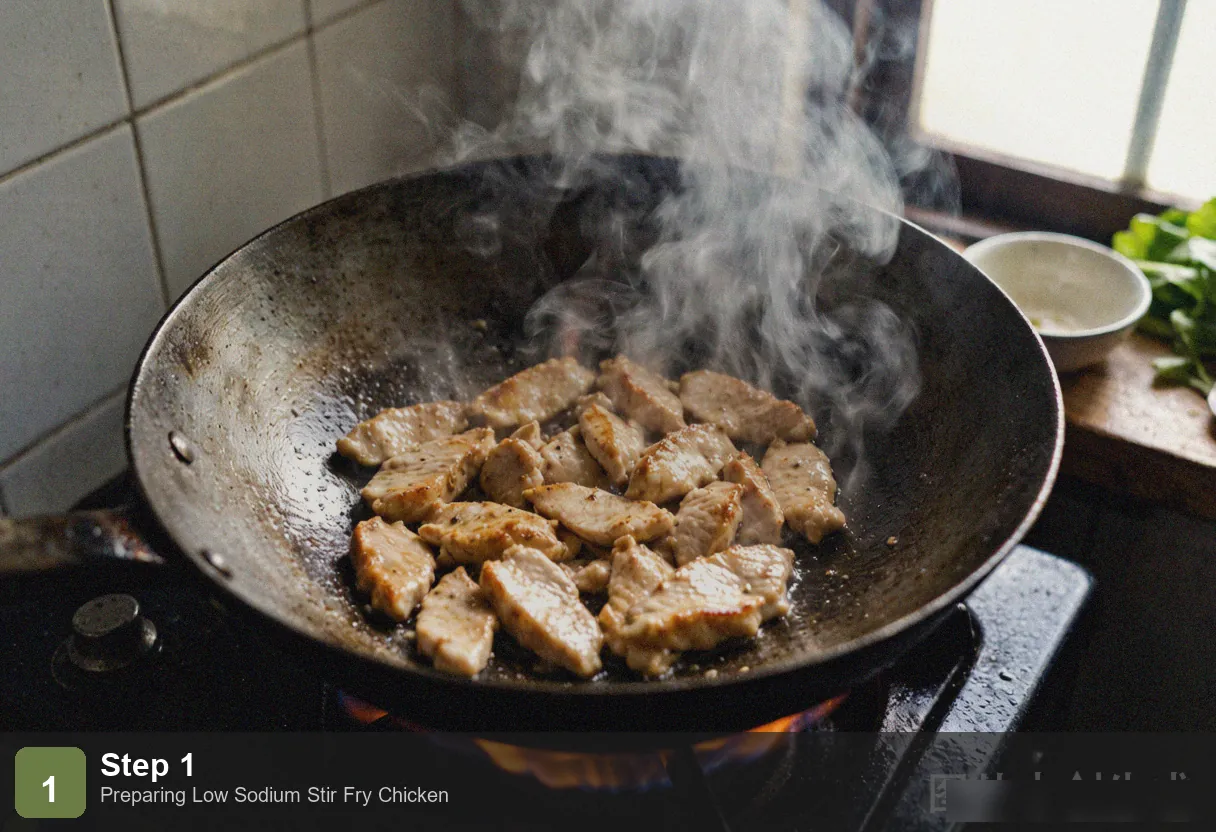
Set a wok or large skillet over high heat until it’s just starting to smoke. Add the cooking oil and swirl to coat the surface. Lay the marinated chicken in a single layer — don’t pile it up or it’ll steam instead of sear. Stir-fry for 2–3 minutes, moving the pieces constantly, until the chicken turns opaque and develops light golden edges. Transfer to a plate immediately. The chicken doesn’t need to be fully cooked through yet; it’ll finish cooking when it goes back in.
Step 4: Stir-Fry the Aromatics and Vegetables
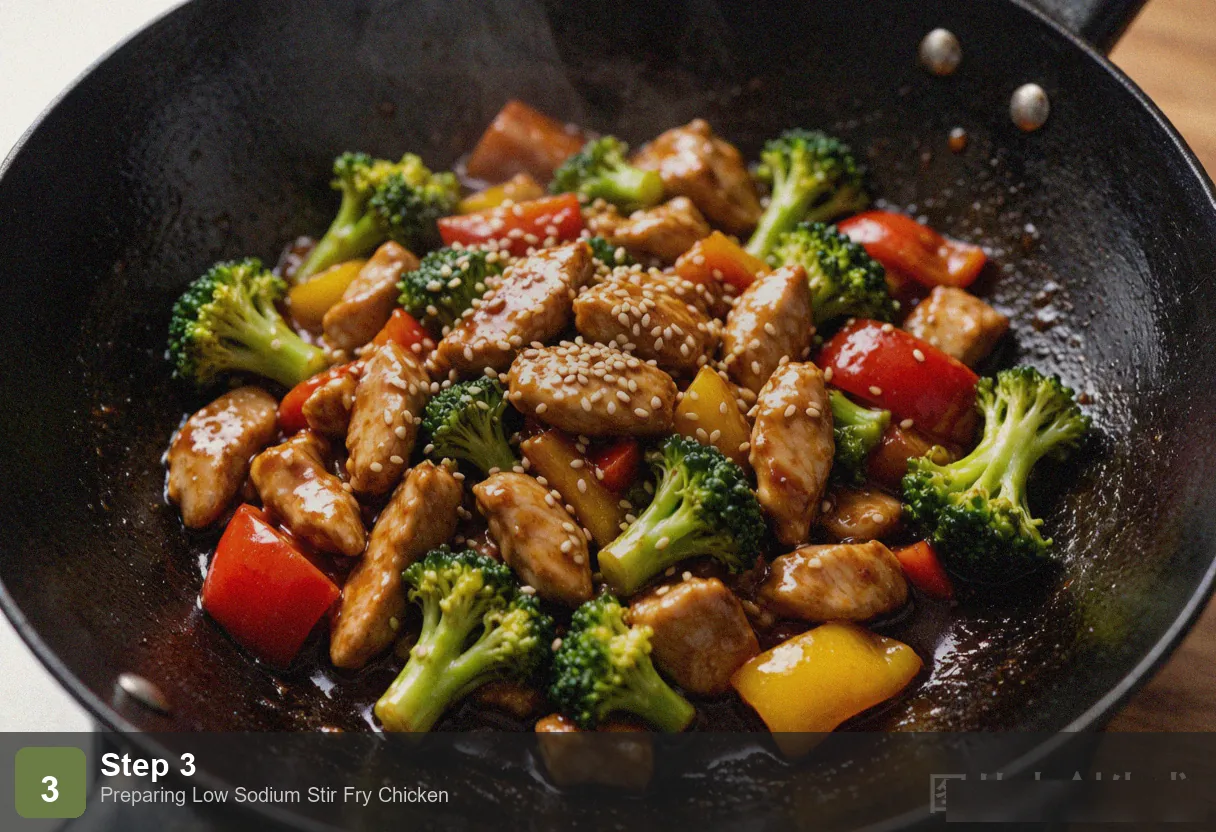
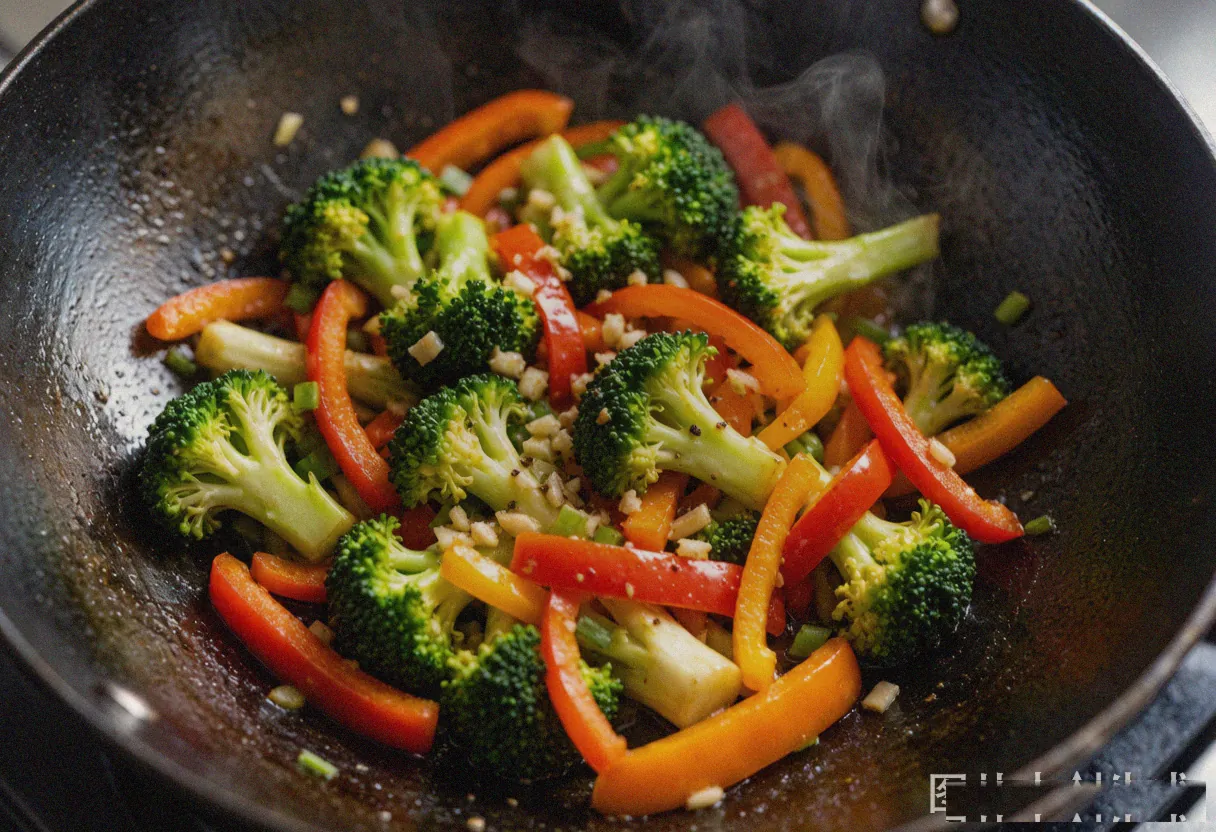
Add another splash of oil to the same wok if it looks dry. Toss in the minced garlic, ginger, and scallion whites. Stir for about 15 seconds — just long enough for the fragrance to bloom, not so long that the garlic burns. Add the broccoli florets and bell pepper strips. Stir-fry over high heat for 2–3 minutes. You want the vegetables to soften slightly while staying crisp. The broccoli should turn bright, vivid green — that’s your visual cue that it’s perfectly cooked.
Step 5: Return the Chicken and Glaze
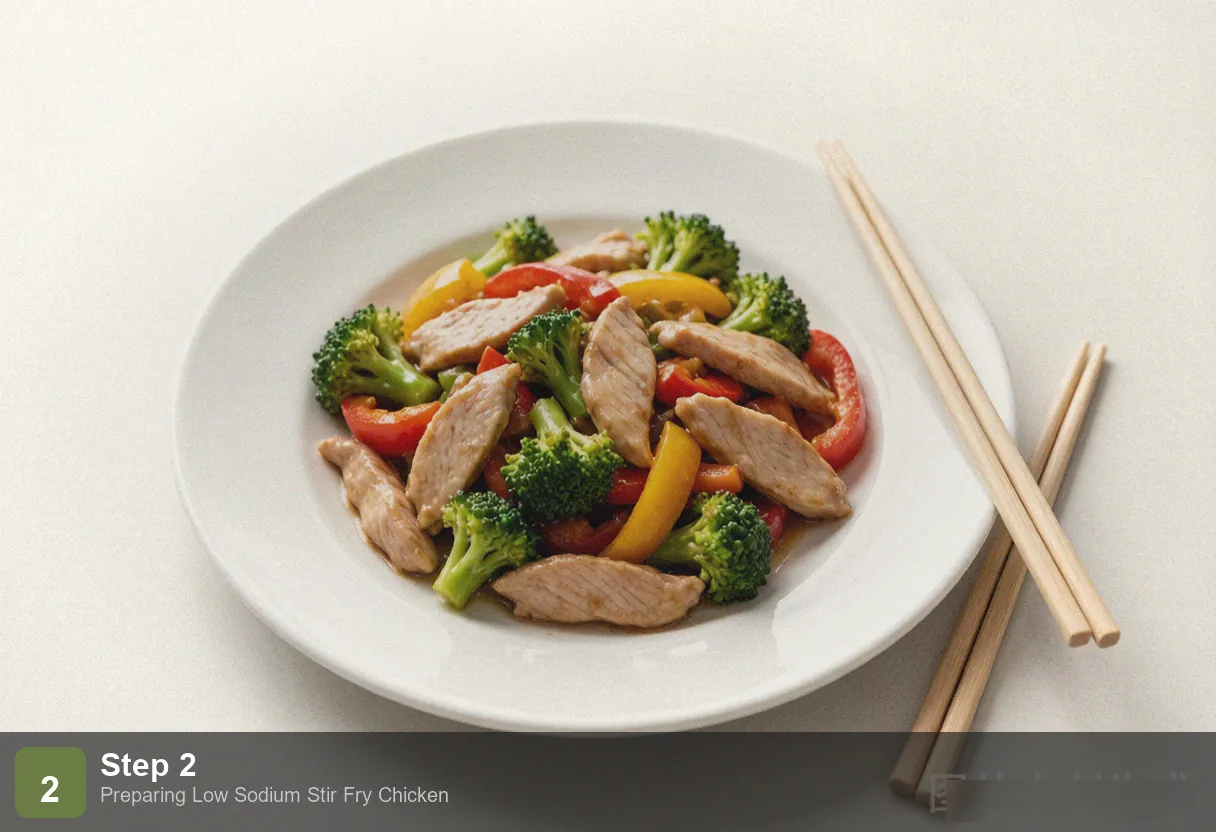
Return the seared chicken to the wok. Give your sauce bowl one last stir (the cornstarch settles), then pour it over everything. Toss rapidly for about 30 seconds — the sauce will thicken almost immediately, turning glossy and clinging to every piece of chicken and every vegetable. Drizzle the sesame oil over the top, toss once more, and kill the heat. Sesame oil loses its aroma when cooked too long, so adding it at the very end preserves its nutty fragrance. Plate and garnish with the reserved scallion greens.
Pro Tips
Cornstarch is your tenderness insurance. Lean chicken breast has almost no fat, which means it dries out fast under high heat. The thin cornstarch coating — a technique called velveting in Chinese cooking — acts like a protective seal, trapping moisture inside the meat. Skip this step and you’ll get dry, stringy chicken no matter how carefully you watch the clock. Potato starch works as a substitute if you don’t have cornstarch.
Low sodium doesn’t mean flavorless. Your brain perceives saltiness through a combination of signals, and both acidity (from the rice vinegar) and umami (from the soy sauce and sesame oil) can enhance that perception. This is why the dish tastes savory and satisfying even with dramatically less sodium. If you’re new to low-sodium eating and find the transition jarring, add an extra teaspoon of rice vinegar to bridge the gap — your palate will adapt within about two weeks.
Vegetables go in last and cook fast. Broccoli and bell peppers are packed with water-soluble vitamin C that degrades under prolonged heat. Two to three minutes of high-heat stir-frying is the sweet spot — enough to take the raw edge off while keeping them crisp-tender and nutrient-rich. If you prefer softer vegetables, blanch the broccoli in boiling water for 1 minute before stir-frying rather than cooking it longer in the wok.
Frequently Asked Questions
Can I use chicken thighs instead of breasts?
Absolutely. Boneless, skinless chicken thighs will give you a juicier, more forgiving result — they stay tender even if you accidentally overcook them slightly. Chicken breast is leaner (about 3g fat per serving vs. 8g for thighs), so choose based on your dietary goals. Cooking time remains the same either way.
What if I can’t find low-sodium soy sauce?
Coconut aminos are the best substitute — only 90mg sodium per tablespoon with a naturally sweet, mild flavor. If those aren’t available either, dilute 1 tablespoon of regular soy sauce with 2 tablespoons of water. It won’t be as low in sodium as the recipe intends, but it’s still significantly better than using full-strength soy sauce undiluted.
Can I meal prep this?
You can refrigerate it for 2–3 days, but I recommend storing the chicken and vegetables separately. Pre-cook the chicken and keep it in one container; wash and chop the vegetables ahead of time and cook them fresh when you’re ready to eat. Stir-fried vegetables lose their crispness after a night in the fridge. Reheat the combined dish in the microwave for 2 minutes or in a hot pan for 90 seconds.
How accurate is the 180mg sodium count?
That figure is calculated based on the recipe as written with a low-sodium soy sauce containing roughly 350mg sodium per tablespoon, divided into 2 servings. Your actual number depends on the specific brand of soy sauce you use and whether you adjust any quantities. Always check the nutrition label on your soy sauce bottle and recalculate if you’re tracking sodium closely.
More Low Sodium Recipes
- Low Sodium Chicken Soup — A classic clear-broth soup that uses blanching and gentle simmering instead of salt for deep flavor
- Low Sodium Vegetable Soup — A plant-based low-sodium option loaded with vegetables and herbs
- Low Sodium Baked Chicken Breast — An oven-baked low-sodium main dish that’s juicy and versatile
- Low Sodium Fried Rice — Transform leftover rice into a satisfying low-sodium meal
Nutrition (per serving, serves 2)
| Nutrient | Amount | % Daily Value |
|---|---|---|
| Calories | 285 kcal | 14% |
| Protein | 28g | 56% |
| Fat | 9g | 12% |
| Carbohydrates | 22g | 8% |
| Fiber | 4g | 16% |
| Sodium | 180mg | 8% |
| Vitamin C | 85mg | 94% |
| Iron | 2.5mg | 14% |
Low Sodium Stir Fry Chicken - Heart Healthy 15 Min
Ingredients
Method
- Step 1: Slice and Marinate the Chicken: Slice the chicken breasts against the grain into pieces about 3mm thick — thin enough to cook quickly and stay tender. Toss the slices in a bowl with 1 teaspoon of cornstarch, 1 teaspoon of low-sodium soy sauce, and a pinch of white pepper. Use your hands to coat every piece evenly. The cornstarch forms a protective layer around the meat, locking in moisture so the chicken stays juicy through high-heat cooking. Let it marinate for 10 minutes while you prep everything else.
- Step 2: Mix the Low-Sodium Sauce: In a small bowl, combine the remaining 1 tablespoon of low-sodium soy sauce, 1 tablespoon of rice vinegar, and 1 teaspoon of cornstarch. Whisk until the cornstarch dissolves completely — no lumps. This sauce is the heart of the dish. The rice vinegar's acidity amplifies your perception of savoriness, which means your palate registers "well-seasoned" even though the sodium content is a fraction of what you'd get from a regular stir fry. Set the bowl next to the stove so you can grab it fast when the wok is screaming hot.
- Step 3: Sear the Chicken Over High Heat: Set a wok or large skillet over high heat until it's just starting to smoke. Add the cooking oil and swirl to coat the surface. Lay the marinated chicken in a single layer — don't pile it up or it'll steam instead of sear. Stir-fry for 2–3 minutes, moving the pieces constantly, until the chicken turns opaque and develops light golden edges. Transfer to a plate immediately. The chicken doesn't need to be fully cooked through yet; it'll finish cooking when it goes back in.
- Step 4: Stir-Fry the Aromatics and Vegetables: Add another splash of oil to the same wok if it looks dry. Toss in the minced garlic, ginger, and scallion whites. Stir for about 15 seconds — just long enough for the fragrance to bloom, not so long that the garlic burns. Add the broccoli florets and bell pepper strips. Stir-fry over high heat for 2–3 minutes. You want the vegetables to soften slightly while staying crisp. The broccoli should turn bright, vivid green — that's your visual cue that it's perfectly cooked.
- Step 5: Return the Chicken and Glaze: Return the seared chicken to the wok. Give your sauce bowl one last stir (the cornstarch settles), then pour it over everything. Toss rapidly for about 30 seconds — the sauce will thicken almost immediately, turning glossy and clinging to every piece of chicken and every vegetable. Drizzle the sesame oil over the top, toss once more, and kill the heat. Sesame oil loses its aroma when cooked too long, so adding it at the very end preserves its nutty fragrance. Plate and garnish with the reserved scallion greens.