Bread Machine French Bread
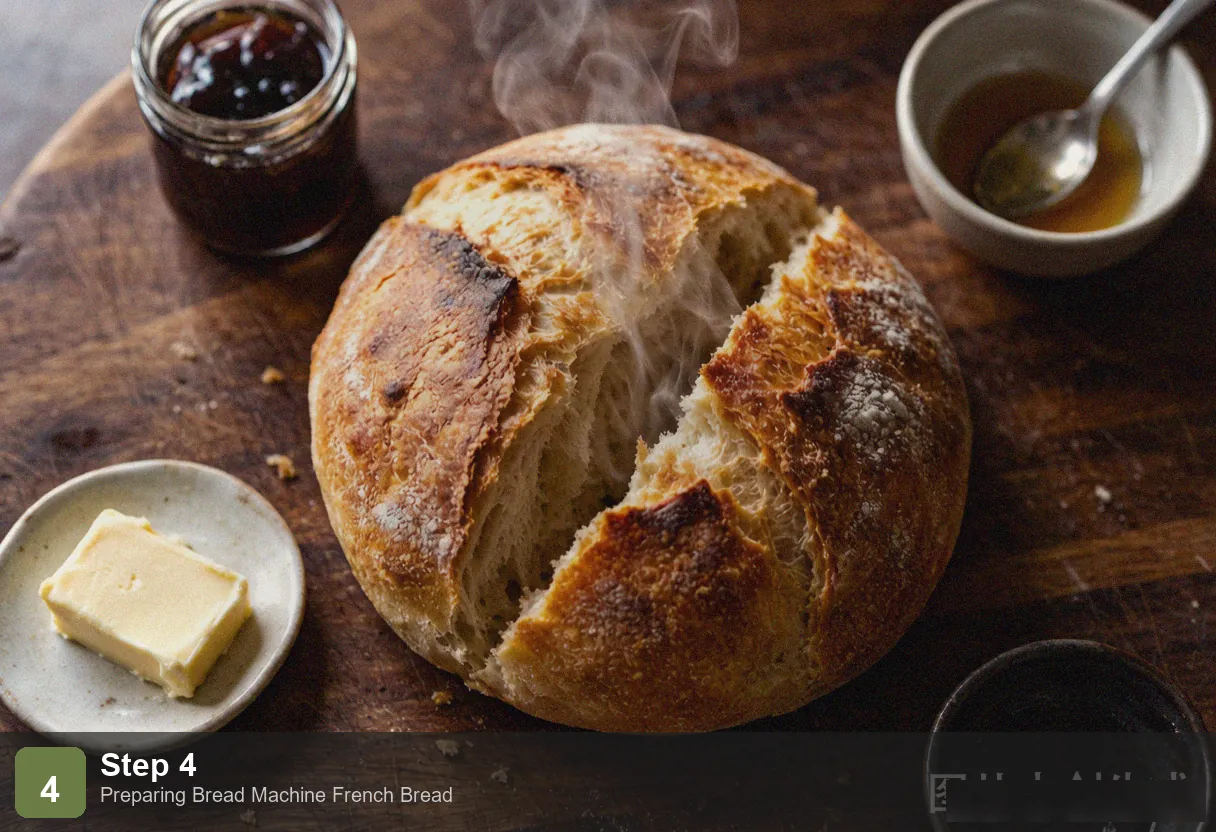
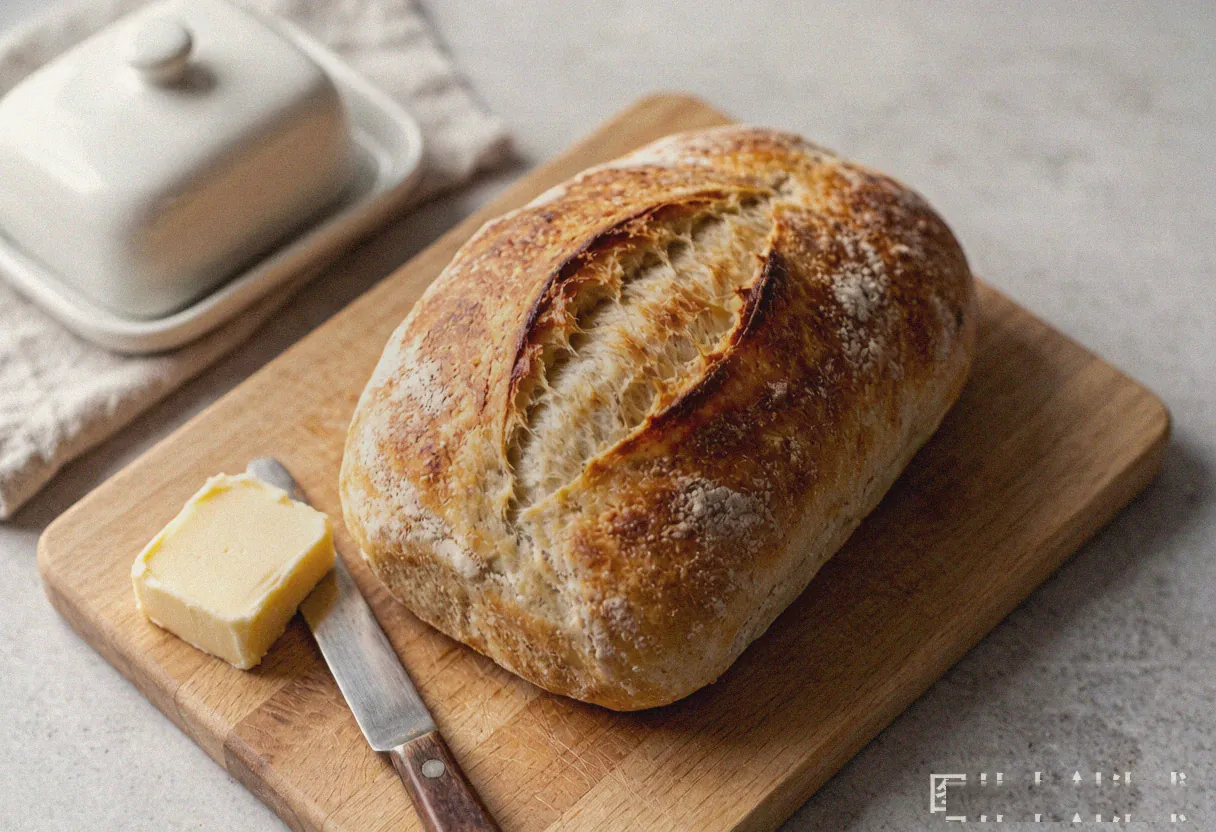
A good bakery baguette costs $3–5. This bread machine french bread costs less than a dollar in ingredients and delivers the same crusty exterior and airy interior, all without you touching the dough a single time. Four basic ingredients — flour, water, yeast, and salt — and a three-hour cycle in the bread machine produce a loaf that cracks audibly when you break it open and tears apart in soft, irregular strands.
The bread machine handles every step: mixing, kneading, two rises, and baking. Your job is weighing a few ingredients and pressing a button. The result is real French bread — not a “bread machine compromise” — with a deep golden crust and a distinctly open, irregular crumb structure.
Why You’ll Love This Recipe
- Genuine bakery-style crust and crumb. The exterior is deep golden and audibly crackly when you break into it. The interior is soft, airy, and studded with the irregular holes that define proper French bread. This isn’t the dense, uniform crumb of typical bread machine loaves — it’s the real thing.
- Zero hand-kneading required. French bread dough is wet and sticky by design — high hydration is what creates those open air pockets. Kneading it by hand is a 15-minute battle with a dough that clings to everything it touches. The bread machine’s paddle does it in 10 minutes without you ever getting flour under your fingernails.
- Four ingredients, nothing else. No eggs, no butter, no milk powder, no enrichments of any kind. Flour, water, yeast, and salt. The simplicity is the point — French bread’s flavor comes from fermentation and a properly developed crust, not from add-ins. This also means the recipe is essentially foolproof: fewer ingredients, fewer ways for things to go wrong.
- Three hours, fully automatic. Load the pan, select the French bread cycle, press start. Three hours later, the machine beeps and you pull out a hot loaf. Your involvement consists of about five minutes of measuring at the beginning and one minute of turning the loaf out at the end.
Ingredients You’ll Need
- 1¼ cups water (300ml, warm at 95–100°F / 35–38°C)
- 3 cups bread flour (about 375g)
- 1½ teaspoons salt
- 1½ teaspoons active dry yeast
- 1 teaspoon granulated sugar (feeds the yeast, doesn’t sweeten the bread)
Bread flour vs. all-purpose flour — it matters here. Bread flour contains 12–14% protein, compared to 10–12% in all-purpose flour. More protein means more gluten development, which means a stronger elastic network that can stretch around the steam bubbles created during baking. That stretch is what produces the large, irregular holes characteristic of French bread. All-purpose flour will work in a pinch, but the crumb will be tighter and more uniform — closer to sandwich bread than baguette.
How to Make Bread Machine French Bread
Step 1: Load Ingredients in the Correct Order
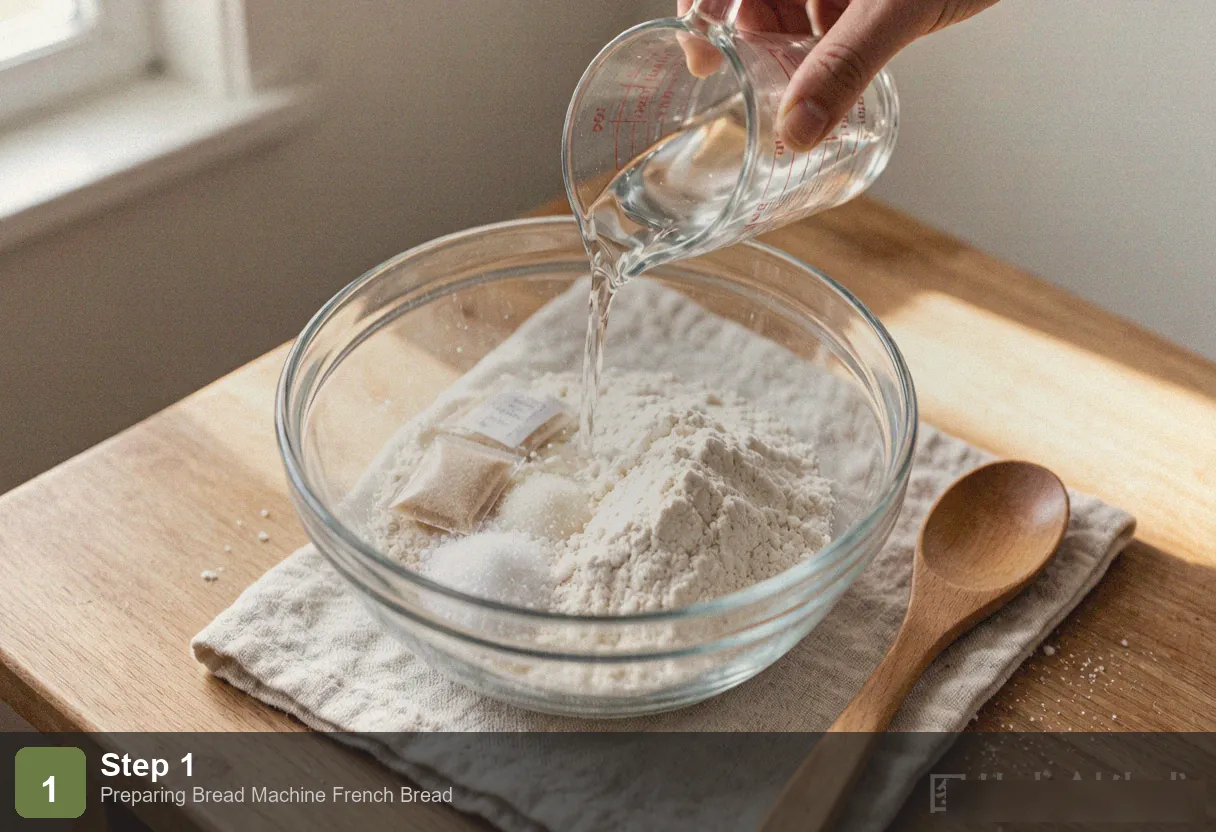
Follow your bread machine manual’s recommended order. For most machines, this means liquids first, then flour, then yeast last. The specific sequence: pour in the warm water, add the flour so it covers the water completely, place the salt and sugar in opposite corners on top of the flour, make a small well in the center of the flour, and pour the yeast into that well. The yeast must not touch the water or salt directly — salt kills yeast on contact, and premature activation in water will exhaust the yeast before kneading even begins.
Step 2: Select the French Bread Cycle
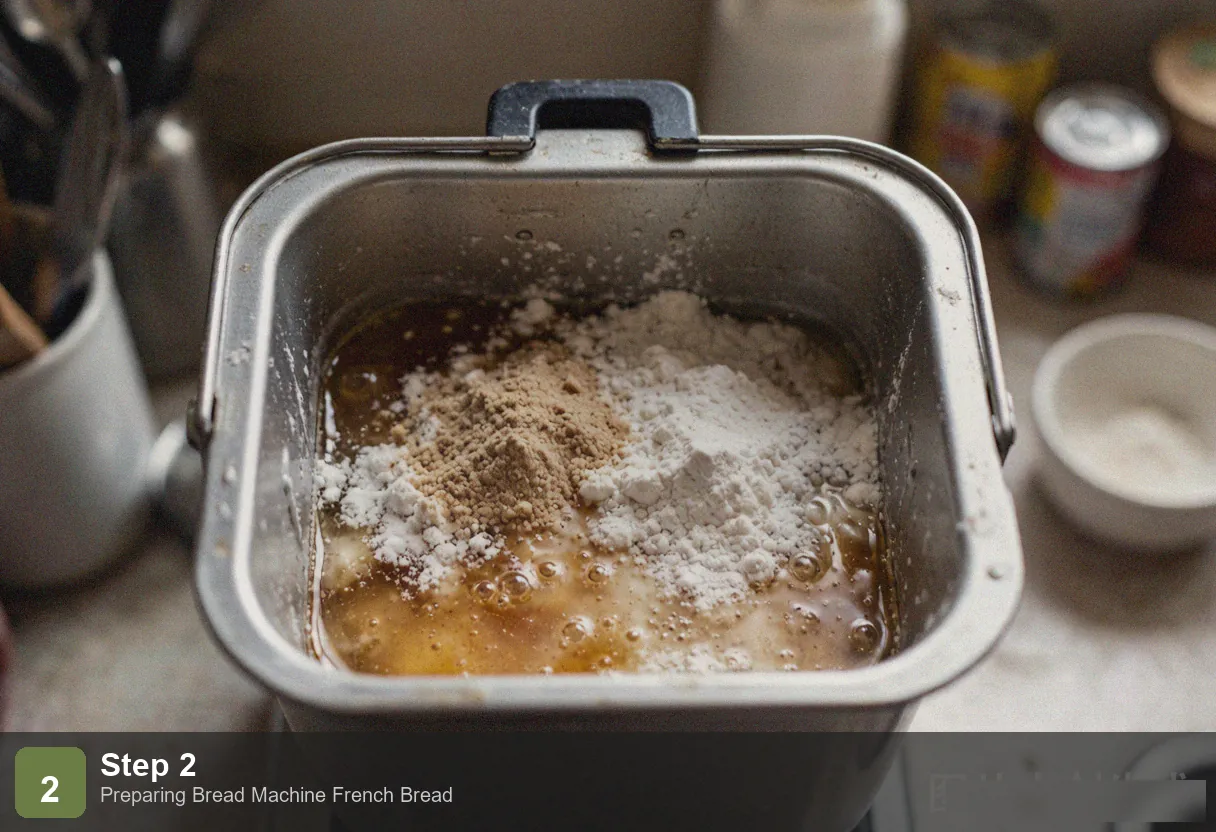
Choose the “French Bread” cycle on your machine. If your model doesn’t have a dedicated French bread setting, use the “Basic White” cycle with loaf size set to 1.5 pounds and crust color set to “Dark.” French bread depends on a dark crust for its characteristic crackly exterior — the caramelization of the flour’s surface starches creates both the color and the flavor. Press start. The machine will now handle kneading, first rise, punch-down, second rise, and baking — roughly 3 hours total.
Step 3: Check the Dough During Kneading
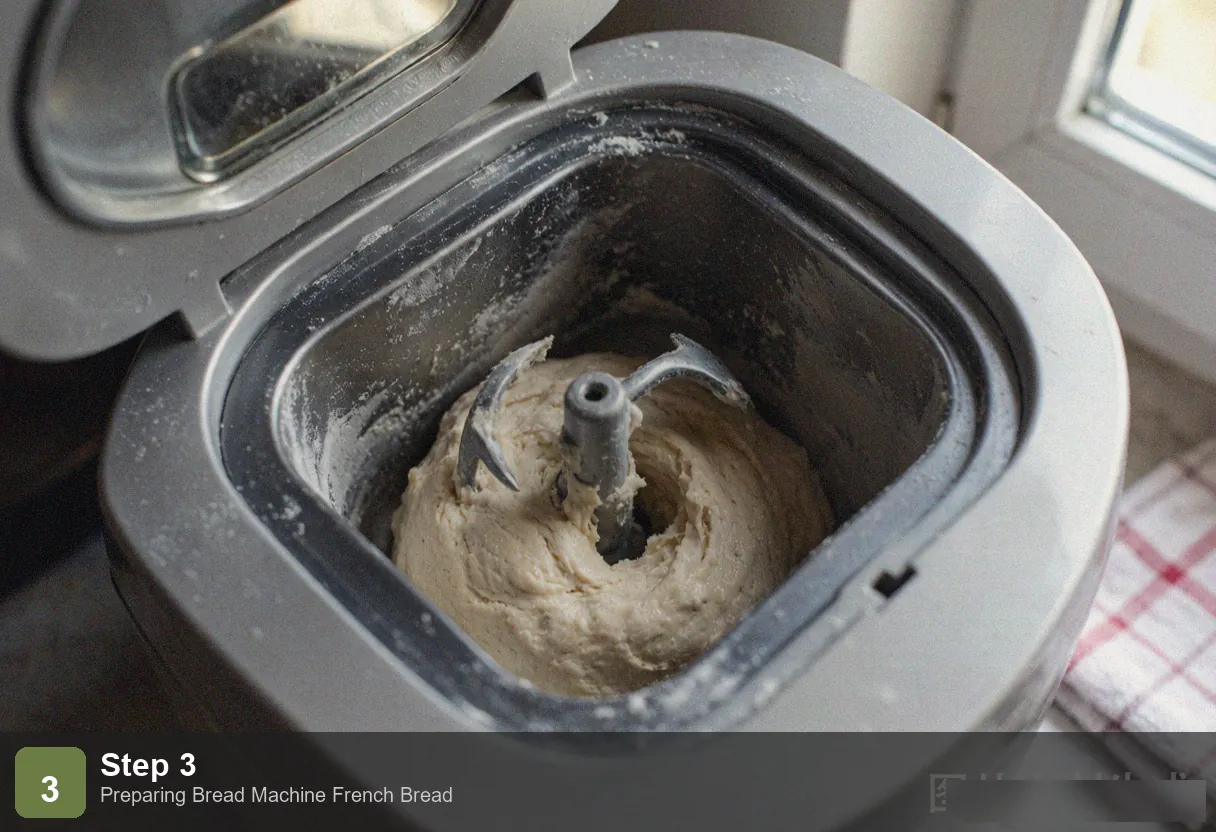
About 5 minutes into the kneading cycle, open the lid and check the dough. It should have formed a smooth, slightly glossy ball that slowly springs back when you press it with a fingertip. If the dough is wet and sticky, failing to form a ball — add 1 tablespoon of flour. If it’s dry and stiff with a cracked surface — add 1 tablespoon of water. This 30-second check is worth doing every time because flour absorbs water differently depending on brand, humidity, and even the age of the flour. Close the lid and let the machine continue.
Step 4: Let the Machine Handle Rise and Bake
Close the lid and do not open it again. The machine will cycle through the first rise, punch the dough down to redistribute the yeast and deflate oversized air pockets, complete a second rise, and then automatically switch to baking. During the bake phase (the last 50–60 minutes), you’ll smell the bread long before it’s done — a warm, yeasty fragrance that intensifies as the crust browns. The aroma through the viewing window is your best indicator of progress.
Step 5: Turn Out and Cool
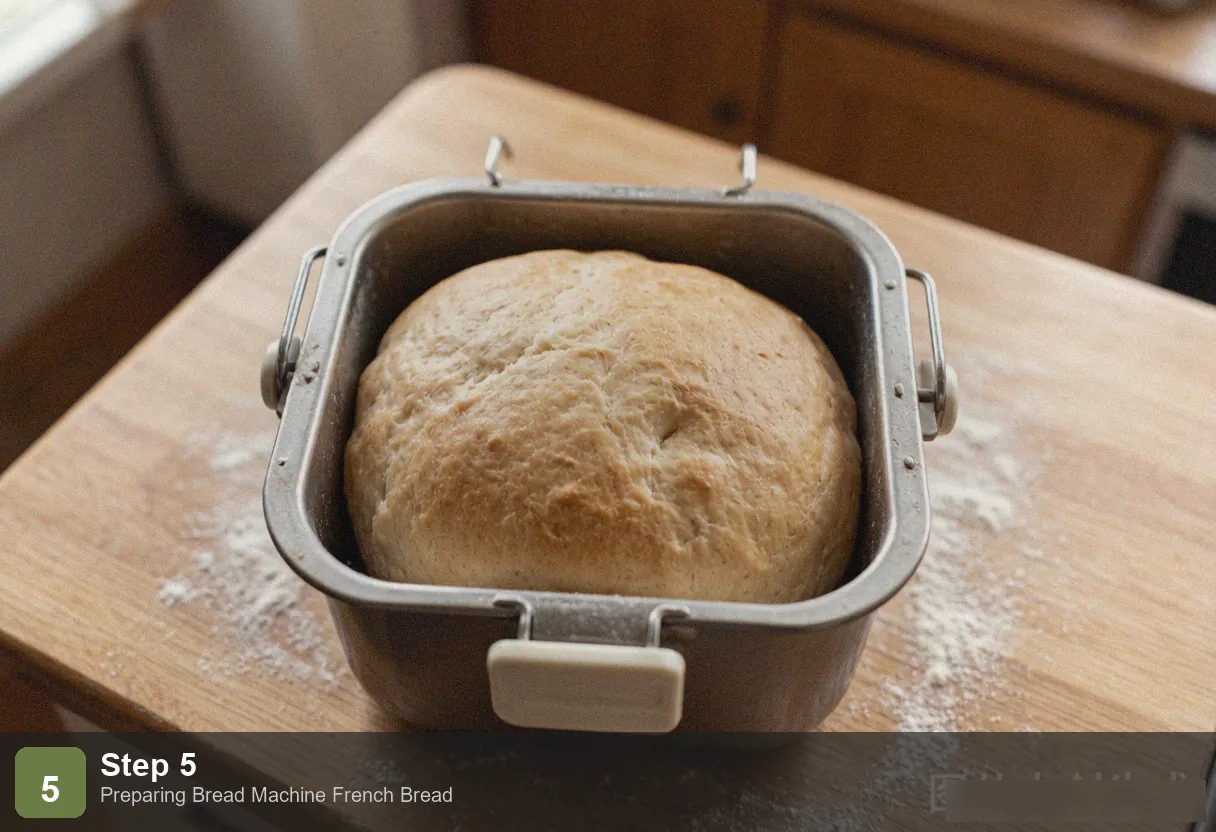
When the machine beeps, put on oven mitts, remove the bread pan, and invert it to release the loaf. Do not leave the bread in the machine on the “keep warm” setting — residual heat will steam the bottom of the loaf, turning the crisp crust soft and gummy. Transfer the loaf to a wire cooling rack and let it cool for at least 30 minutes before slicing. Bread fresh from the machine has an internal temperature of roughly 200°F (95°C), and its starch structure is still setting. Cutting too early releases steam, which condenses inside the loaf and turns the crumb gluey.
Pro Tips
Water temperature determines yeast activity. Yeast is most active between 95–100°F (35–38°C). Below 85°F (30°C), activation is sluggish and your rise will be weak. Above 110°F (43°C), the yeast dies and your bread won’t rise at all. If you don’t have a thermometer, use the wrist test: the water should feel comfortably warm against the inside of your wrist — not hot, just noticeably warm. If your bread machine has a preheat function that warms the ingredients before kneading, you can use room-temperature water and let the machine handle the rest.
Dark crust isn’t burnt — it’s correct. Many home bakers choose “Light” crust out of caution and end up with a loaf that tastes more like soft sandwich bread than French bread. The dark, deeply caramelized crust is where French bread gets its flavor and its signature crackle. The “Dark” setting allows the surface starches to undergo full caramelization without burning the interior. If you’re nervous, start with “Medium” and compare — then move to “Dark” on your next loaf.
Cooling for 30 minutes is a requirement, not a suggestion. Bread exits the machine at about 200°F internally and with significant residual moisture. Slicing immediately crushes the soft crumb, and the escaping steam condenses inside the loaf, creating a gummy, underbaked texture. After 30 minutes on a rack, the internal temperature drops to about 105°F (40°C), the starch structure stabilizes, and the crumb sets. The slice will be clean, the interior will be properly airy, and the crust will have reached its peak crispness.
Frequently Asked Questions
My machine doesn’t have a French bread cycle — what do I do?
Use the “Basic White” cycle. The difference between the two is that French bread cycles typically extend the rise time (for more flavor development and larger air pockets) and bake at a slightly higher temperature (for a darker, crispier crust). A basic cycle will produce a very good loaf even without those optimizations. If your machine allows custom programming, extend the rise time by 15 minutes if possible.
Why is there a hole in the bottom of my bread?
That’s from the kneading paddle, which stays in the pan during baking. Every bread machine loaf has this — it’s a design feature, not a defect. If it bothers you, you can pause the machine just before the bake cycle begins (after the final rise), carefully remove the dough, extract the paddle, reshape the dough, and return it to the pan. Most people don’t bother — the bottom hole doesn’t affect taste or texture.
Can I shape this into a traditional baguette instead of a square loaf?
Yes. Use the “Dough” cycle instead of “French Bread.” The machine will knead and complete the first rise, then beep. Remove the dough, divide it into two or three pieces, shape each into a long baton, place them on a baking sheet, cover loosely, and let them rise for another 30 minutes. Score the tops with a sharp knife or lame, then bake in a preheated 425°F (220°C) oven for 20–25 minutes. The trade-off: an extra hour of your time for the authentic baguette shape.
How do I store this bread and keep the crust crisp?
Do not refrigerate — cold temperatures accelerate starch retrogradation, which makes bread go stale faster. Store at room temperature in a bread bag or wrapped in a clean kitchen towel (which allows some airflow — a sealed plastic bag will soften the crust) for up to 2 days. For longer storage, slice the entire loaf and freeze the slices in a zip-top bag. Reheat individual slices straight from the freezer in a 350°F (180°C) oven for 5 minutes to restore the crisp crust.
More Bread Machine Recipes
- Bread Machine White Bread — The classic everyday loaf
- Bread Machine Whole Wheat Bread — A hearty whole-grain version
- Bread Machine Dinner Rolls — Soft, pull-apart rolls for any table
- Bread Machine Cheese Bread — A savory cheddar-packed loaf
Nutrition (per slice, about 12 slices)
| Nutrient | Amount | % Daily Value |
|---|---|---|
| Calories | 130 kcal | 7% |
| Protein | 4g | 8% |
| Fat | 1g | 1% |
| Carbohydrates | 27g | 10% |
| Fiber | 1g | 4% |
| Sodium | 290mg | 13% |
| Iron | 1.5mg | 8% |
Bread Machine French Bread - Bakery Style Crusty Loaf
Ingredients
Method
- Step 1: Load Ingredients in the Correct Order: Follow your bread machine manual's recommended order. For most machines, this means liquids first, then flour, then yeast last. The specific sequence: pour in the warm water, add the flour so it covers the water completely, place the salt and sugar in opposite corners on top of the flour, make a small well in the center of the flour, and pour the yeast into that well. The yeast must not touch the water or salt directly — salt kills yeast on contact, and premature activation in water will exhaust the yeast before kneading even begins.
- Step 2: Select the French Bread Cycle: Choose the "French Bread" cycle on your machine. If your model doesn't have a dedicated French bread setting, use the "Basic White" cycle with loaf size set to 1.5 pounds and crust color set to "Dark." French bread depends on a dark crust for its characteristic crackly exterior — the caramelization of the flour's surface starches creates both the color and the flavor. Press start. The machine will now handle kneading, first rise, punch-down, second rise, and baking — roughly 3 hours total.
- Step 3: Check the Dough During Kneading: About 5 minutes into the kneading cycle, open the lid and check the dough. It should have formed a smooth, slightly glossy ball that slowly springs back when you press it with a fingertip. If the dough is wet and sticky, failing to form a ball — add 1 tablespoon of flour. If it's dry and stiff with a cracked surface — add 1 tablespoon of water. This 30-second check is worth doing every time because flour absorbs water differently depending on brand, humidity, and even the age of the flour. Close the lid and let the machine continue.
- Step 4: Let the Machine Handle Rise and Bake: Close the lid and do not open it again. The machine will cycle through the first rise, punch the dough down to redistribute the yeast and deflate oversized air pockets, complete a second rise, and then automatically switch to baking. During the bake phase (the last 50–60 minutes), you'll smell the bread long before it's done — a warm, yeasty fragrance that intensifies as the crust browns. The aroma through the viewing window is your best indicator of progress.
- Step 5: Turn Out and Cool: When the machine beeps, put on oven mitts, remove the bread pan, and invert it to release the loaf. Do not leave the bread in the machine on the "keep warm" setting — residual heat will steam the bottom of the loaf, turning the crisp crust soft and gummy. Transfer the loaf to a wire cooling rack and let it cool for at least 30 minutes before slicing. Bread fresh from the machine has an internal temperature of roughly 200°F (95°C), and its starch structure is still setting. Cutting too early releases steam, which condenses inside the loaf and turns the crumb gluey.