Bread Machine Dinner Rolls
At Thanksgiving, the thing everyone reaches for first isn’t the turkey — it’s the basket of warm, steam-venting dinner rolls. These bread machine dinner rolls let the machine handle the heavy lifting — kneading and the first rise — while you take over for the fun part: shaping twelve perfect dough balls, brushing them with egg wash, and pulling a pan of golden, pull-apart rolls from the oven.
The texture is what makes these special. Enough butter, egg, and bread flour build a strong gluten network that lets the rolls tear apart in soft, feathery layers — not crumble, not compact, but peel away strand by strand. A final brush of melted butter right out of the oven puts a glossy finish on tops that already gleam from the egg wash.
Why You’ll Love This Recipe
- Tear-apart tender with visible layers. The combination of butter, egg, and bread flour creates a gluten structure that’s strong enough to stretch into fine layers but tender enough to pull apart effortlessly. When you break open a warm roll, it separates in sheets — not crumbles — which is the hallmark of a properly enriched dough.
- The machine does 70% of the work. Kneading enriched dough by hand is genuinely difficult — the fat from butter and egg yolk makes it slippery and resistant to gluten development. The bread machine’s paddle kneads relentlessly for 10–15 minutes without tiring, building the gluten network that makes the rolls soft and elastic. Your contribution: shaping 12 balls and turning on the oven.
- Golden, bakery-worthy egg wash finish. Brushing the proofed rolls with a thin egg wash before baking produces that unmistakable glossy, deep-golden sheen that signals “professional” before anyone takes a single bite. It’s one extra minute of work that elevates the visual result from homemade to bakery display case.
- Holiday star and everyday workhorse. These rolls are Thanksgiving-famous, but they’re just as good on a random Tuesday. Split them for mini ham sandwiches, serve them alongside soup, or reheat leftovers with a pat of butter for a 5-minute side that makes any dinner feel more complete.
Ingredients You’ll Need
- ½ cup milk (120ml, warmed to 95°F / 35°C)
- ¼ cup water (60ml, warm)
- 1 large egg, room temperature
- 3 tablespoons unsalted butter (about 45g), melted
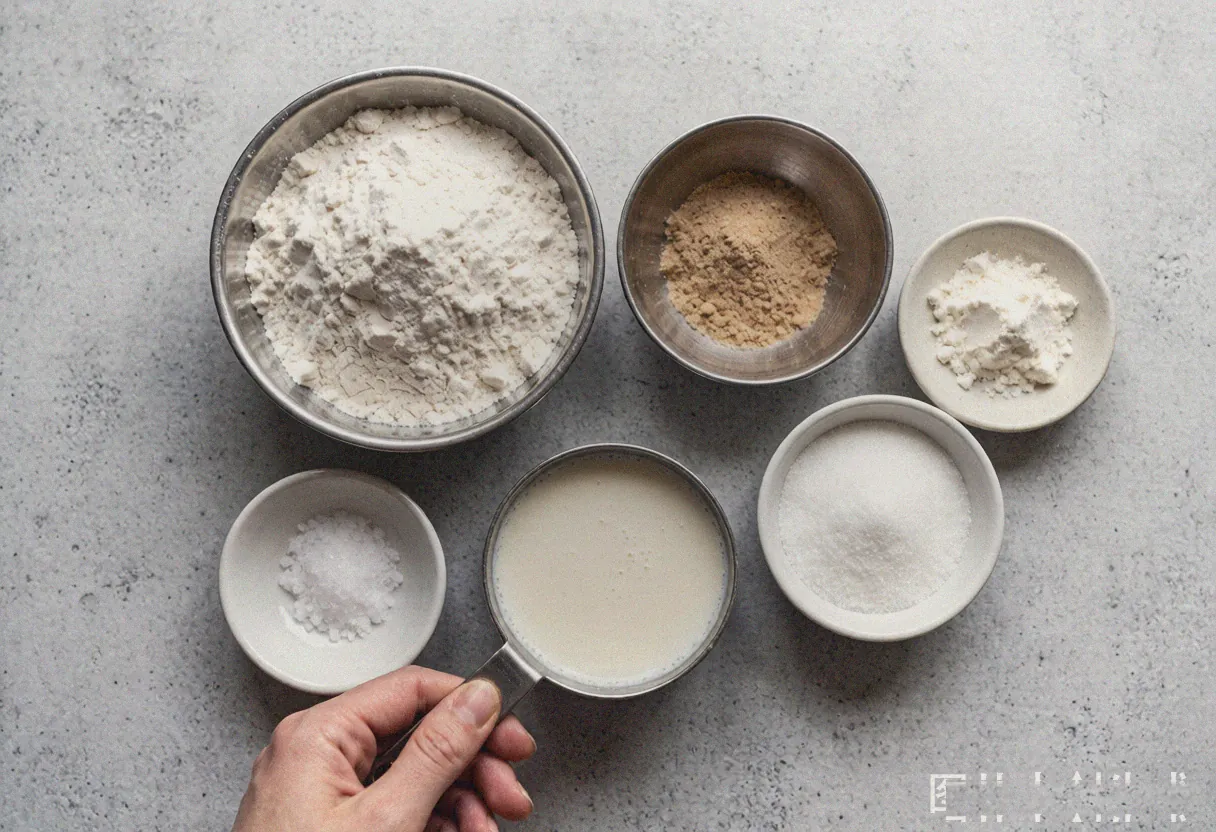
- 3½ cups bread flour (about 440g)
- 2 tablespoons granulated sugar
- 1½ teaspoons salt
- 2 teaspoons active dry yeast
- 1 egg + 1 tablespoon water (for egg wash)
Why bread flour for dinner rolls? Soft, tender dinner rolls with a pull-apart texture depend on a well-developed gluten network — and gluten development depends on protein. Bread flour’s 12–14% protein content builds a stronger, more elastic dough than all-purpose flour’s 10–12%. The result is rolls that stretch into gossamer layers when you pull them apart rather than breaking cleanly or, worse, crumbling. All-purpose flour will work, but the texture will be denser and less ethereal.
How to Make Bread Machine Dinner Rolls
Step 1: Run the Dough Cycle
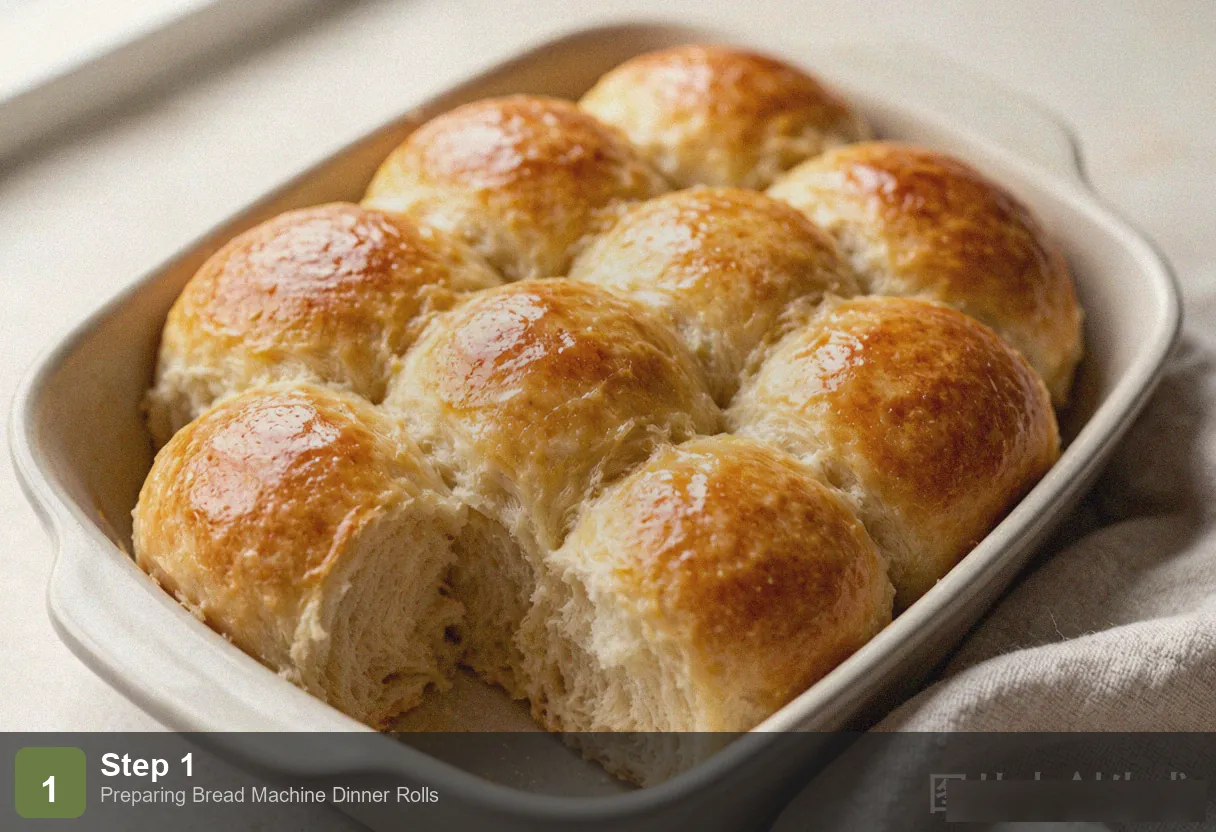
Add ingredients to the bread machine pan in the recommended order: warm milk and water, then the room-temperature egg, then the melted butter, then the flour, then sugar and salt in opposite corners, and finally the yeast in a small well in the center of the flour. Select the “Dough” cycle and press start. The machine will knead for 10–15 minutes and then complete a 1–1½-hour rise. When it beeps, the dough should have doubled in volume and a finger poked into it should leave an indentation that doesn’t spring back.
Step 2: Turn Out and Deflate
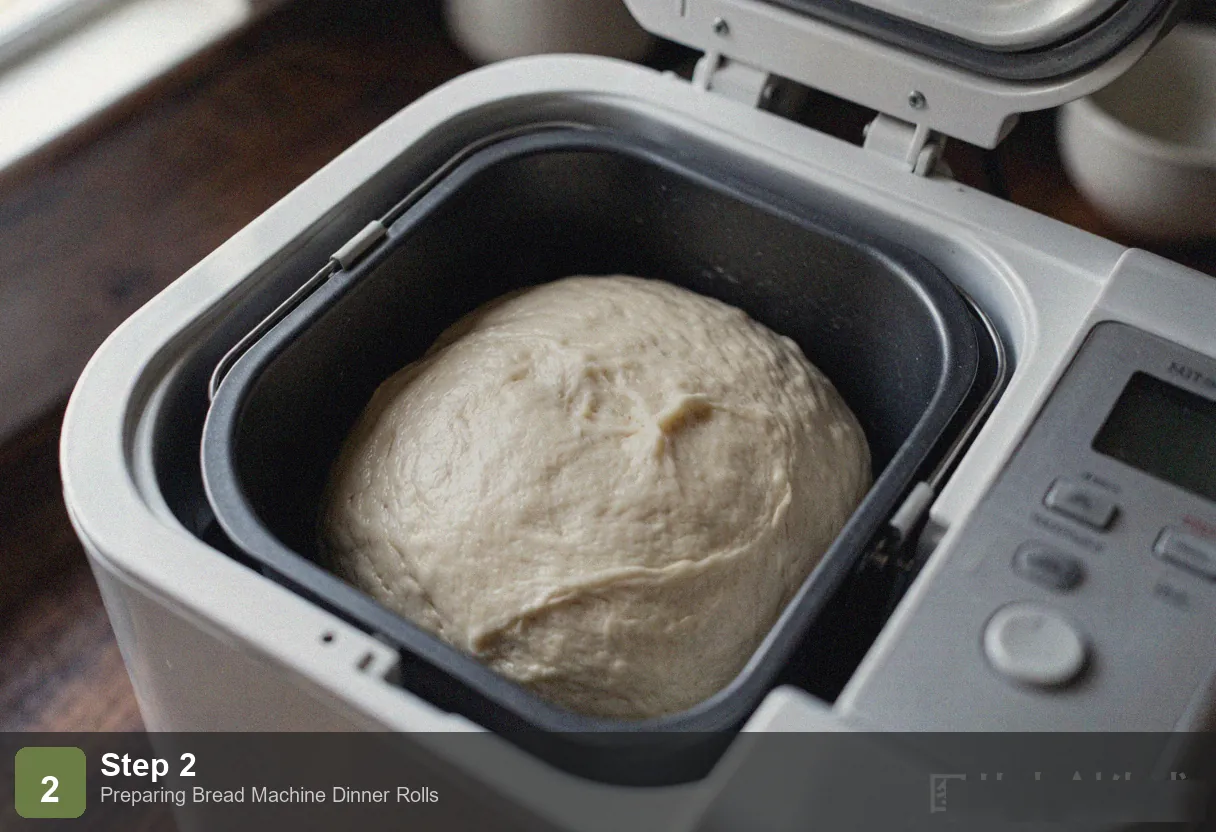
Tip the dough onto a lightly floured work surface. Press down across the entire surface with the heel of your palm to deflate the large air pockets — this is called punching down, and it redistributes the yeast and evens out the crumb structure so you don’t end up with a single cavernous hole in one roll and dense bread in another. Shape the dough into a rough rectangle about an inch thick and let it rest for 5 minutes. This brief rest relaxes the gluten, making the dough easier to shape without springing back.
Step 3: Divide and Shape
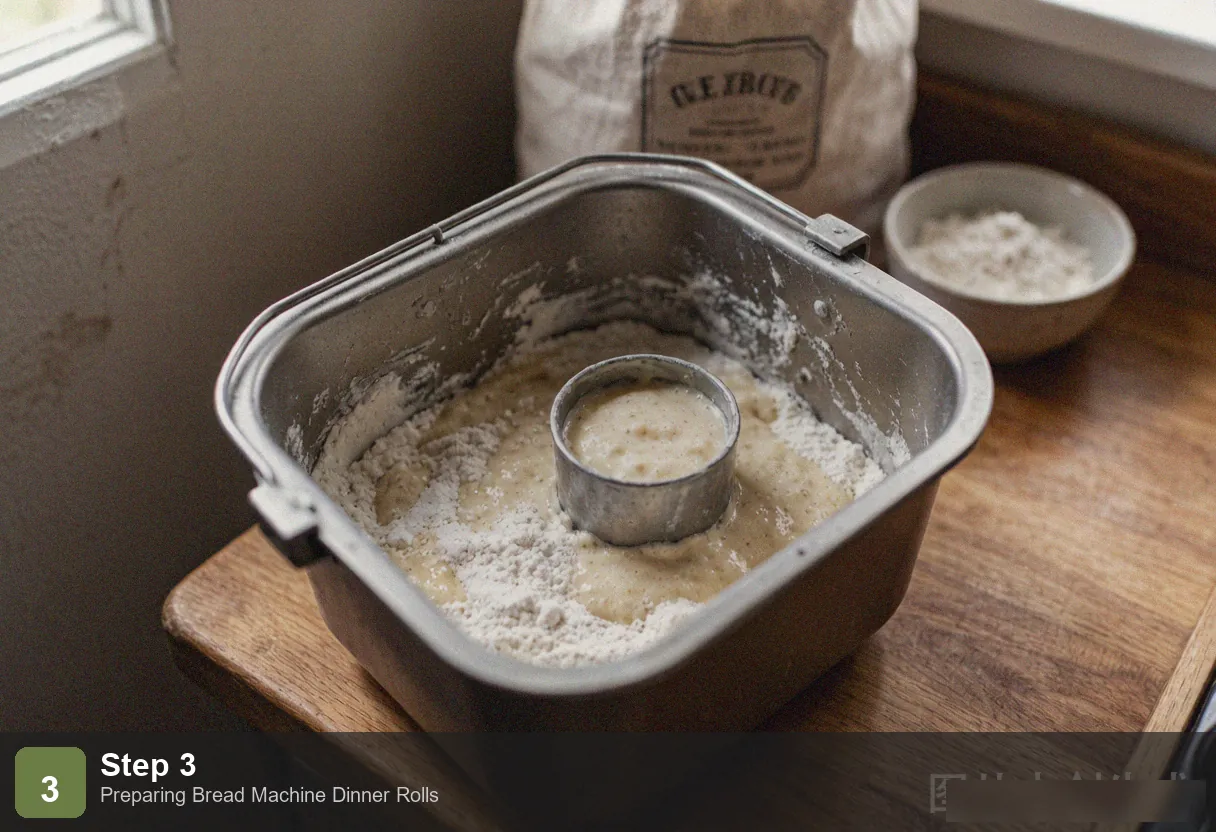
Use a bench scraper or sharp knife to divide the dough into 12 equal pieces — each should weigh about 60g. To shape a roll: cup your palm over a dough piece on an un-floured section of your work surface and move your hand in small, tight circles. The friction between the dough and the counter pulls the surface taut and seals the bottom seam. The finished ball should be round, smooth, and free of cracks. Arrange all 12 balls in a parchment-lined 9×13-inch baking pan, spacing them about ¾ inch (2cm) apart — they’ll expand during the second rise and bake into each other, creating that classic pull-apart effect.
Step 4: Second Rise
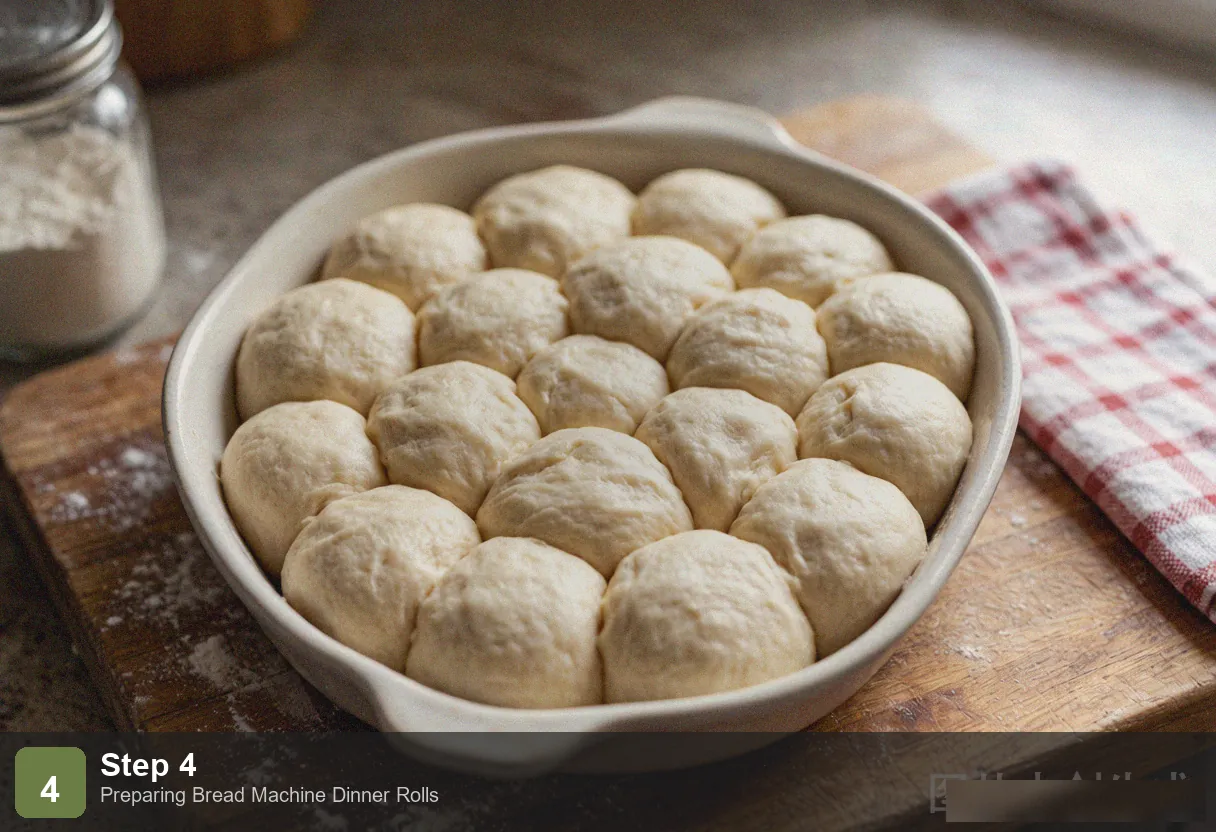
Cover the pan loosely with plastic wrap and place it in a warm, draft-free spot for 30–40 minutes. The ideal proofing temperature is 95–100°F (35–38°C). If your kitchen is cool, turn on your oven light and place the pan inside with the door closed — the bulb alone generates enough ambient warmth. The rolls should nearly double in size, puffing up until they’re just touching each other. Press a fingertip gently into the side of one roll: the indentation should slowly spring back halfway. If it springs back instantly, it needs more time; if it doesn’t spring back at all, it’s over-proofed — bake immediately.
Step 5: Egg Wash and Bake
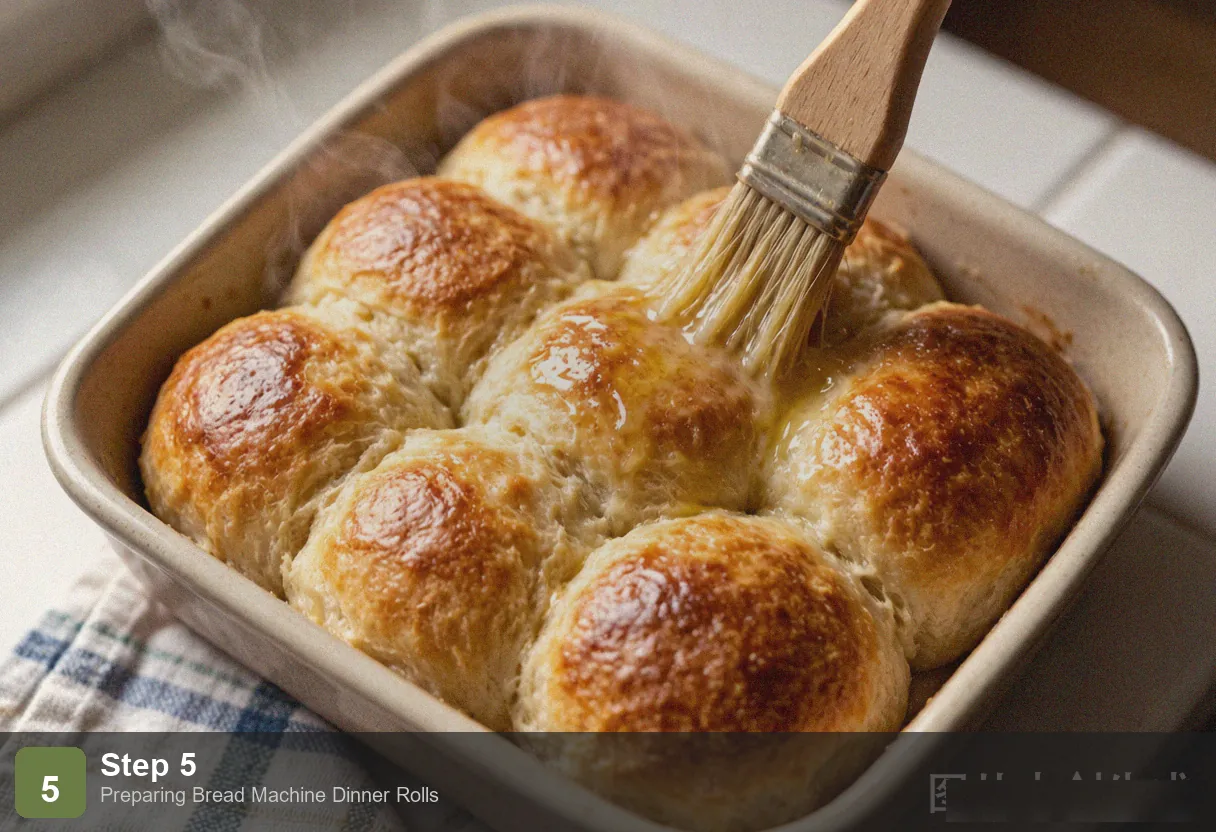
Preheat your oven to 350°F (180°C). Beat the egg with 1 tablespoon of water and, using a pastry brush, lightly coat the tops of the proofed rolls. Use a gentle touch — don’t let egg wash drip down the sides, as it can glue the rolls to the pan and inhibit their oven spring. Bake on the middle rack for 15–18 minutes, until the tops are a uniform deep golden brown. Immediately after pulling the pan from the oven, brush the hot rolls with a little melted butter for extra shine and flavor. Let them cool in the pan for 5 minutes, then transfer to a wire rack — or serve them warm straight from the pan.
Pro Tips
The shaping technique determines the look. A properly shaped roll has a smooth, taut surface and a sealed seam on the bottom. The circular motion of your cupped palm against the counter pulls the gluten on the surface tight, which is what gives the roll its round, domed top. If the surface keeps tearing or cracking, the dough needs a few more minutes of rest to relax the gluten. A lightly floured counter provides the right friction; too much flour and the dough just slides around without tightening.
Don’t over-proof during the second rise. The second rise is shorter and faster than the first because the yeast is already fully active. The target is 1.5–2 times the original size. Over-proofed rolls will collapse in the oven — the gluten has stretched beyond its capacity and can no longer support the structure. The fingertip test is your insurance: if the dough springs back slowly and leaves a partial dent, it’s ready. If it doesn’t spring back at all, bake now and accept slightly flatter rolls rather than ruined ones.
Egg wash dilution controls your finish. Pure beaten egg produces a very dark, almost mahogany crust that can read as burnt rather than golden. Adding 1 tablespoon of water thins the egg proteins just enough to produce a classic golden-brown finish. If you want a deeper color, use pure egg yolk + 1 teaspoon of water. If you want a paler, more matte finish, use only egg white. This is a graduated control — you can dial in exactly the shade you want.
Frequently Asked Questions
Can I make these a day ahead?
Yes, and doing so actually improves the flavor. The best method: complete the dough cycle, shape the rolls, arrange them in the baking pan, cover tightly with plastic wrap, and refrigerate overnight. The slow, cold fermentation develops more complex flavor compounds than a room-temperature rise. The next day, remove the pan from the fridge, let it sit at room temperature for 30 minutes to take the chill off, then brush with egg wash and bake. Cold-proofed rolls often have a subtly more nuanced, almost tangy flavor.
What if I don’t have a bread machine?
Mix all dough ingredients in a large bowl until a shaggy mass forms. Turn onto a floured surface and knead by hand for 10–12 minutes until the dough is smooth and elastic — it should pass the windowpane test: stretch a small piece between your fingers; if it forms a thin, translucent membrane without tearing, the gluten is developed. Place in an oiled bowl, cover, and let rise in a warm place for 1–1½ hours until doubled. Proceed with the recipe from Step 2.
Can I make mini rolls?
Divide the dough into 24 pieces (about 30g each) instead of 12. Place them in two greased muffin tins — one ball per cup. Bake for 12–15 minutes at the same temperature, watching closely for the color change from pale to golden. Mini rolls bake faster and dry out more easily, so pull them the moment they’re golden.
How do I reheat leftover rolls?
A 325°F (160°C) oven for 5 minutes restores the soft, warm texture. Do not use a microwave — it drives off moisture unevenly and leaves the rolls tough and rubbery. If you’re bringing rolls to a gathering, wrap them in foil straight from the oven, transport them warm, and pop the foil-wrapped bundle into a 300°F (150°C) oven for 8 minutes upon arrival.
More Bread Machine Recipes
- Bread Machine White Bread — The everyday classic
- Bread Machine French Bread — Crusty on the outside, soft inside
- Bread Machine Brioche — A rich, buttery French loaf
- Bread Machine Cheese Bread — A savory cheddar-packed loaf
Nutrition (per roll, serves 12)
| Nutrient | Amount | % Daily Value |
|---|---|---|
| Calories | 155 kcal | 8% |
| Protein | 5g | 10% |
| Fat | 5g | 6% |
| Carbohydrates | 23g | 8% |
| Fiber | 1g | 4% |
| Sodium | 250mg | 11% |
| Iron | 1.5mg | 8% |
Bread Machine Dinner Rolls - Soft & Buttery 2 Hours
Ingredients
Method
- Step 1: Run the Dough Cycle: Add ingredients to the bread machine pan in the recommended order: warm milk and water, then the room-temperature egg, then the melted butter, then the flour, then sugar and salt in opposite corners, and finally the yeast in a small well in the center of the flour. Select the "Dough" cycle and press start. The machine will knead for 10–15 minutes and then complete a 1–1½-hour rise. When it beeps, the dough should have doubled in volume and a finger poked into it should leave an indentation that doesn't spring back.
- Step 2: Turn Out and Deflate: Tip the dough onto a lightly floured work surface. Press down across the entire surface with the heel of your palm to deflate the large air pockets — this is called punching down, and it redistributes the yeast and evens out the crumb structure so you don't end up with a single cavernous hole in one roll and dense bread in another. Shape the dough into a rough rectangle about an inch thick and let it rest for 5 minutes. This brief rest relaxes the gluten, making the dough easier to shape without springing back.
- Step 3: Divide and Shape: Use a bench scraper or sharp knife to divide the dough into 12 equal pieces — each should weigh about 60g. To shape a roll: cup your palm over a dough piece on an un-floured section of your work surface and move your hand in small, tight circles. The friction between the dough and the counter pulls the surface taut and seals the bottom seam. The finished ball should be round, smooth, and free of cracks. Arrange all 12 balls in a parchment-lined 9×13-inch baking pan, spacing them about ¾ inch (2cm) apart — they'll expand during the second rise and bake into each other, creating that classic pull-apart effect.
- Step 4: Second Rise: Cover the pan loosely with plastic wrap and place it in a warm, draft-free spot for 30–40 minutes. The ideal proofing temperature is 95–100°F (35–38°C). If your kitchen is cool, turn on your oven light and place the pan inside with the door closed — the bulb alone generates enough ambient warmth. The rolls should nearly double in size, puffing up until they're just touching each other. Press a fingertip gently into the side of one roll: the indentation should slowly spring back halfway. If it springs back instantly, it needs more time; if it doesn't spring back at all, it's over-proofed — bake immediately.
- Step 5: Egg Wash and Bake: Preheat your oven to 350°F (180°C). Beat the egg with 1 tablespoon of water and, using a pastry brush, lightly coat the tops of the proofed rolls. Use a gentle touch — don't let egg wash drip down the sides, as it can glue the rolls to the pan and inhibit their oven spring. Bake on the middle rack for 15–18 minutes, until the tops are a uniform deep golden brown. Immediately after pulling the pan from the oven, brush the hot rolls with a little melted butter for extra shine and flavor. Let them cool in the pan for 5 minutes, then transfer to a wire rack — or serve them warm straight from the pan.