Ran out of yeast, or just don’t feel like waiting for dough to rise? Bread machine no yeast bread swaps yeast for baking powder as the leavener — there’s no fermentation wait, and a dense, slightly tangy, English-soda-bread-style loaf comes out of the machine in about 1.5 hours. It’s the loaf to make when you want bread now and you want it to actually work.
Why You’ll Love This Bread Machine No Yeast Bread
Out of yeast at home, or simply unwilling to wait for a rise? Bread machine no yeast bread uses baking powder instead of yeast to lift the loaf — no fermentation wait, and a dense, mildly tangy, soda-bread-like loaf emerges in about 1.5 hours. This bread machine no yeast bread fits exactly that moment:
- Make bread with no yeast. Baking powder is a chemical leavener that releases gas the instant it meets heat and water — no time-consuming rise required.
- No waiting for proofing. Skip the hour-plus fermentation window; from start to finish is about 1.5 hours.
- Very low failure rate. It doesn’t depend on yeast viability, so you’ll never suffer the “dead yeast, didn’t rise” disaster.
- A unique flavor. No-yeast bread carries a gentle yogurt-and-wheat tang that pairs beautifully with soup, cheese, or butter — a different kind of delicious.
Ingredients
- 1.25 cups milk (room temperature or barely warm, about 35°C / 95°F)
- 3 cups all-purpose flour
- 2 tbsp vegetable oil
- 1 tbsp granulated sugar
- 1 tsp salt
- 3 tsp baking powder (the key leavener)
- Optional: 1 tbsp apple cider vinegar (helps lift and adds tangy aroma)
Why all-purpose flour instead of bread flour? No-yeast bread doesn’t rely on a gluten network for structure — there’s no long knead and ferment to develop gluten — it relies on baking powder for gas. All-purpose flour is enough; bread flour would actually make the loaf tougher. All-purpose gives you the softer, soda-bread-like crumb.
Instructions
Step 1: Load Wet Ingredients, Flour, and Baking Powder
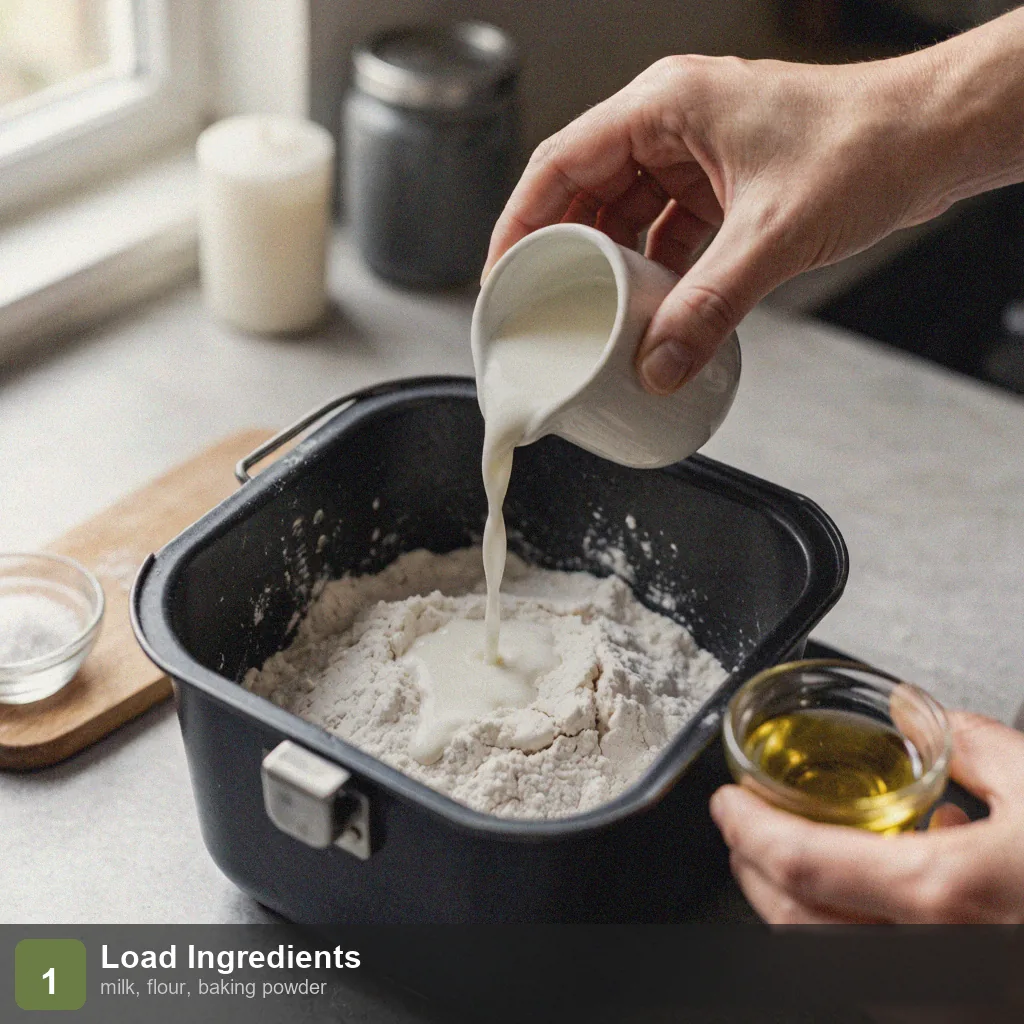
Pour in the milk and oil first, then add the flour. Sprinkle the baking powder, salt, and sugar over the flour — stir the baking powder lightly into the flour so it’s evenly distributed, not clumped in one spot. If you’re using apple cider vinegar, add it with the milk.
Step 2: Lock the Pan into the Machine
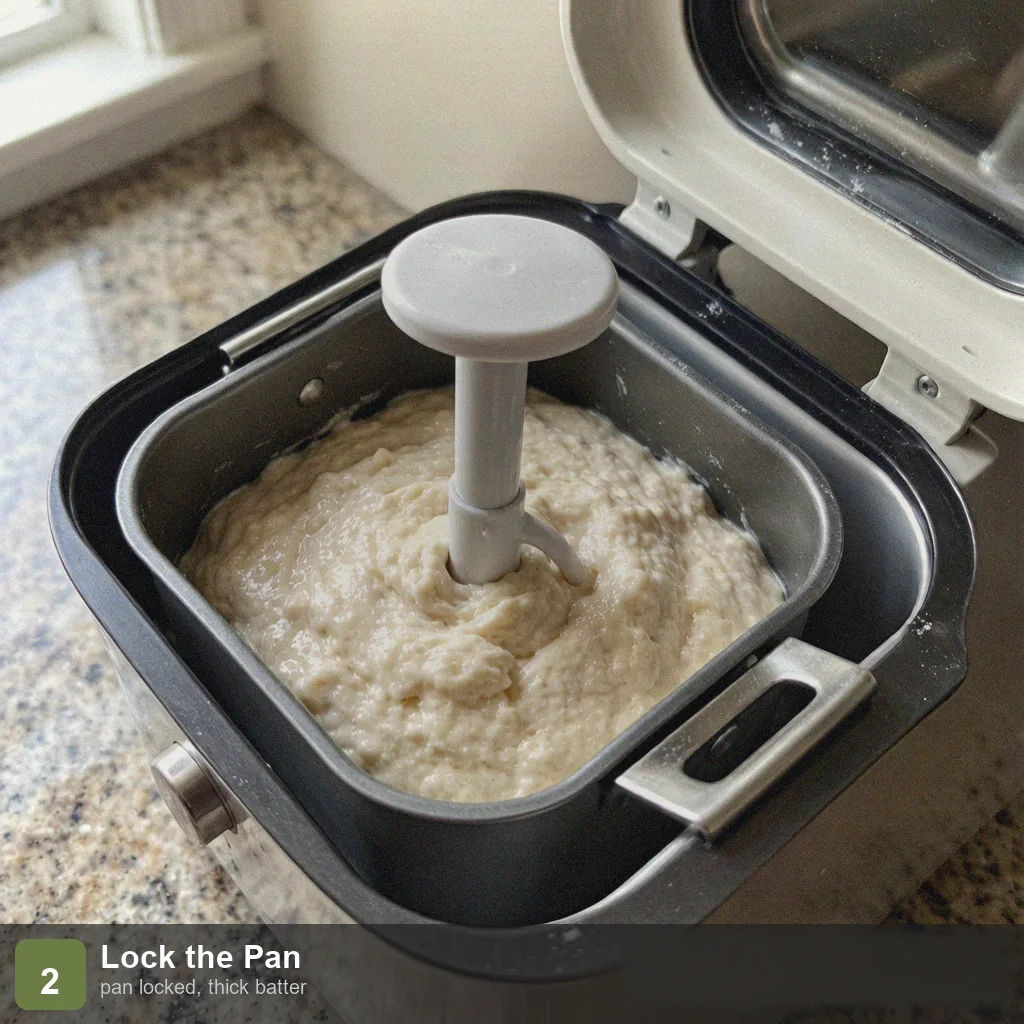
Seat the pan and confirm the kneading paddle is installed. No-yeast dough is thicker and stiffer, so the paddle must be extra secure or it won’t turn the batter.
Step 3: Select the Quick Bread / Cake Cycle
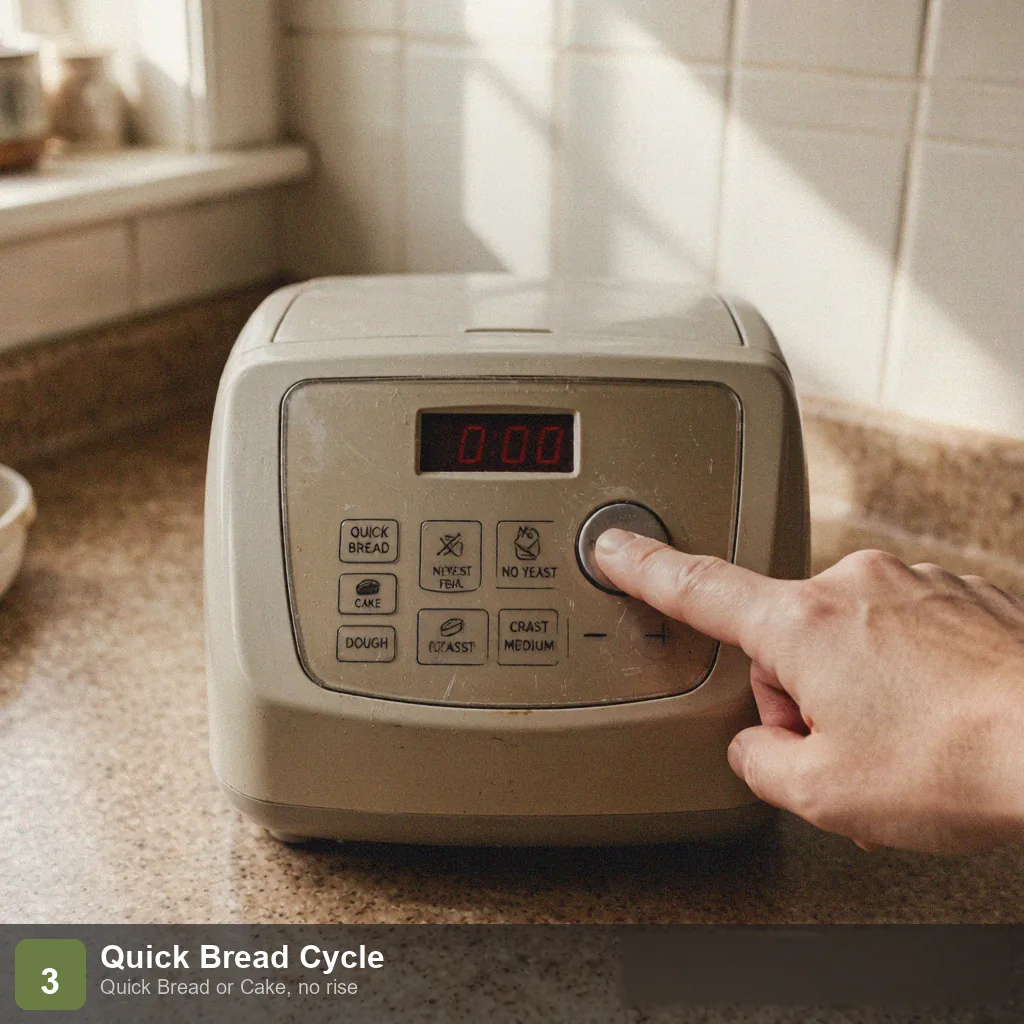
Critical: do NOT use the standard yeast bread cycle. Choose “Quick Bread,” “Cake,” or “Bake” — these cycles only mix and bake, with no fermentation. Set the loaf to 2 lb and the crust to medium. Press start.
Step 4: Mix and Bake, About 1.5 Hours
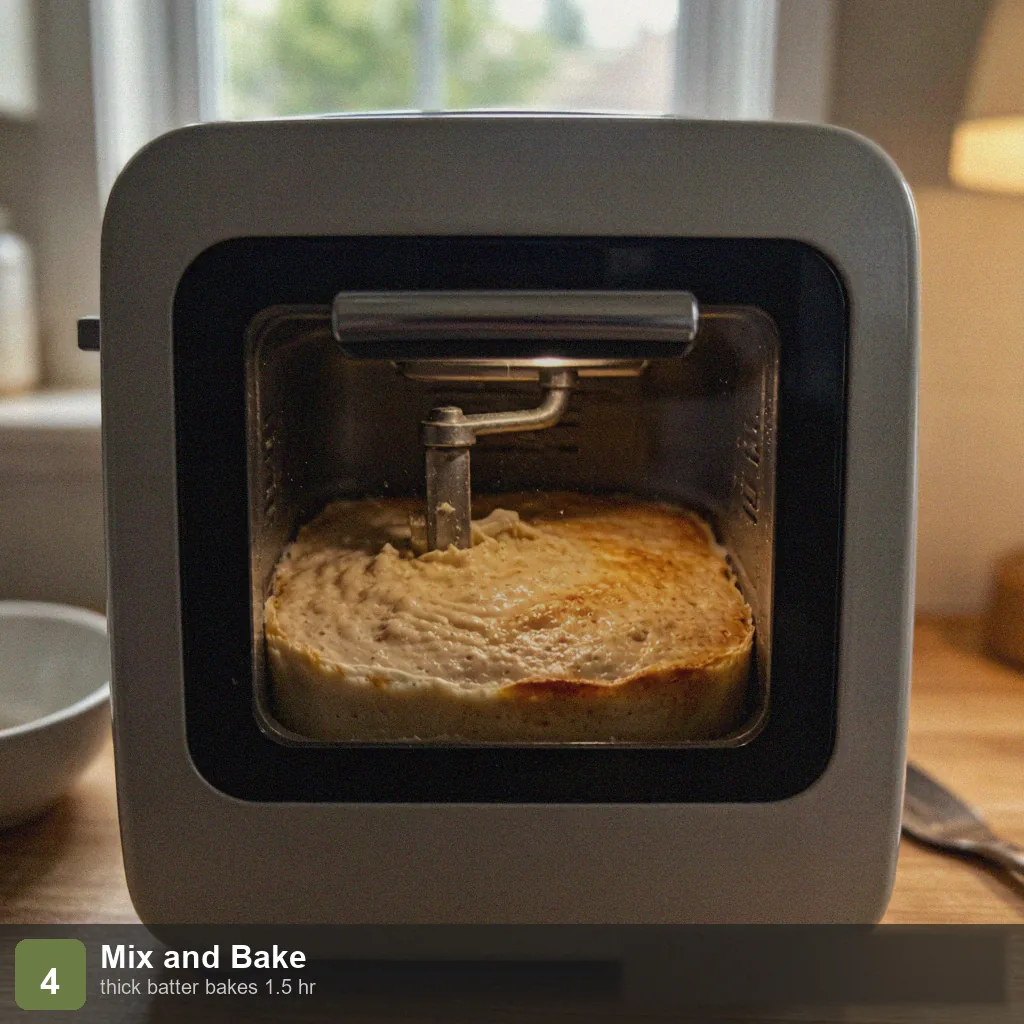
The machine mixes the ingredients into a thick batter (not a smooth dough ball), then goes straight to baking. With no proofing segment, the whole process is shorter than a yeast loaf. Through the viewing window you’ll see the batter slowly set and color.
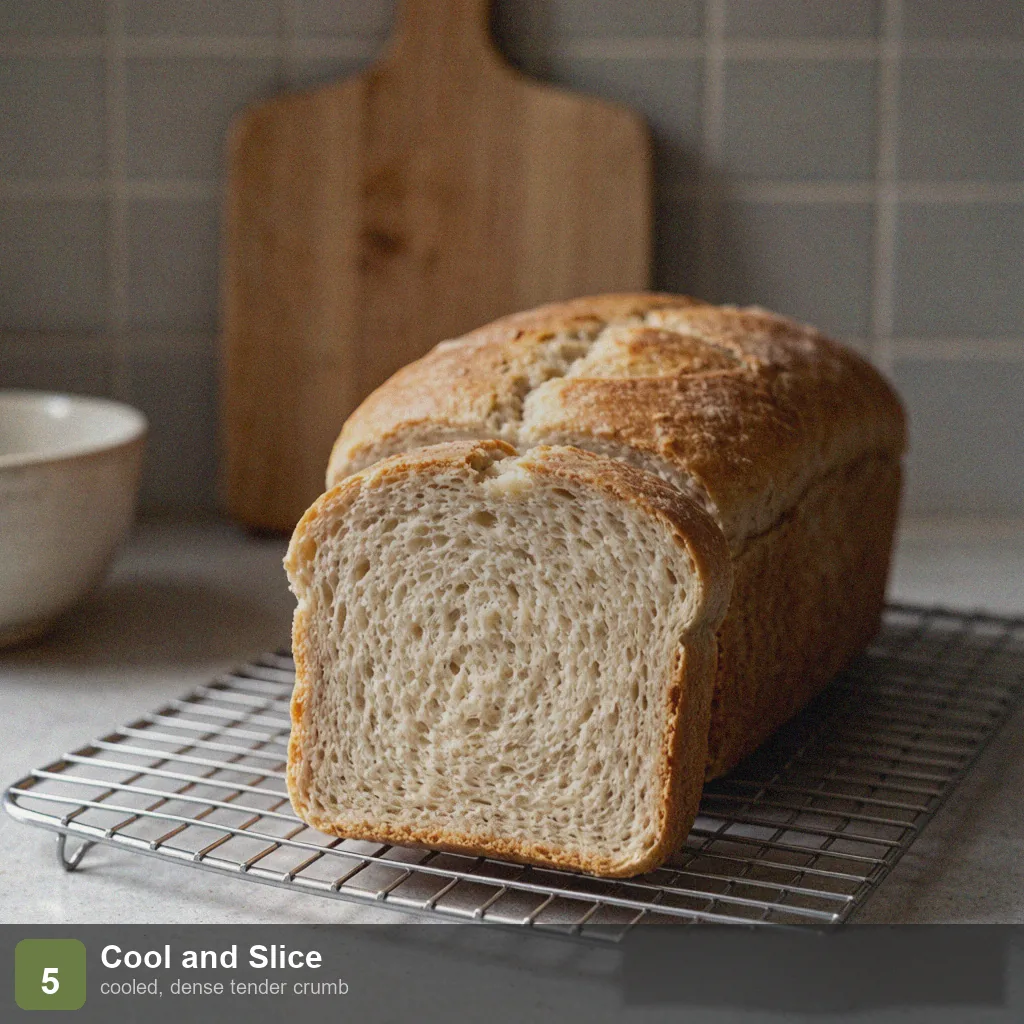
Step 5: Unmold and Cool
The moment the cycle ends, lift the pan out and invert to release the loaf. No-yeast bread is wetter and softer than yeast bread, so cool it for at least 45 minutes before slicing — it collapses more easily when hot. Once cool, slice to reveal a dense, tender crumb without large air pockets.
Tips for the Best Results
You must use a no-fermentation cycle (Quick Bread / Cake). This is the easiest place to wreck the loaf. If you mistakenly use the standard “Basic” yeast cycle, the machine will try to proof first — but the baking powder has already spent its gas during mixing, so the proofing phase does nothing and you end up with a hard, flat “brick.” Remember: no yeast = no rise = choose the cake or quick-bread cycle.
Keep the baking powder fresh. Baking powder loses noticeable potency after about six months opened. To test, stir 1 tsp baking powder into 1/2 cup warm water — immediate fizzing means it’s still good. Dead baking powder equals a loaf that won’t rise and turns into a flat cake.
A thick batter is normal. No-yeast bread is a “thick batter” state, not a ball you can stretch. If the machine struggles or even alarms during mixing, add 1–2 tbsp of milk to loosen it. Too thin and the center won’t bake; too thick and it won’t mix.
A little acid makes it lighter. Baking powder (with cream of tartar or phosphate) releases gas more vigorously in a slightly acidic environment. Add 1 tbsp apple cider vinegar or lemon juice to the milk and the loaf will be taller and softer — which is also why many no-yeast recipes call for buttermilk.
Storage
Cool the loaf completely, then wrap it in plastic or store it in a sealed container at room temperature for 2–3 days. Because the crumb is moist, it stales and dries faster than a yeast loaf — slice and freeze for up to a month, and toast from frozen. Avoid the fridge, which makes the texture go stale faster.
FAQ
Is no-yeast bread very different from yeast bread in texture?
Quite different, but each is good in its own way. No-yeast bread is denser, mildly tangy, and soda-bread- or English-tea-cake-like; yeast bread is airier, springier, and more wheat-forward. No-yeast bread isn’t great for puffy sandwiches (it compresses), but it’s excellent with soup, butter, or as an open-faced tartine.
Can I replace the milk with yogurt?
Yes, and it’s better — yogurt is mildly acidic, which boosts the baking powder for more lift and richer flavor. Use 1 cup plain yogurt thinned with 1/4 cup milk in place of the 1.25 cups milk in the recipe. The result is more tangy and more tender.
Why is the center of my no-yeast bread raw?
Two likely causes: ① the batter was too thin, so heat couldn’t reach the center; ② the bake time was too short (you chose light crust plus a short time). Fix it by thickening the batter (add 1–2 tbsp flour), choosing medium or dark crust, and — if needed — testing the center with a toothpick when the cycle ends. Clean pull = done; wet crumbs = bake 10 more minutes in the oven or by re-running the machine’s bake segment.
Can I add dried fruit or nuts?
Yes, scatter them in at the add-in beep. No-yeast dough goes straight to baking after mixing, so the add-in window is short — open the lid and sprinkle the moment you hear the chime. Soak dried fruit in hot water first and drain, or it will steal moisture from the batter and bake hard.
More Bread Machine Recipes to Try
If a no-yeast loaf caught your interest, these are natural next bakes:
- Bread Machine Banana Bread — also a quick-bread (cake) cycle loaf
- Bread Machine White Bread — the classic yeast loaf
- Bread Machine Pizza Dough — another use for yeast dough
- Bread Machine Cinnamon Raisin Bread — a sweet yeast loaf
- Bread Machine Whole Wheat Bread — the healthy everyday loaf
Conclusion
Bread machine no yeast bread is the loaf for the “no yeast, no time” moment — a dense, tangy, soda-bread-style bake that comes together in under 2 hours with almost no way to fail. Just remember the one golden rule: skip the yeast cycle, pick Cake or Quick Bread, and let the baking powder do the lifting. You’ll have fresh bread on the table before you know it.
Nutrition Information (Per Slice, ~1/12 Loaf)
| Nutrient | Amount | % Daily Value |
|---|---|---|
| Calories | 150 kcal | 8% |
| Protein | 4 g | 8% |
| Fat | 4 g | 5% |
| Carbohydrates | 25 g | 9% |
| Sugar | 2 g | 4% |
| Dietary Fiber | 1 g | 4% |
| Sodium | 280 mg | 12% |
| Data source: USDA FoodData Central. Values are approximate. |
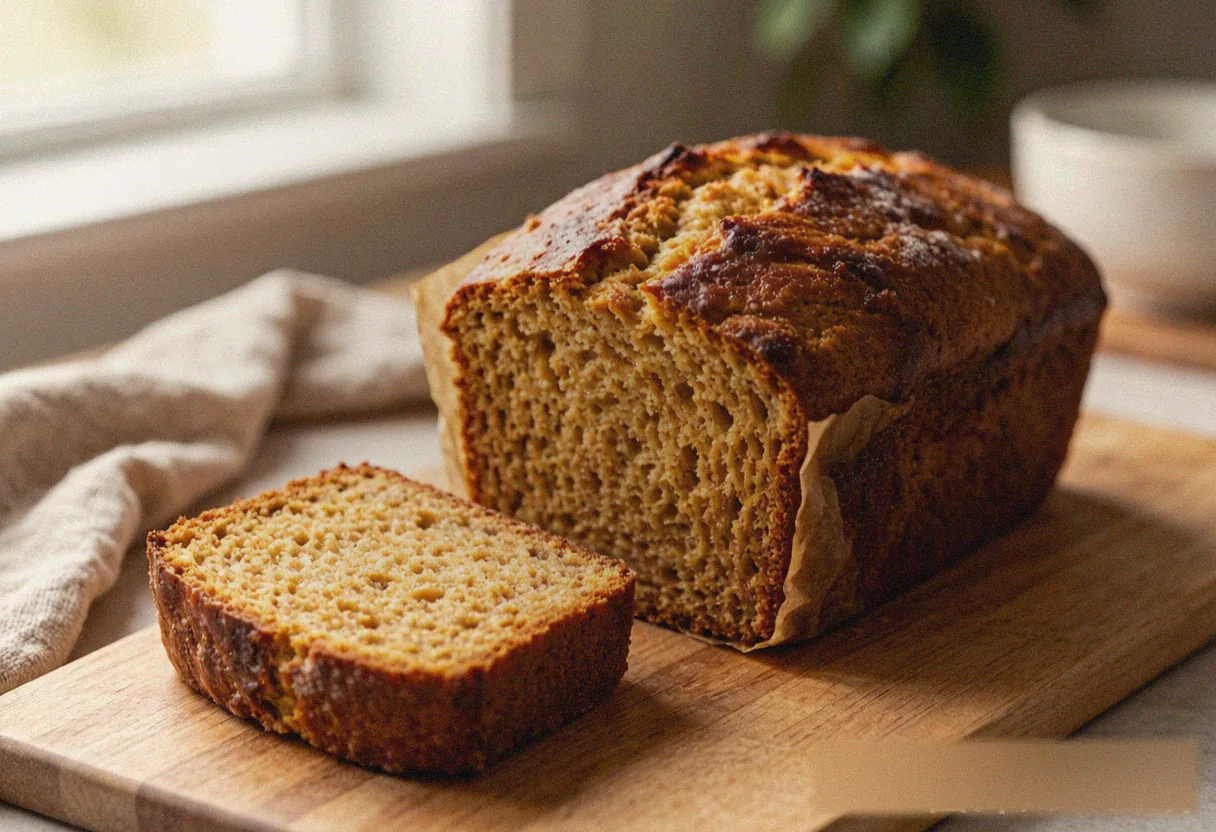
Bread Machine No Yeast Bread - Easy No-Rise Loaf
Ingredients
Method
- Step 1: Load Wet Ingredients, Flour, and Baking Powder: Pour in the milk and oil first, then add the flour. Sprinkle the baking powder, salt, and sugar over the flour — stir the baking powder lightly into the flour so it's evenly distributed, not clumped in one spot. If you're using apple cider vinegar, add it with the milk.
- Step 2: Lock the Pan into the Machine: Seat the pan and confirm the kneading paddle is installed. No-yeast dough is thicker and stiffer, so the paddle must be extra secure or it won't turn the batter.
- Step 3: Select the Quick Bread / Cake Cycle: Critical: do NOT use the standard yeast bread cycle. Choose "Quick Bread," "Cake," or "Bake" — these cycles only mix and bake, with no fermentation. Set the loaf to 2 lb and the crust to medium. Press start.
- Step 4: Mix and Bake, About 1.5 Hours: The machine mixes the ingredients into a thick batter (not a smooth dough ball), then goes straight to baking. With no proofing segment, the whole process is shorter than a yeast loaf. Through the viewing window you'll see the batter slowly set and color.
- Step 5: Unmold and Cool: The moment the cycle ends, lift the pan out and invert to release the loaf. No-yeast bread is wetter and softer than yeast bread, so cool it for at least 45 minutes before slicing — it collapses more easily when hot. Once cool, slice to reveal a dense, tender crumb without large air pockets.