Bread Machine Sourdough
Bread machine sourdough lets you bake a loaf with a crisp crust and a chewy, tangy crumb at home — no hand kneading, no tricky fermentation to babysit. Drop your active starter, flour, and water into the machine, pick the right cycle, and let it do the work. This is my first recommendation for friends who want real sourdough but fear failing.
Why You’ll Love This Recipe
⚠️ Bread Machine Safety
- Electrical: Unplug before cleaning. Never immerse the base or control panel in water; keep the cord and plug dry and away from sinks.
- Inspect the power cord regularly. Stop using the machine if the cord, plug, or body is damaged, or if you notice sparks, smoke, or a burning smell (risk of shock or short circuit).
- Hot surfaces: The baking pan and heating element get extremely hot during and after the cycle. Never touch them with bare hands — always use oven mitts.
- Place the machine on a stable, heat-resistant surface with clearance above; never block the ventilation openings.
- No hand kneading: the machine handles mixing and bulk fermentation, so beginners start with zero stress.
- Real tang: a natural starter brings complex sourness, not vinegar faked in.
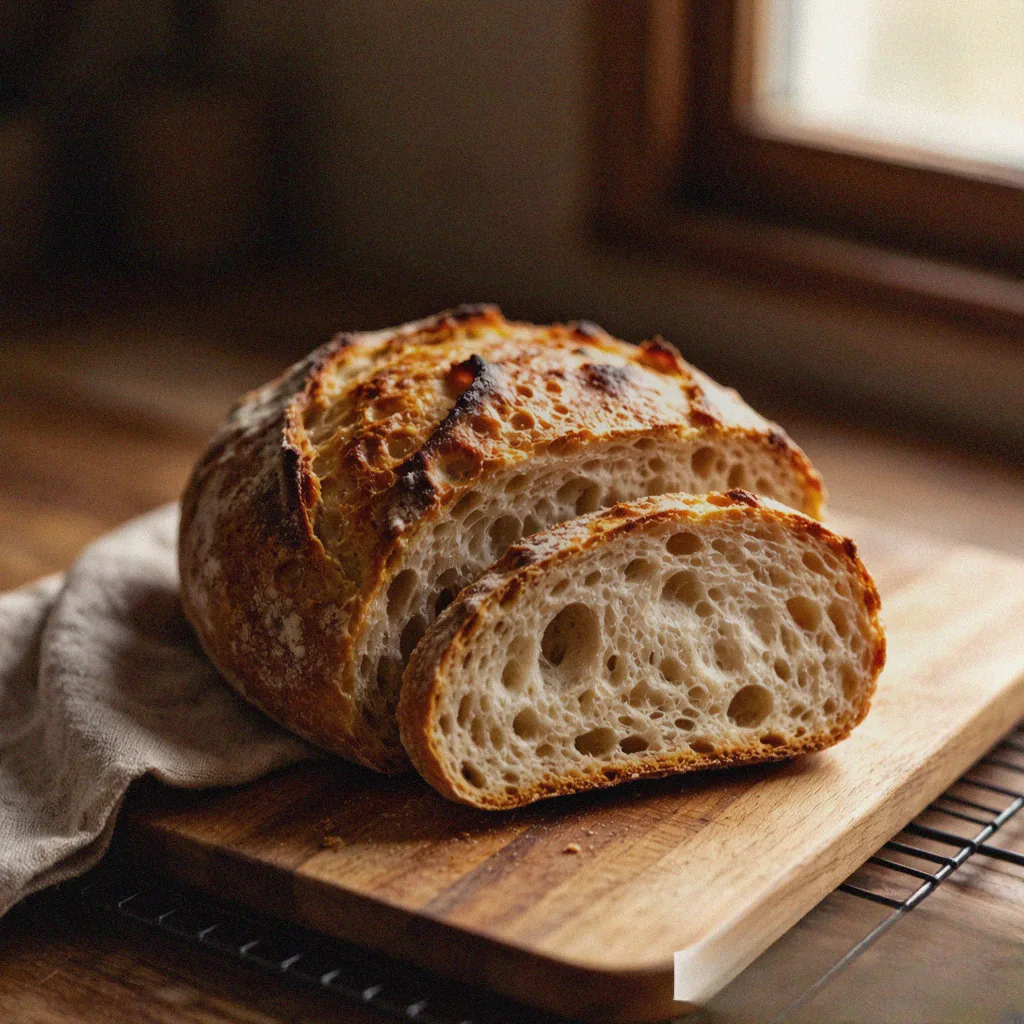
- Crisp crust, chewy crumb: a golden, crackly crust outside, open and chewy holes inside.
- Clean ingredients: just flour, water, salt, and starter — four simple things, no additives.
Ingredients You’ll Need
| Ingredient | Amount (1 loaf, ~700g) |
|---|---|
| Active sourdough starter (100% hydration) | 150g |
| Bread flour (high-gluten) | 350g |
| Water (room temperature) | 180g |
| Salt | 7g (about 1.2 tsp) |
| Olive oil (optional, for pan release) | 1 tsp |
Starter note: An active starter is one fed 4–6 hours earlier that has doubled and shows bubbles on top. If your starter lives in the fridge, take it out the night before to warm up and feed it once. No starter yet? Build your own with equal parts flour and water, fed daily for 5–7 days.
How to Make Bread Machine Sourdough
Step 1: Check your starter is active
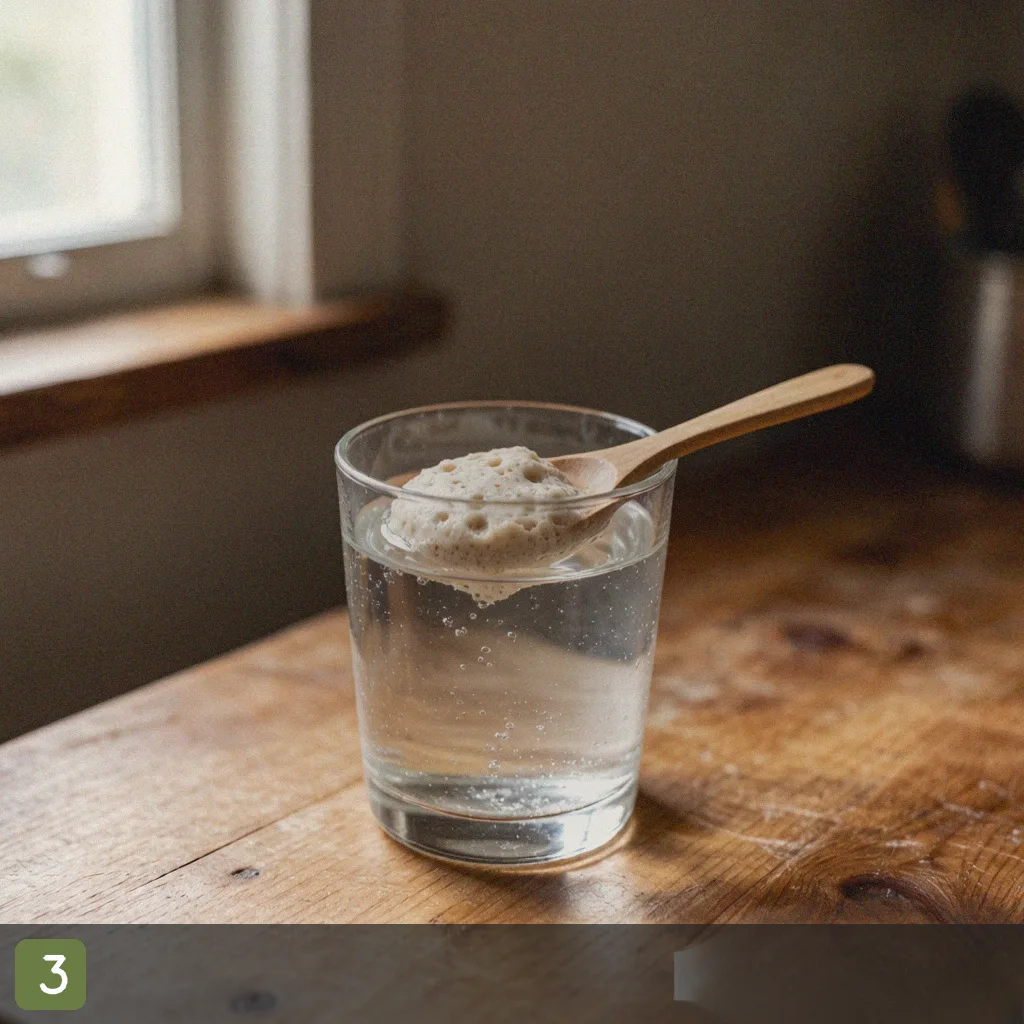
Make sure the starter was fed 4–6 hours ago and floats in a spoon of water (the float test). A sleepy starter will not lift the loaf.
Step 2: Layer the ingredients
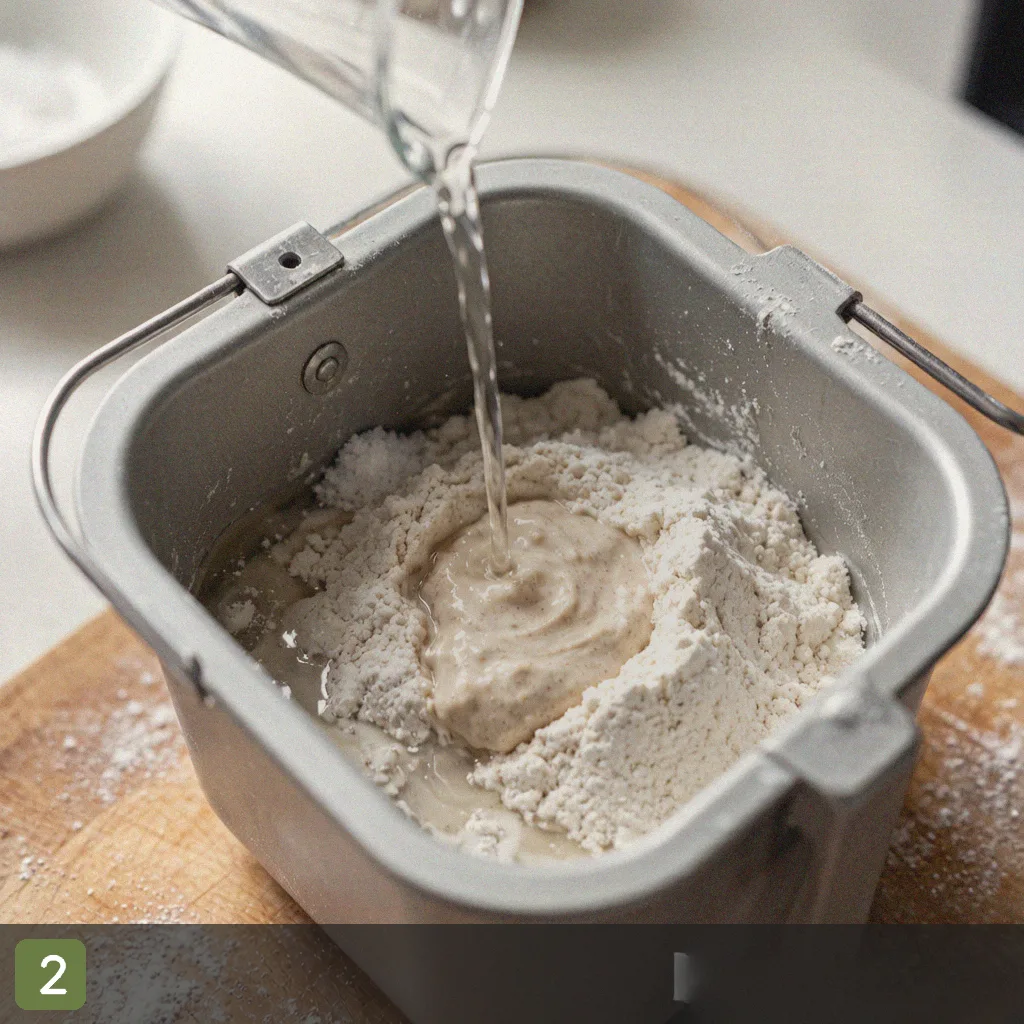
Pour in the water first, then the flour; place salt in a corner and dig a well in the center for the starter. Brush oil on the pan walls to prevent sticking. Liquids on the bottom, dry on top keeps clumps away.
Step 3: Pick the cycle
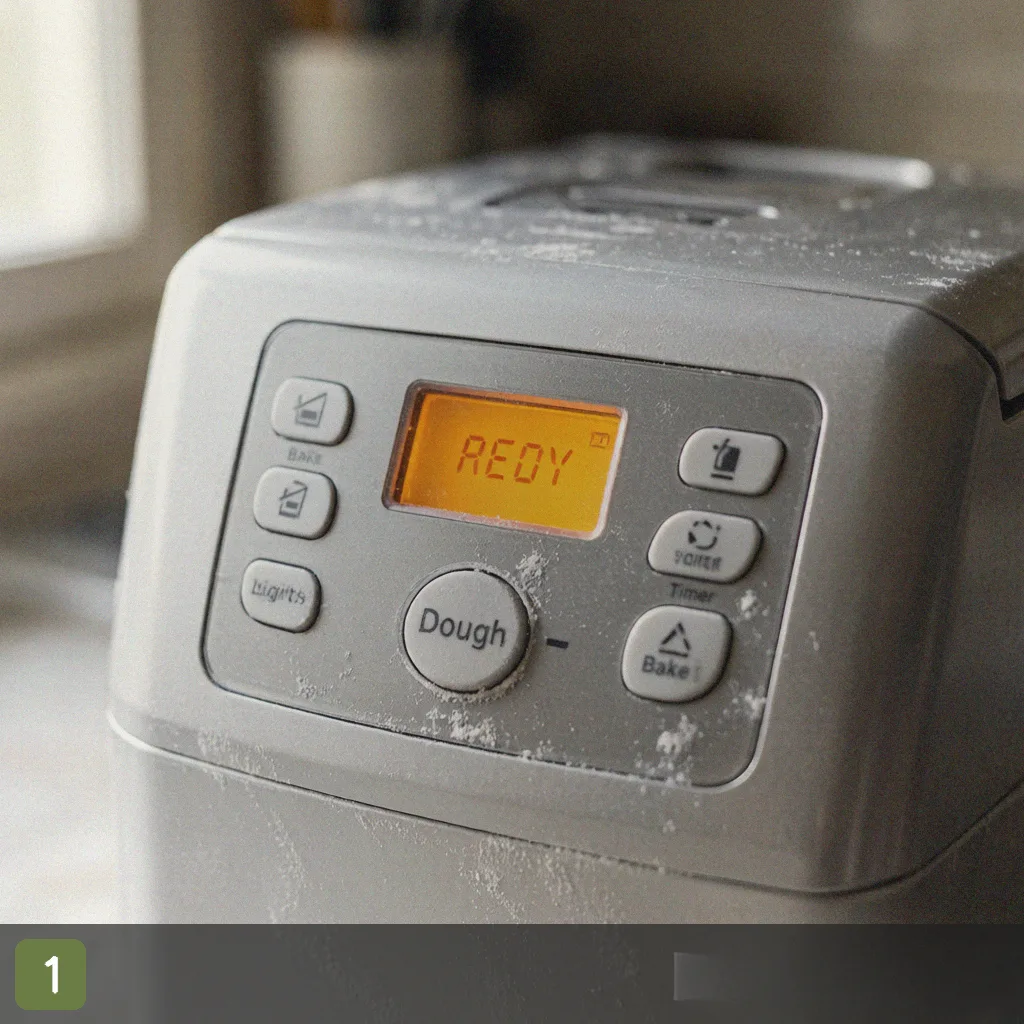
Choose the Dough cycle to handle mixing and first rise (about 1.5 hours). Sourdough needs more time than yeast dough, so skip the quick setting.
Step 4: Shape and second rise
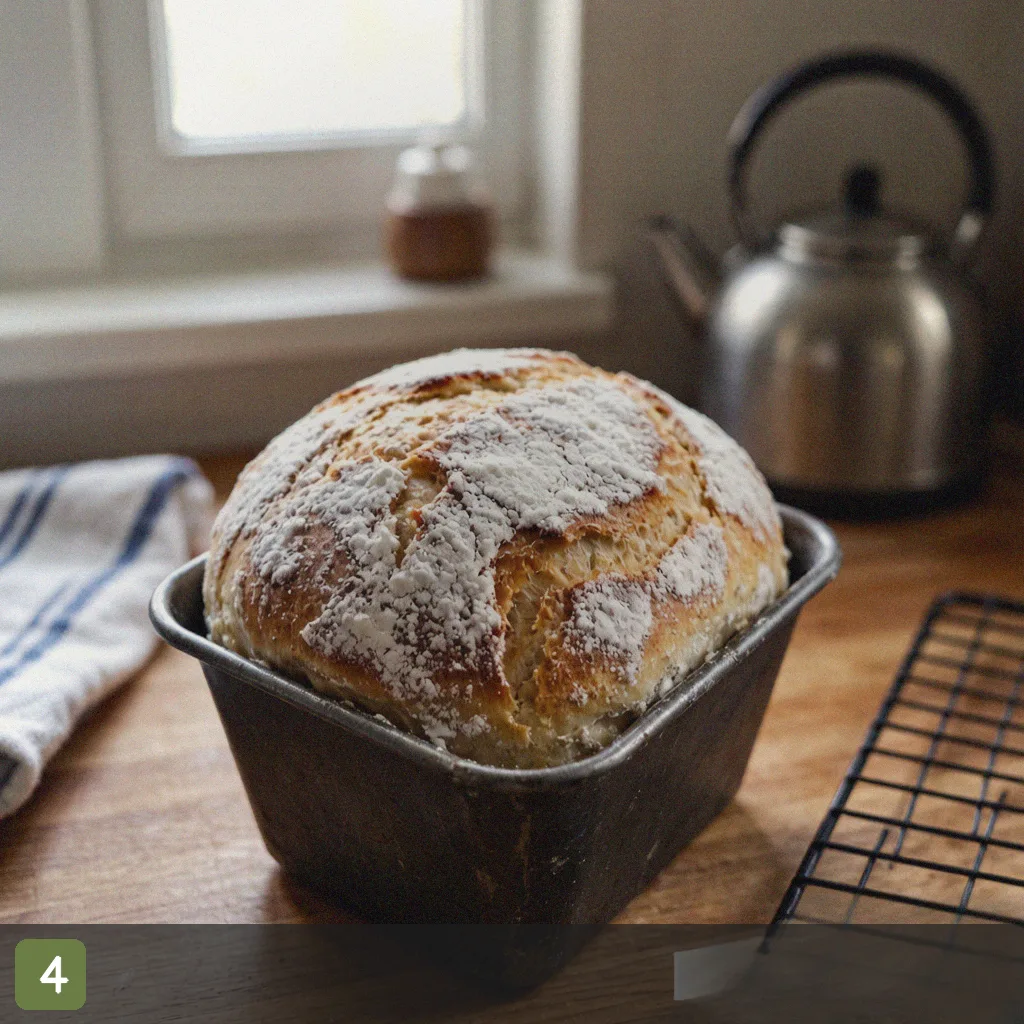
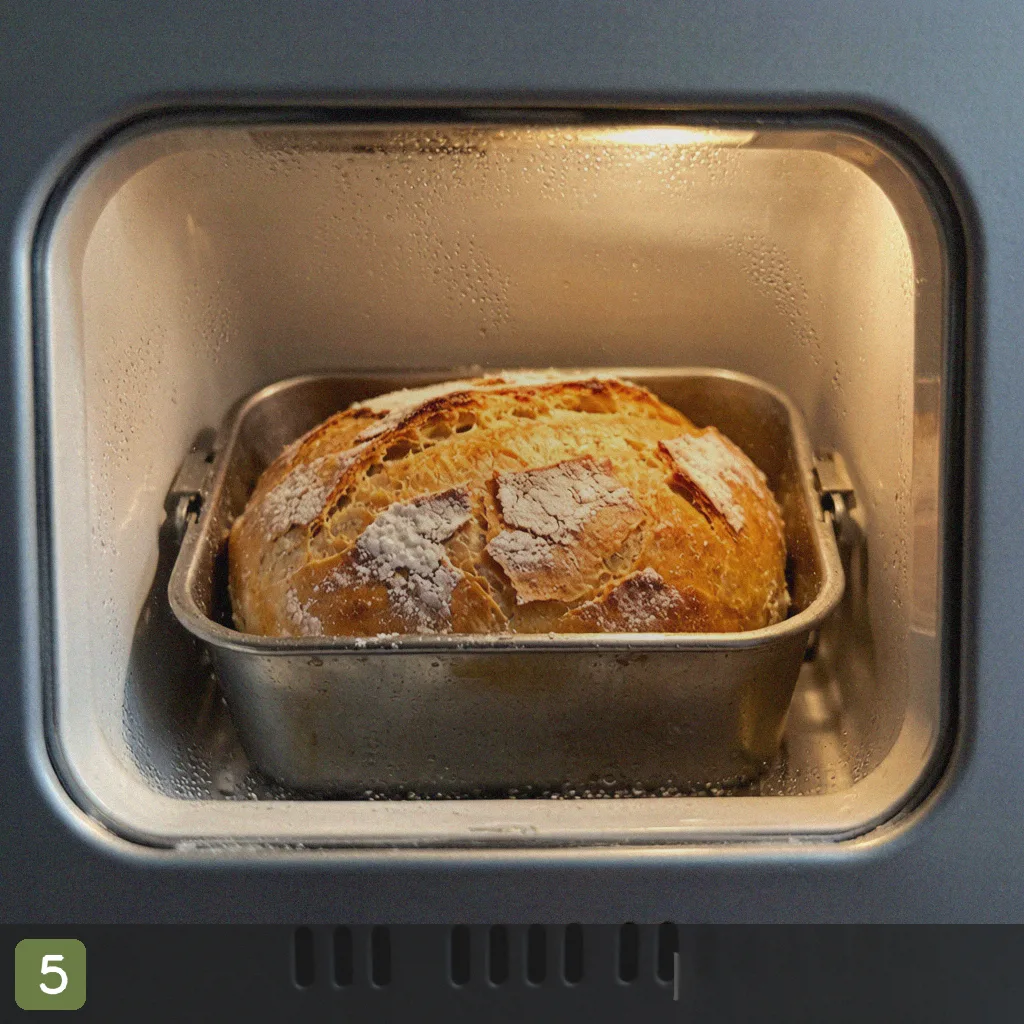
When the cycle ends, take out the dough, gently deflate, shape into a round loaf, and return it to the pan. Dust the top with flour. Let it rise 45–60 minutes until eight-tenths full.
Step 5: Bake
Switch to the Bake cycle (or move to an oven at 220°C / 425°F for 30 minutes). When it comes out, tap the bottom — a hollow sound means it is done. Cool on a rack 1 hour before slicing.
Pro Tips for the Best Results
- Starter is the soul: if it is not active, do not start — wait one more day.
- Skip quick cycles: sourdough needs slow fermentation to build flavor and structure.
- Watch the water: flours absorb differently; the dough should be slightly tacky, not wet.
- Keep salt off the starter: tuck it in a corner so it does not slow the starter down.
- Cool before slicing: cutting warm flattens the holes and makes it gummy.
Frequently Asked Questions
Q: What if I have no starter yet?
A: Build your own with equal parts flour and water, fed daily at room temperature (24–28°C / 75–82°F). Stable bubbles and a sour smell show up in about 5–7 days.
Q: Can I use yeast instead?
A: That makes a different loaf — a bread machine country bread, not true sourdough. This recipe relies on the starter’s wild culture.
Q: Why did my loaf not rise much?
A: Usually a sleepy starter or too short a second rise. Pass the float test and give it enough time.
Q: My sourdough is too sour, or too mild — how do I adjust?
A: A longer ferment tastes more sour. For a gentler loaf, drop the starter to 120g and shorten the second rise.
Q: Can I add nuts or seeds?
A: Yes. Fold in walnuts or sunflower seeds while shaping for extra crunch.
More Bread Machine Recipes to Try
Bread Machine Sourdough
Ingredients
Method
-
Step 1: Check your starter is active: Make sure the starter was fed 4–6 hours ago and floats in a spoon of water (the float test). A sleepy starter will not lift the loaf.
-
Step 2: Layer the ingredients: Pour in the water first, then the flour; place salt in a corner and dig a well in the center for the starter. Brush oil on the pan walls to prevent sticking. Liquids on the bottom, dry on top keeps clumps away.
-
Step 3: Pick the cycle: Choose the Dough cycle to handle mixing and first rise (about 1.5 hours). Sourdough needs more time than yeast dough, so skip the quick setting.
-
Step 4: Shape and second rise: When the cycle ends, take out the dough, gently deflate, shape into a round loaf, and return it to the pan. Dust the top with flour. Let it rise 45–60 minutes until eight-tenths full.
-
Step 5: Bake: Switch to the Bake cycle (or move to an oven at 220°C / 425°F for 30 minutes). When it comes out, tap the bottom — a hollow sound means it is done. Cool on a rack 1 hour before slicing.