Why You’ll Love This Air Fryer Low Sodium Baked Potato
The baked potato is comfort-food royalty, but the restaurant version is brushed with butter and salt — 500–800mg of sodium per potato. This air fryer low sodium baked potato uses a russet, a whisper of oil, and hot air to build a crisp skin and fluffy center with zero salt and under 15mg of sodium per potato.
- Crisp skin, fluffy center in 40 minutes. The air fryer’s circulation crisps the skin better than the oven and fluffs the center more than either.
- Under 15mg sodium per potato. Potatoes carry only about 6mg of natural sodium per 100g, and we add no salt. A restaurant buttered-salted bake runs 500mg+.
- Crisp skin stands in for salt. The crackling skin releases the potato’s natural sweetness as you chew — enough to replace saltiness.
- Healthy fat. Just a thin film of olive oil, unlike butter’s saturated load.
Ingredients
- 2 russet potatoes (about 200g each, skin on)
- 1 tablespoon olive oil
- 1/2 teaspoon black pepper
- 1/2 teaspoon garlic powder (salt-free, optional)
- 0 salt — the low-sodium key.
- Optional: 1/4 teaspoon salt substitute (potassium chloride) — avoid if you have kidney disease or are on a potassium-restricted diet.
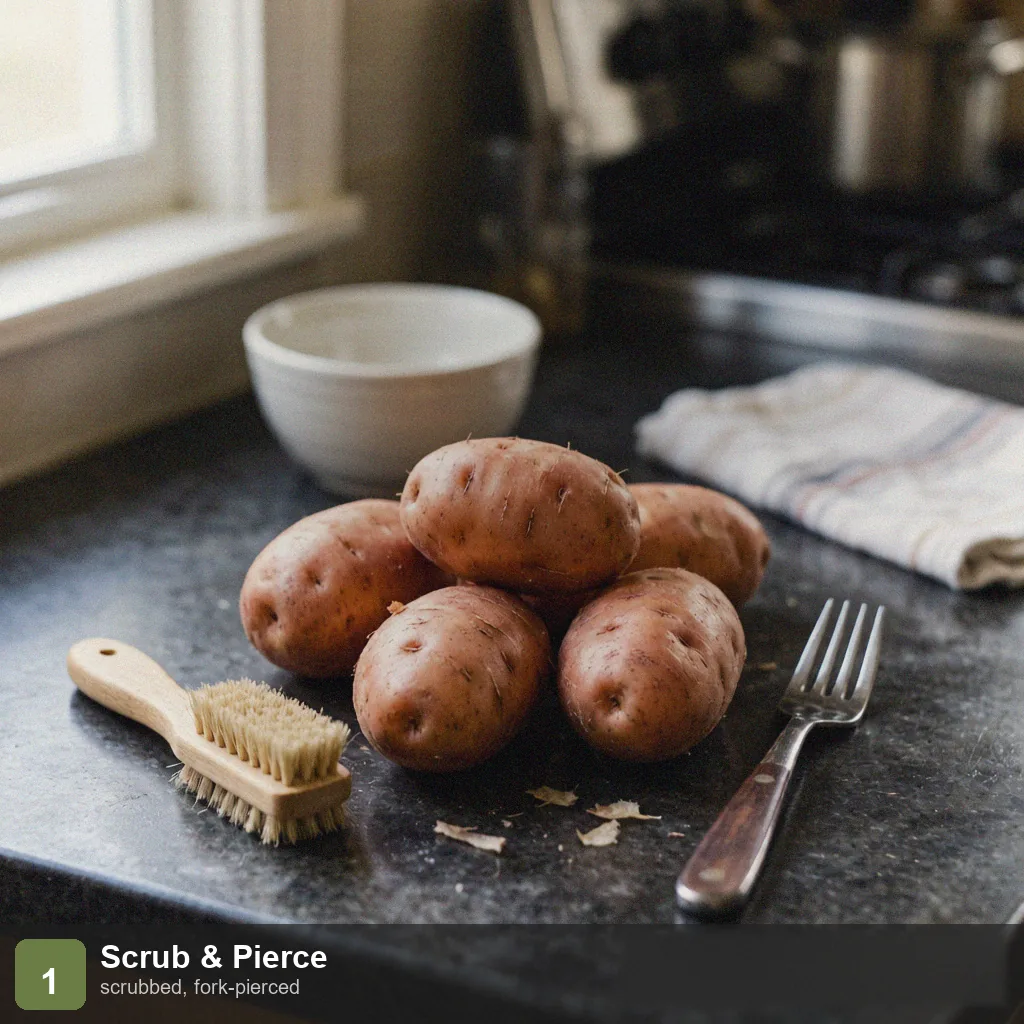
Why bake with the skin on? Potato skin is rich in potassium and fiber, and potassium helps the body shed sodium — a “positive” ingredient for anyone controlling sodium. Skin-on also gives you crisp-outside, fluffy-inside texture. Just scrub the peel clean with a stiff brush.
How to Make Air Fryer Low Sodium Baked Potato
Step 1: Scrub and Pierce
Scrub the potato skins with a stiff brush, then pierce the surface 8–10 times with a fork (piercing releases steam and prevents bursting).
Step 2: Rub With Oil
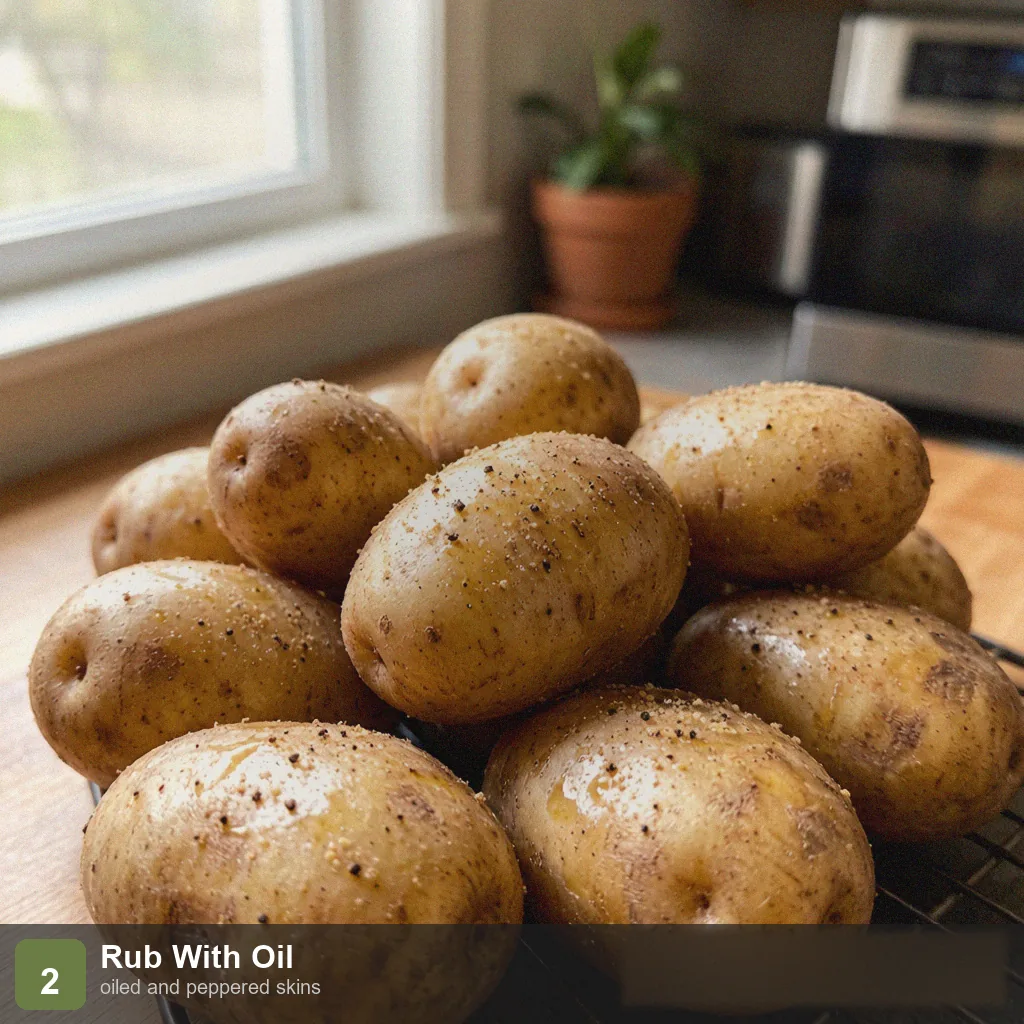
Dry the skins, then brush on a thin layer of olive oil and scatter the black pepper and garlic powder. The oil builds the crisp skin — but don’t overdo it.
Step 3: Load the Basket
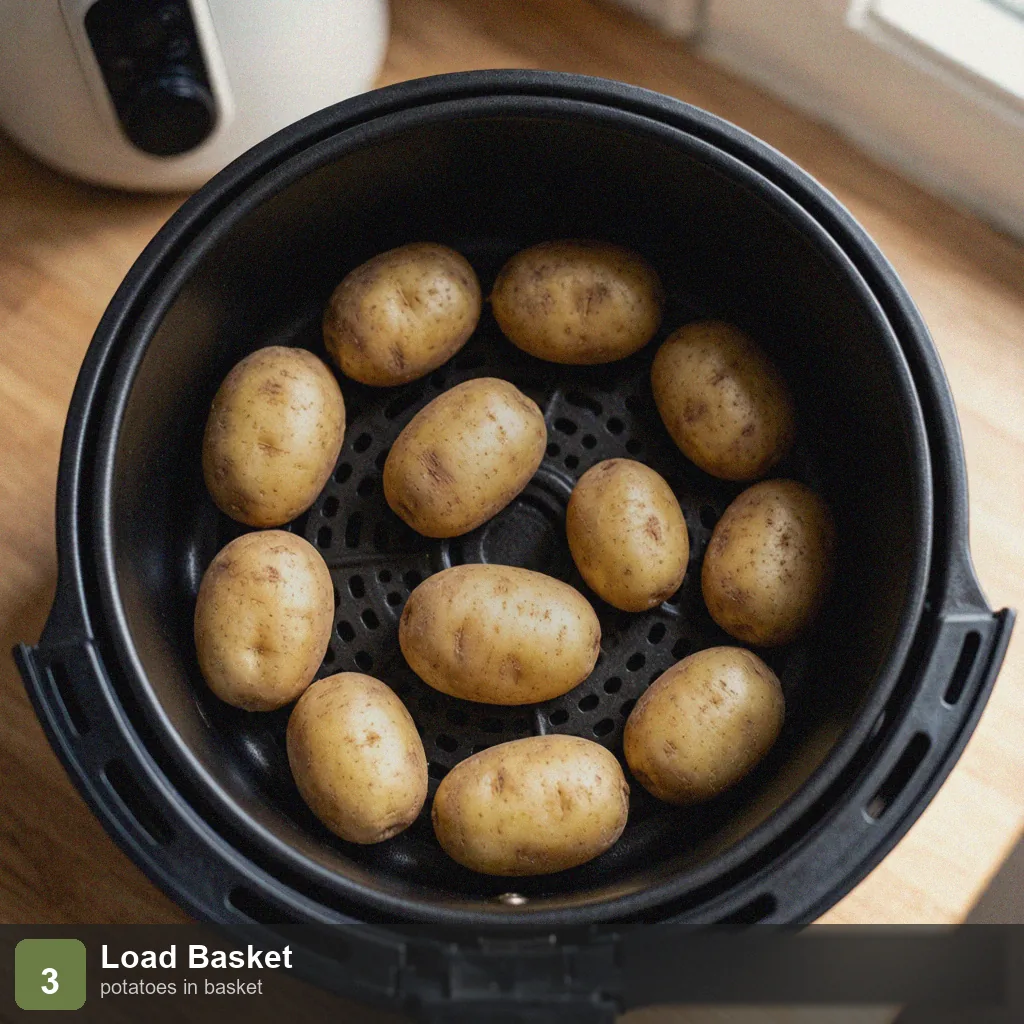
Place the potatoes in the basket with no overlap. Set the air fryer to 200°C (400°F) for 40 minutes (medium potatoes; large ones 45–50 minutes).
Step 4: Flip at the Halfway Mark
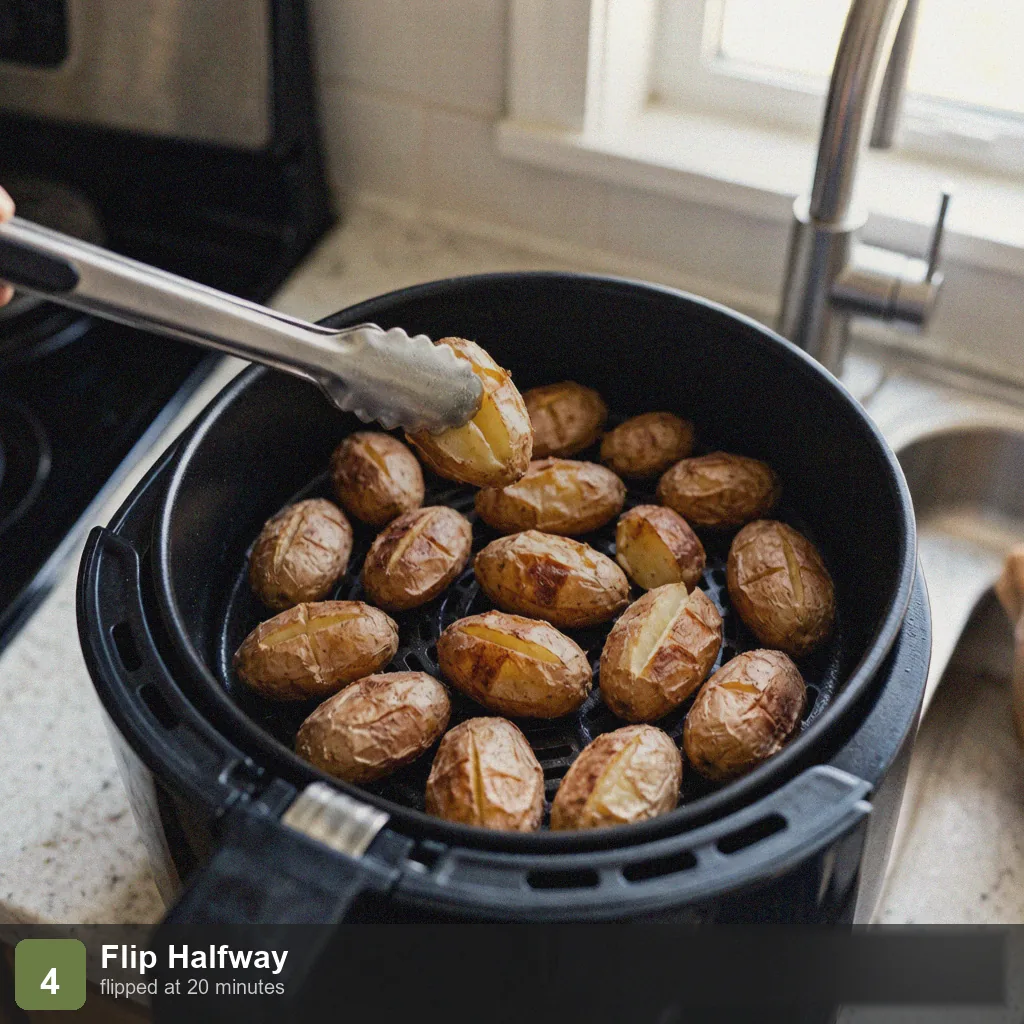
At 20 minutes, pull the basket out and flip the potatoes so all sides crisp evenly.
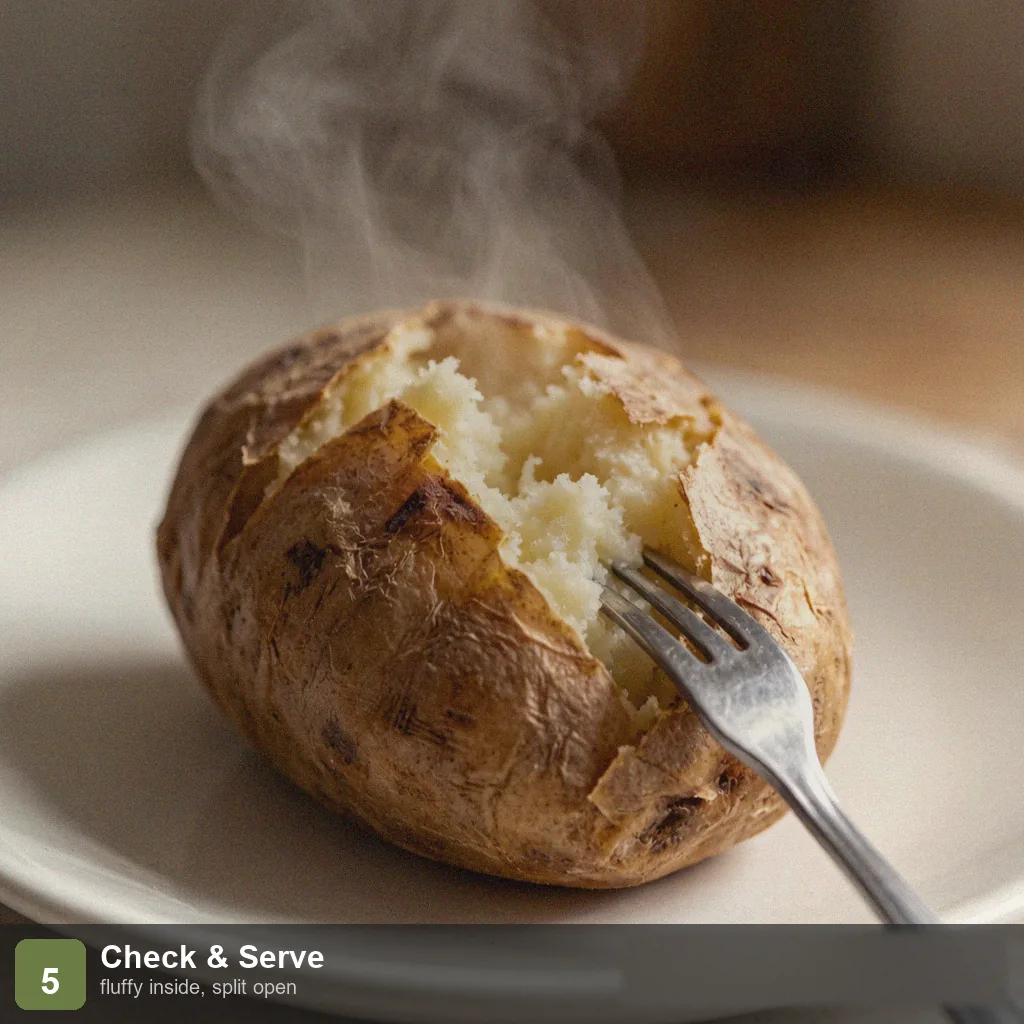
Step 5: Check and Serve
They’re done when a fork slides easily through the center (skin wrinkled and crisp, gently springy when squeezed). Split open, scatter the optional salt substitute, and top with lemon or salt-free Greek yogurt.
Pro Tips
Pierce to prevent bursting. Inner moisture turns to steam under heat; without vents, pressure builds and the potato can burst and mess the basket. Fork through the skin in several spots.
200°C (400°F) for the long haul. A baked potato needs sustained heat to gelatinize the inner starch into fluff and dehydrate the skin into crisp. Low heat or short time gives you a hard center and soft skin.
A thin film of oil is enough. Oil is only the crisp-skin medium — one brush is plenty. More oil won’t crisp more, just grease. Butter is high in sodium and saturated fat, so the low-sodium version uses olive oil.
Salt substitute is optional. Plain no-salt baked potato can taste “flat” to some; a tiny pinch of potassium chloride returns the salty signal — skip it if you limit potassium. Or scoop out the flesh and fill with salt-free Greek yogurt and scallions.
Keep the filling low-sodium. Traditional baked-potato fillings (bacon, cheese) are salty. Swap in salt-free Greek yogurt with black pepper and fresh scallion, or low-sodium stir-fried chicken — sodium stays controllable.
Size the potato to the time. A 200g russet needs about 40 minutes, but a large 300g+ potato can take 45–50, and a small one closer to 35. Judge by the fork test, not the clock: when a fork slides through the center with no resistance, it’s done. Cooking two different sizes together means the smaller one finishes first — pull it, wrap it in foil to stay hot, and let the larger one continue. Either way, the sodium stays around 12mg thanks to zero added salt, so the comfort-food payoff costs you almost nothing on your daily sodium budget.
Frequently Asked Questions
Can I wrap them in foil?
Foil blocks the hot air and turns “baking” into “steaming” — the skin won’t crisp. For crisp skin, skip the foil and place directly in the basket.
What if I don’t have russet?
Yukon golds are creamier but their skin won’t crisp and the center won’t fluff as well. Russet is the top choice for baked potatoes.
Will kids eat them?
Most kids love baked potatoes. Fill with salt-free Greek yogurt and a little salt-free cheese (watch the sodium) for high acceptance.
Can I meal prep this?
Yes — refrigerate for up to 4 days. Re-crisp the skin in the air fryer at 180°C (355°F) for about 6 minutes. A handy bento side.
More Low Sodium Recipes
Serve this air fryer low sodium baked potato with:
- Air Fryer Low Sodium French Fries — the stick version
- Low Sodium Baked Chicken Breast — a main to pair with
- Bread Machine Low Sodium Bread — a low-sodium starch side
- Low Sodium Vegetable Soup — a warming low-sodium bowl
- Air Fryer Low Sodium Brussels Sprouts — a crisp vegetable side
Conclusion
This air fryer low sodium baked potato delivers the comfort of a restaurant bake — crisp skin, fluffy center — with none of the salt: under 15mg sodium per potato in 40 minutes. It’s the heart-healthy side that proves a potato needs nothing but hot air to taste like a treat.
Nutrition Information (Per Serving, ~200g Potato)
| Item | Amount | % Daily Value* |
|---|---|---|
| Calories | 220 kcal | 11% |
| Protein | 5 g | 10% |
| Fat | 5 g | 6% |
| Carbohydrates | 40 g | 15% |
| Fiber | 4 g | 14% |
| Sodium | 12 mg | 1% |
*Daily values are based on a 2,000 kcal diet. Sodium is an estimate for no-added-salt preparation (USDA FoodData Central: russet potato contains about 6mg of natural sodium per 100g) — roughly one-fortieth of a restaurant buttered-salted bake at 500–800mg.
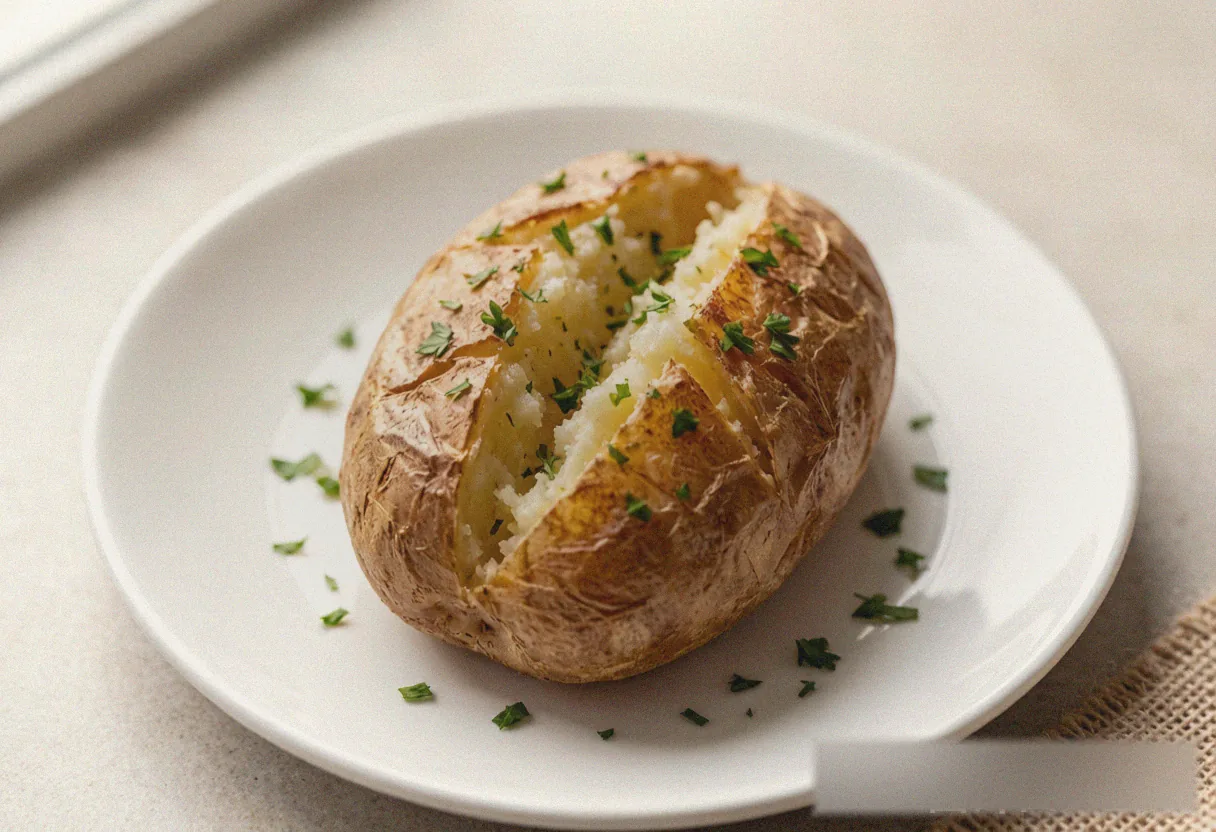
Air Fryer Low Sodium Baked Potato - Crispy & Salt Free
Ingredients
Method
- Step 1: Scrub and Pierce: Scrub the potato skins with a stiff brush, then pierce the surface 8–10 times with a fork (piercing releases steam and prevents bursting).
- Step 2: Rub With Oil: Dry the skins, then brush on a thin layer of olive oil and scatter the black pepper and garlic powder. The oil builds the crisp skin — but don't overdo it.
- Step 3: Load the Basket: Place the potatoes in the basket with no overlap. Set the air fryer to 200°C (400°F) for 40 minutes (medium potatoes; large ones 45–50 minutes).
- Step 4: Flip at the Halfway Mark: At 20 minutes, pull the basket out and flip the potatoes so all sides crisp evenly.
- Step 5: Check and Serve: They're done when a fork slides easily through the center (skin wrinkled and crisp, gently springy when squeezed). Split open, scatter the optional salt substitute, and top with lemon or salt-free Greek yogurt.