Why You’ll Love This Low Sodium One Pot Meal
A one pot meal is the most comforting kind of cooking — rice, meat, and vegetables simmer in one pan, and the sauce ends up soaked into the grains. But creamy restaurant versions run 900–1,500mg of sodium. This low sodium one pot meal (a chicken and rice skillet) uses salt-free broth or water plus herbs, adds zero salt, and keeps every plate under 250mg. Here is why it earns a spot in your rotation.
- One pan, 25 minutes. Raw rice goes straight in with the chicken to simmer — no separate pot of rice. One dish to wash.
- Under 250mg sodium per plate. Cooked in a salt-free liquid (water or low-sodium broth), the sodium comes only from the chicken, rice, and vegetables’ natural content. The restaurant creamy version is 4–6 times higher.
- Rice drinks up the chicken flavor. As it simmers, the chicken’s savory notes and the herbs seep into every grain — far tastier than “rice and meat served apart.”
- Herbs, garlic, and lemon carry it. Toasted garlic, dried thyme, and a lemon finish give clear layers from a single pan; salt is completely unnecessary here.
Ingredients
- 2 boneless, skinless chicken breasts (about 170g each, cut into 2cm cubes)
- 1 cup uncooked white rice (jasmine or long grain)
- 1.75 cups unsalted chicken broth or water
- 1 carrot, diced small
- 3/4 cup frozen peas (or corn kernels)
- 2 tablespoons olive oil
- 3 cloves garlic, minced
- 1 teaspoon dried thyme (or Italian herb blend)
- 1/2 lemon, juiced
- 1/2 teaspoon black pepper
- 0 salt — the low-sodium key
- 1 tablespoon unsalted butter (optional, for a rounder finish)
Why a “salt-free liquid”? Ordinary chicken broth carries about 350–500mg of sodium per cup — one pot and you are blown. Switching to “water plus dried herbs plus garlic” builds flavor from spices instead of salt or bouillon, pulling sodium to a minimum. If you have “low-sodium broth” (under 140mg per cup, labeled low sodium or reduced sodium), it works too and is still far below the regular kind — just don’t grab the wrong carton.
Instructions
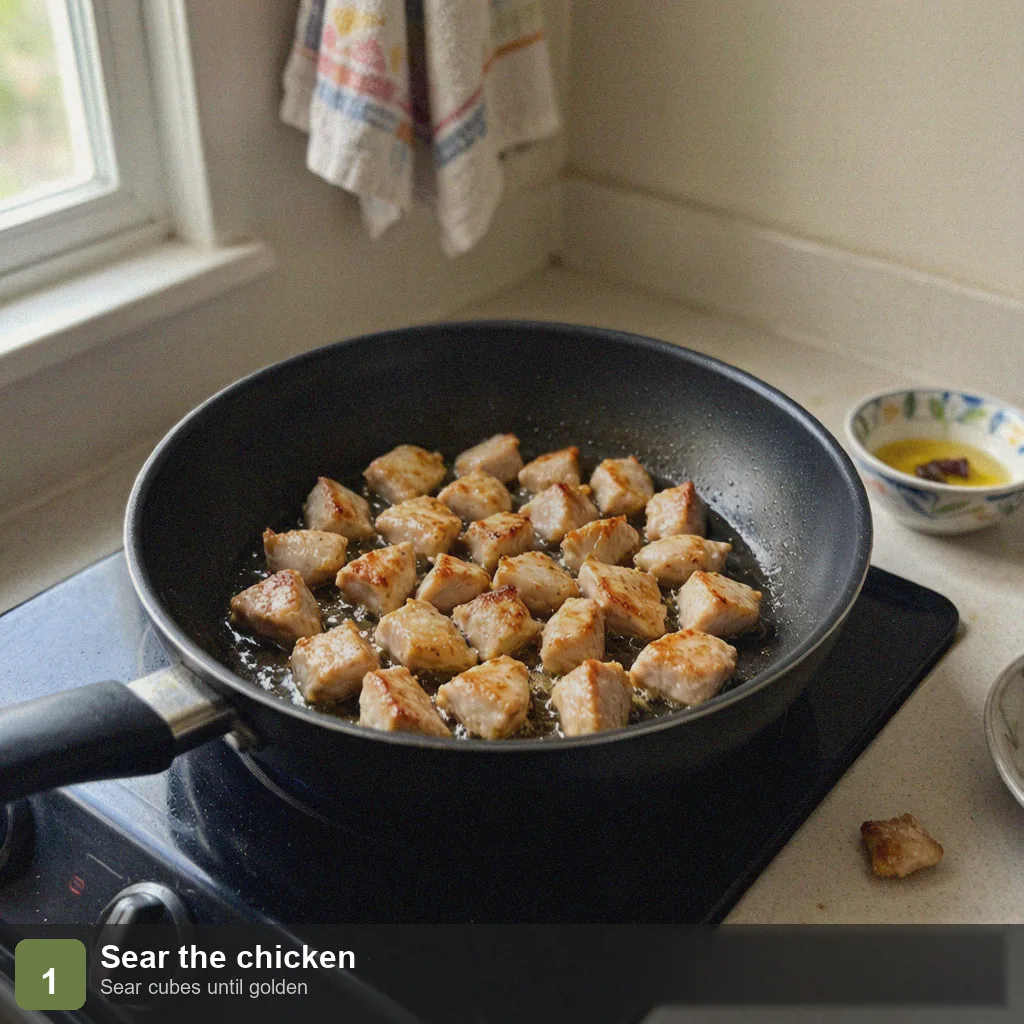
Step 1: Sear the Chicken
Heat 1 tablespoon olive oil in a deep nonstick skillet (with a lid) over medium-high heat. Add the chicken cubes and sear 3–4 minutes until the surfaces turn white with light browning (no need to cook through — they finish later). Remove and set aside; searing first locks in juices.
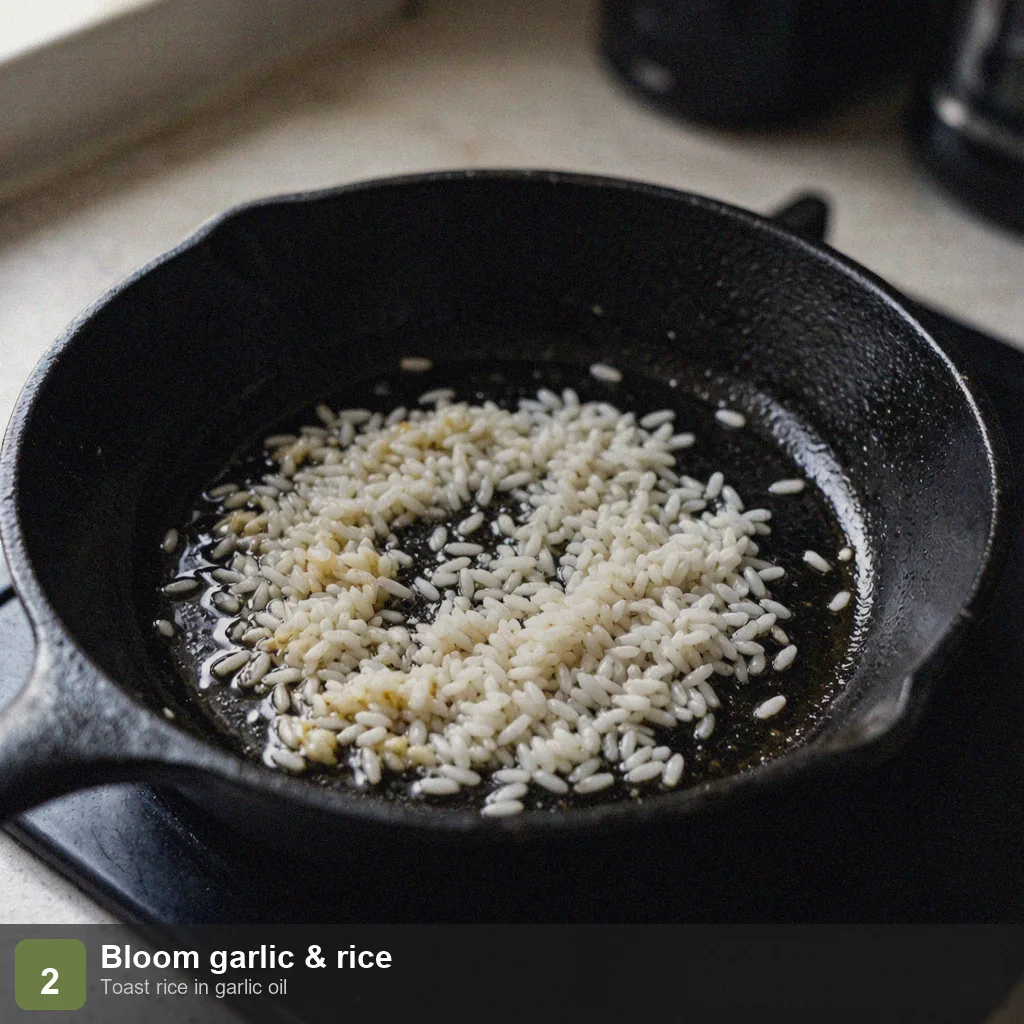
Step 2: Bloom Garlic and Toast the Rice
Add the remaining 1 tablespoon olive oil and the minced garlic; sizzle over medium heat 30 seconds. Stir in the raw rice and toast 1 minute until the grains turn translucent and glisten with garlic oil — this step keeps the finished rice separate, not gluey.
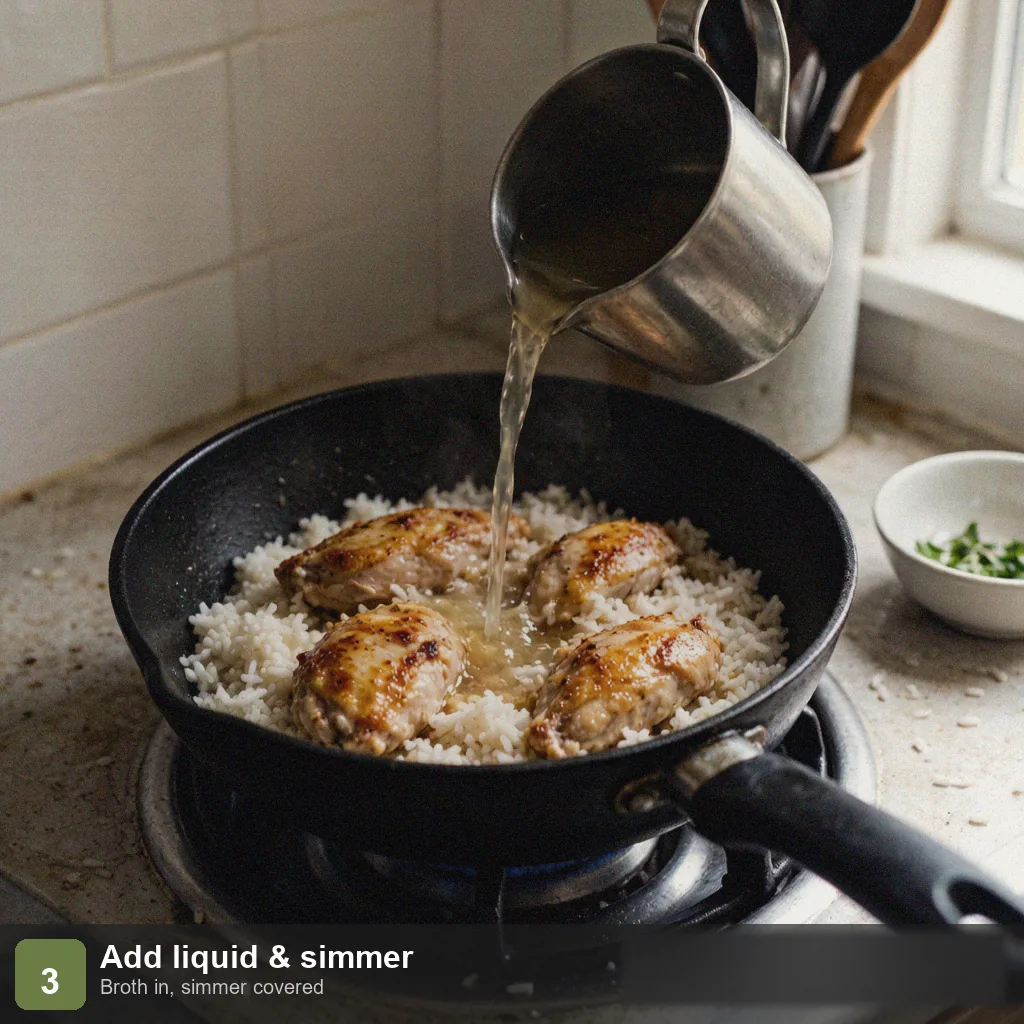
Step 3: Add Liquid and Simmer
Pour in the 1.75 cups unsalted broth (or water) with the dried thyme and black pepper and stir. The liquid should sit about 1cm above the rice. Return the chicken, bring to a boil, then lower to the lowest heat, cover, and simmer 15 minutes — the rice drinks the liquid and swells while the chicken cooks through.
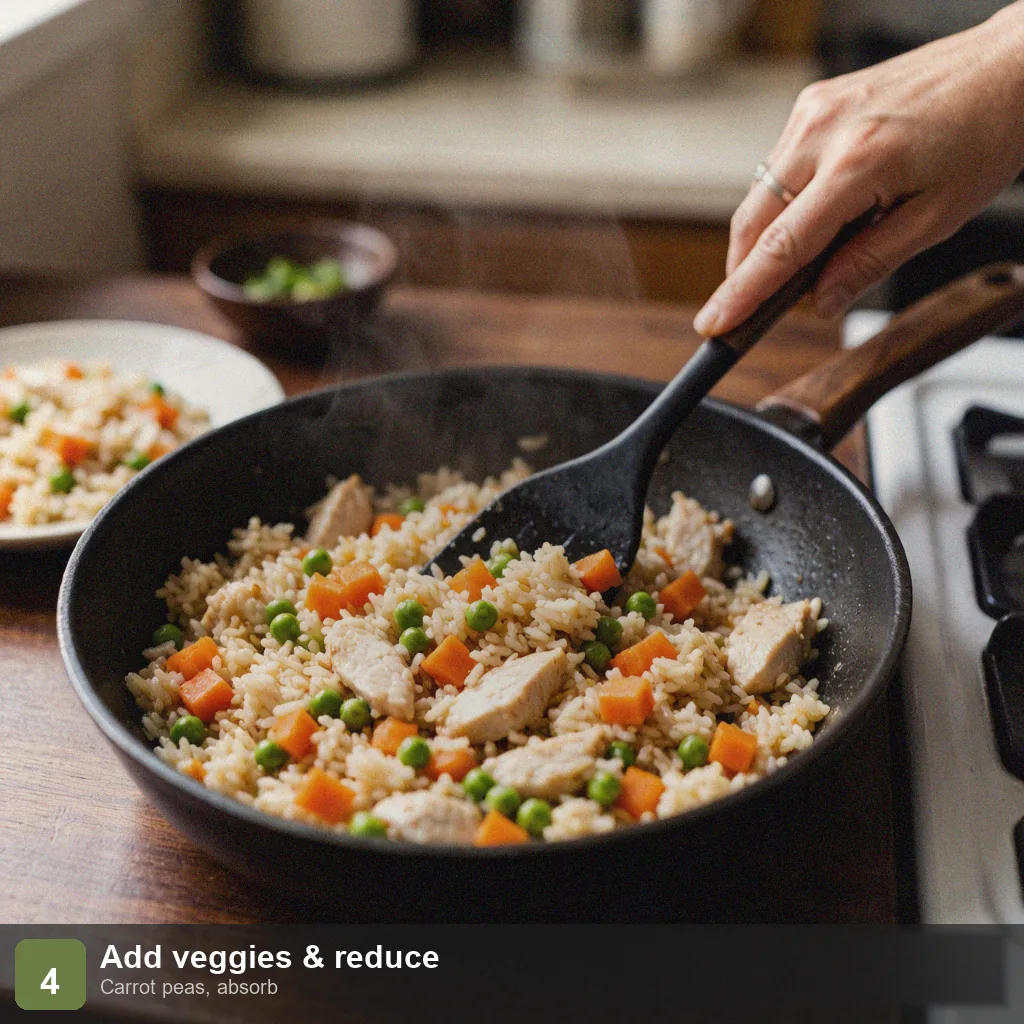
Step 4: Add Vegetables and Reduce
Uncover, scatter the carrot and peas, and stir. Cook uncovered 3–4 minutes until the liquid is mostly absorbed and the carrot is tender. If dry, add 2 tablespoons hot water; if too wet, raise the heat 1 minute to reduce.
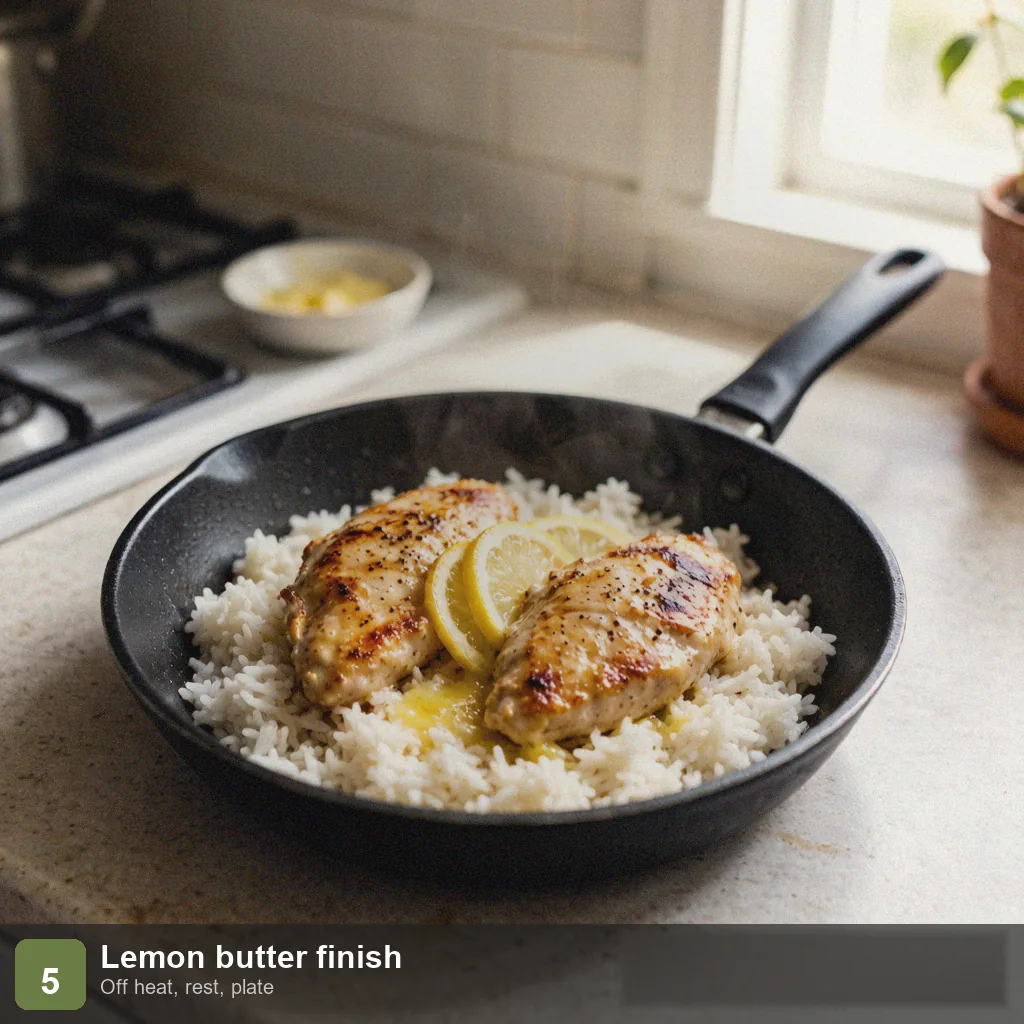
Step 5: Lemon and Butter Finish
Off the heat, add the lemon juice and the optional unsalted butter, stirring to melt with residual warmth — the butter rounds out the pan. Rest 2 minutes so the grains set, then plate with a little black pepper on top.
Pro Tips
Sear the chicken before the rice — order matters. Simmering raw rice with raw chicken cubes makes the meat tough and the released juices turn the rice gray. Sear until set, remove, then return briefly once the rice is nearly done, so the texture stays tender.
Do not skip toasting the rice. Raw rice dropped straight into liquid scorches the bottom and clumps. A 1-minute toss in oil gelatinizes the surface starches first, so the grains stay distinct and the pan stays clean.
When in doubt, use less liquid. The standard is “about 1cm above the rice.” Too much and you get porridge; too little and the center stays crunchy. Rices differ (jasmine drinks less than long grain) — at 15 minutes, uncover and reduce if liquid remains, or add 2 tablespoons hot water and keep simmering if the rice is still hard.
Peas last for color and nutrition. Frozen peas are already cooked; long simmering yellows them and leaks vitamins. Stir them in uncovered for the final 3–4 minutes just to heat through — bright green, sweet, and snappy.
Meal-prep powerhouse. Make a 4-serving batch, portion it, and refrigerate up to 3 days. Reheat 2 minutes in the microwave or 3 minutes in a skillet with 1 tablespoon water and a lid — the easiest “bring your own lunch” pot on a low-sodium diet.
Storage
Store cooled leftovers in an airtight container in the fridge for up to 3 days. Reheat in the microwave for about 2 minutes, or in a skillet with 1 tablespoon water over a lid for 3 minutes. The low sodium one pot meal freezes for up to a month, though the peas soften on thaw.
Frequently Asked Questions
Can I use brown rice instead of white?
Yes, but brown rice drinks more and takes longer — about 35–40 minutes of simmering. Raise the liquid to 2 cups and return the chicken around the 25-minute mark so it doesn’t overcook. Higher in fiber and gentler on blood sugar.
No salt-free broth — is water okay?
Completely fine, and it is the lowest-sodium option. Flavor comes from garlic, thyme, and lemon, and the result is still aromatic. Low-sodium broth is just a “a bit more savory” upgrade, not a requirement.
Can I use chicken thighs?
Yes. Thighs are fattier and more tender, but their natural sodium is a bit higher (about 80mg/100g versus 55mg for breast). Cube and sear 5 minutes per side to be sure they are cooked through.
Will kids eat it?
Probably yes — a chicken-and-rice one pot is the kid-friendly “meat and carbs together” shape. If yours dislike peas, swap in corn or skip them; the chicken and rice alone are flavorful.
Is it DASH or renal friendly?
At about 235mg sodium per plate it fits a DASH plan. For a renal diet the sodium is low and natural only; carrots add potassium, so check with your dietitian if on a potassium limit.
Conclusion
A low sodium one pot meal turns “too tired to cook” into a 25-minute win. One skillet, salt-free liquid, and zero added salt give you creamy chicken and rice under 250mg of sodium — the kind of comforting, heart-healthy dinner that makes sticking to the plan feel easy.
More Low Sodium Recipes
- Low Sodium Sheet Pan Dinner — the oven version of one-pan thinking
- Low Sodium 15 Minute Dinner — the faster skillet version
- Low Sodium Chicken Soup — another soothing low-sodium bowl
- Bread Machine Low Sodium Bread — the side to mop the pan
Nutrition Information (Per Serving, 1 of 2)
| Item | Amount | % Daily Value* |
|---|---|---|
| Calories | 420 kcal | 21% |
| Protein | 40 g | 80% |
| Fat | 13 g | 17% |
| Carbohydrates | 35 g | 13% |
| Fiber | 3 g | 11% |
| Sodium | 235 mg | 10% |
*Daily values are based on a 2,000 kcal diet. Sodium is an estimate for no-added-salt preparation (USDA FoodData Central: chicken breast about 55mg/100g, white rice about 1mg/100g, carrot about 69mg/100g, peas about 5mg/100g natural sodium) — roughly one-quarter to one-sixth of a restaurant creamy chicken-and-rice at 900–1,500mg.
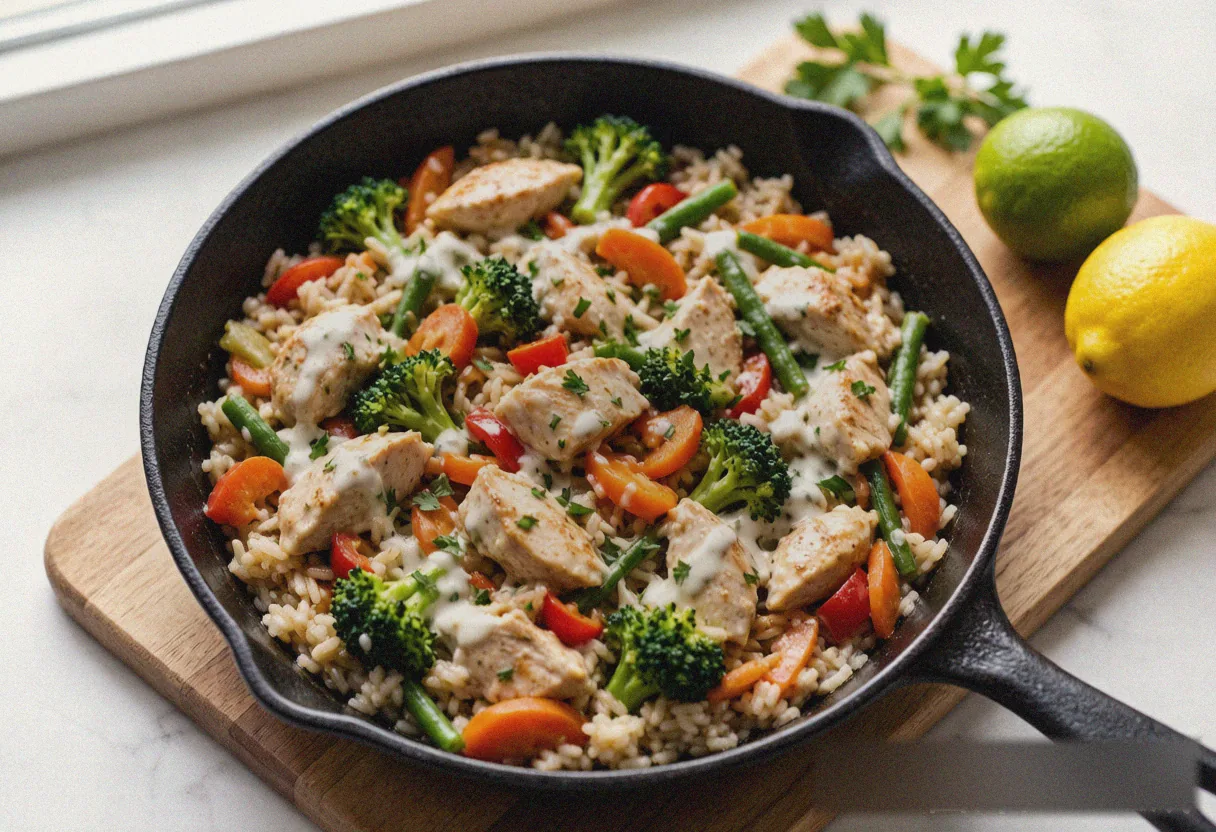
Low Sodium One Pot Meal - Chicken Rice Skillet
Ingredients
Method
- Step 1: Sear the Chicken: Heat 1 tablespoon olive oil in a deep nonstick skillet (with a lid) over medium-high heat. Add the chicken cubes and sear 3–4 minutes until the surfaces turn white with light browning (no need to cook through — they finish later). Remove and set aside; searing first locks in juices.
- Step 2: Bloom Garlic and Toast the Rice: Add the remaining 1 tablespoon olive oil and the minced garlic; sizzle over medium heat 30 seconds. Stir in the raw rice and toast 1 minute until the grains turn translucent and glisten with garlic oil — this step keeps the finished rice separate, not gluey.
- Step 3: Add Liquid and Simmer: Pour in the 1.75 cups unsalted broth (or water) with the dried thyme and black pepper and stir. The liquid should sit about 1cm above the rice. Return the chicken, bring to a boil, then lower to the lowest heat, cover, and simmer 15 minutes — the rice drinks the liquid and swells while the chicken cooks through.
- Step 4: Add Vegetables and Reduce: Uncover, scatter the carrot and peas, and stir. Cook uncovered 3–4 minutes until the liquid is mostly absorbed and the carrot is tender. If dry, add 2 tablespoons hot water; if too wet, raise the heat 1 minute to reduce.
- Step 5: Lemon and Butter Finish: Off the heat, add the lemon juice and the optional unsalted butter, stirring to melt with residual warmth — the butter rounds out the pan. Rest 2 minutes so the grains set, then plate with a little black pepper on top.