Low Sodium Baked Chicken Breast
Chicken breast is the default protein for anyone on a low-sodium diet — lean, versatile, and naturally low in sodium at about 55mg per 100g. The problem is that most recipes ruin it by burying it in salt-heavy marinades and spice rubs. This low sodium baked chicken breast takes the opposite approach: a simple herb and lemon marinade, precise oven temperature, and one $15 tool that makes the difference between dry cardboard and genuinely juicy meat.
The result is 75mg of sodium per serving — almost entirely from the chicken itself — with a golden herb crust and an interior so tender you can cut it with a fork.
Why You’ll Love This Recipe
Health Notice: This recipe is designed for low-sodium diets. The American Heart Association recommends no more than 2,300mg of sodium per day, with an ideal limit of 1,500mg for most adults. Sodium values are estimates based on USDA food composition data. Always consult your healthcare provider before making dietary changes. See our Medical Disclaimer for more information.
- Only 75mg sodium per serving. Chicken breast naturally contains about 55mg of sodium per 100g. This recipe adds virtually no additional sodium — the flavor comes entirely from olive oil, lemon, garlic, and dried herbs. It’s as close to “zero added salt” as a chicken recipe gets.
- Never dry, never rubbery. Dry chicken breast is a technique problem, not an ingredient problem. This recipe solves it with three specific moves: pounding the breasts to an even thickness so they cook uniformly, pulling them from the oven at 71°C (160°F) instead of 74°C (165°F) so carryover cooking finishes the job, and resting for 5 minutes before slicing so the juices redistribute.
- The herb crust does the work salt usually does. A blend of dried rosemary, thyme, garlic powder, and smoked paprika coats the surface of the chicken and forms a fragrant, savory crust in the oven. By the time you slice into it, your nose has already told your brain that this chicken is well-seasoned — no salt required.
- Meal prep MVP. Bake 4–6 breasts at once, refrigerate for up to 4 days, and slice as needed for salads, sandwiches, grain bowls, or pasta. One batch of cooking feeds you for half the week.
Ingredients You’ll Need
- 4 boneless, skinless chicken breasts (about 170g each)
- 2 tablespoons olive oil
- 1 teaspoon garlic powder
- 1 teaspoon dried rosemary (or 1 tablespoon fresh rosemary, finely chopped)
- 1 teaspoon dried thyme
- ½ teaspoon black pepper
- ½ teaspoon smoked paprika (optional, for color and depth)
- 1 lemon (half juiced, half sliced into rounds)
- 2 garlic cloves, smashed
Why a meat thermometer matters. Chicken breast’s ideal internal temperature is 74°C (165°F). Above that, muscle proteins contract violently and squeeze out moisture. Relying on cooking time alone is a gamble — breasts vary in thickness, ovens run differently, and starting temperatures differ. A $15 instant-read thermometer removes the guesswork entirely and is the single most cost-effective kitchen upgrade for anyone who cooks chicken regularly.
How to Make Low Sodium Baked Chicken Breast
Step 1: Even Out the Thickness
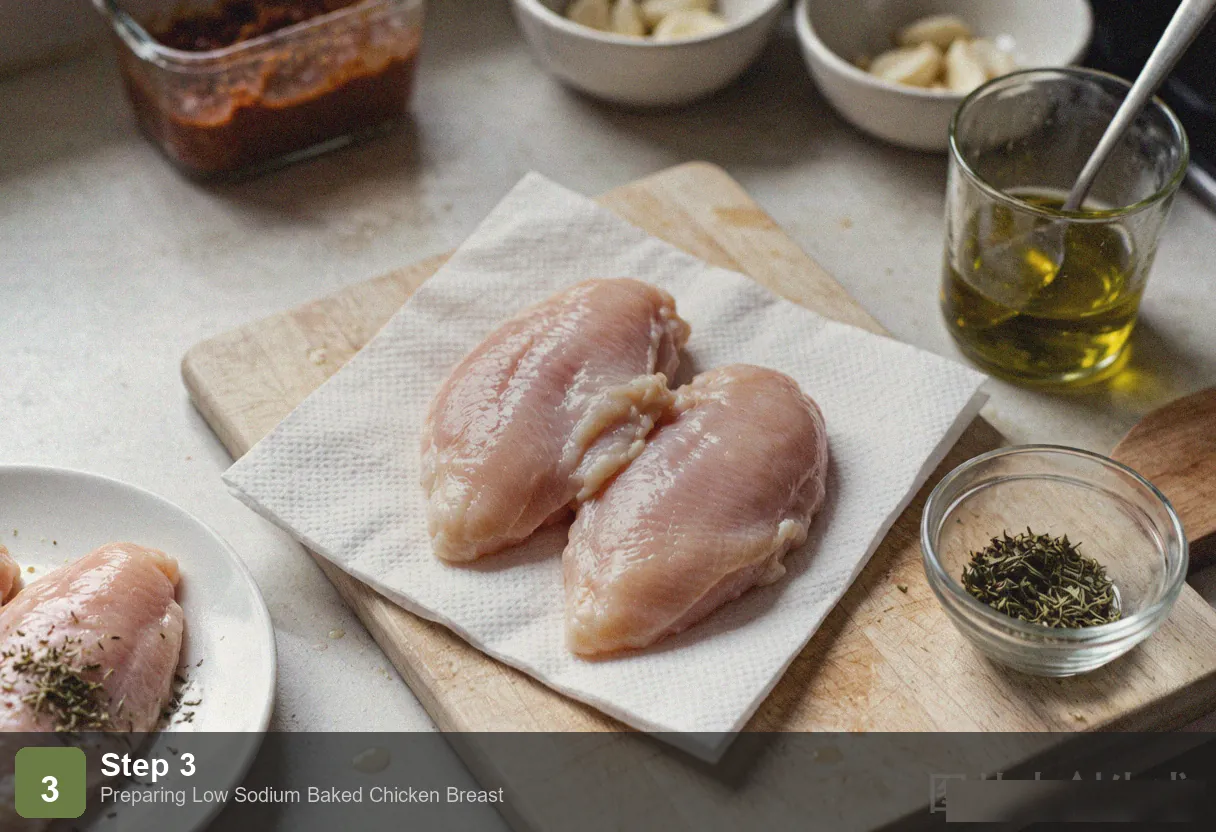
Place each chicken breast on a cutting board. Press the thickest part with your palm to find where it bulges. If one end is significantly thicker than the other — which it almost always is — butterfly the thick side by slicing horizontally partway through and folding it open like a book. The goal is uniform thickness across the entire breast. This matters because a tapered breast will be overcooked and dry at the thin end before the thick end reaches a safe temperature.
Step 2: Make the Herb Marinade
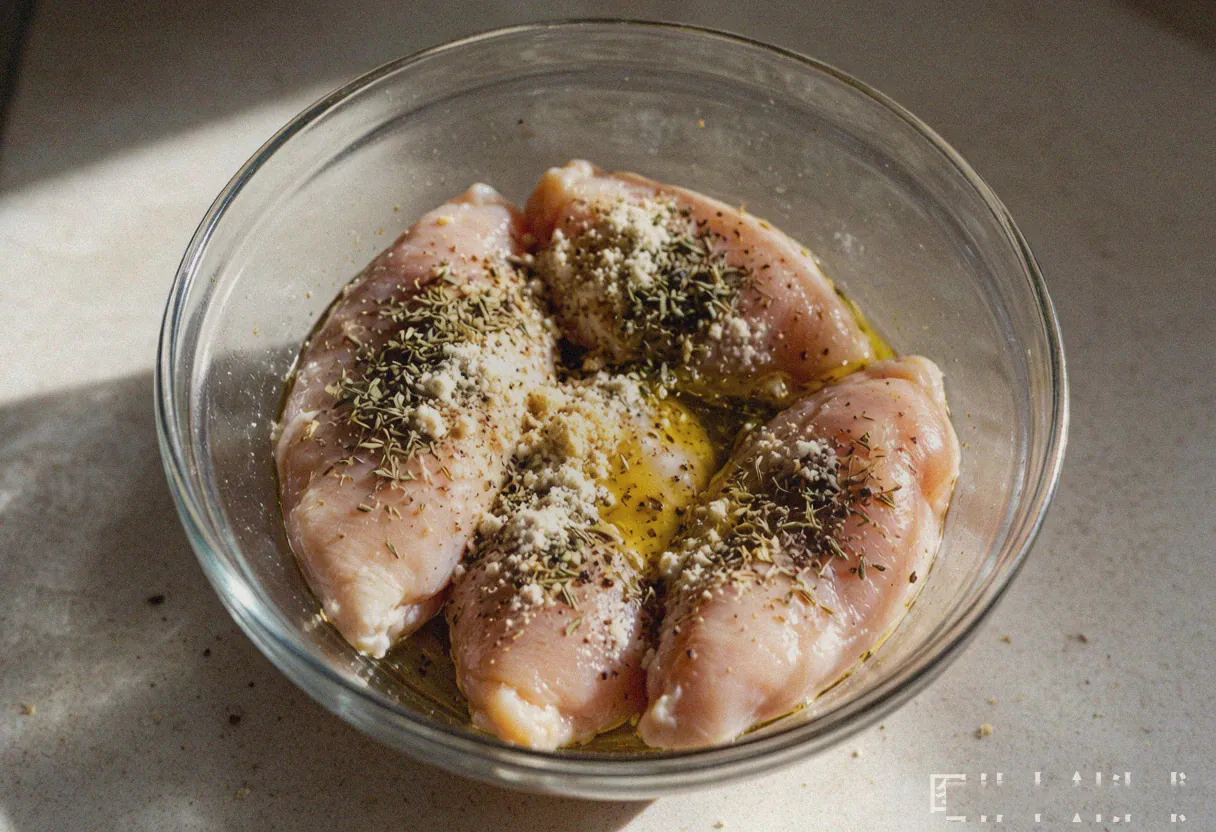
In a small bowl, whisk together the olive oil, lemon juice, garlic powder, dried rosemary, dried thyme, black pepper, and smoked paprika. Drop the smashed garlic cloves into the bowl to infuse their flavor into the oil. You don’t need a long marinade time — 10 minutes is enough for the surface of the chicken to absorb the herb flavor. If you want to marinate longer, refrigerate for up to 2 hours maximum. Do not exceed 4 hours: the acid in the lemon juice will begin to denature the chicken proteins, giving the surface a mushy, powdery texture.
Step 3: Coat the Chicken
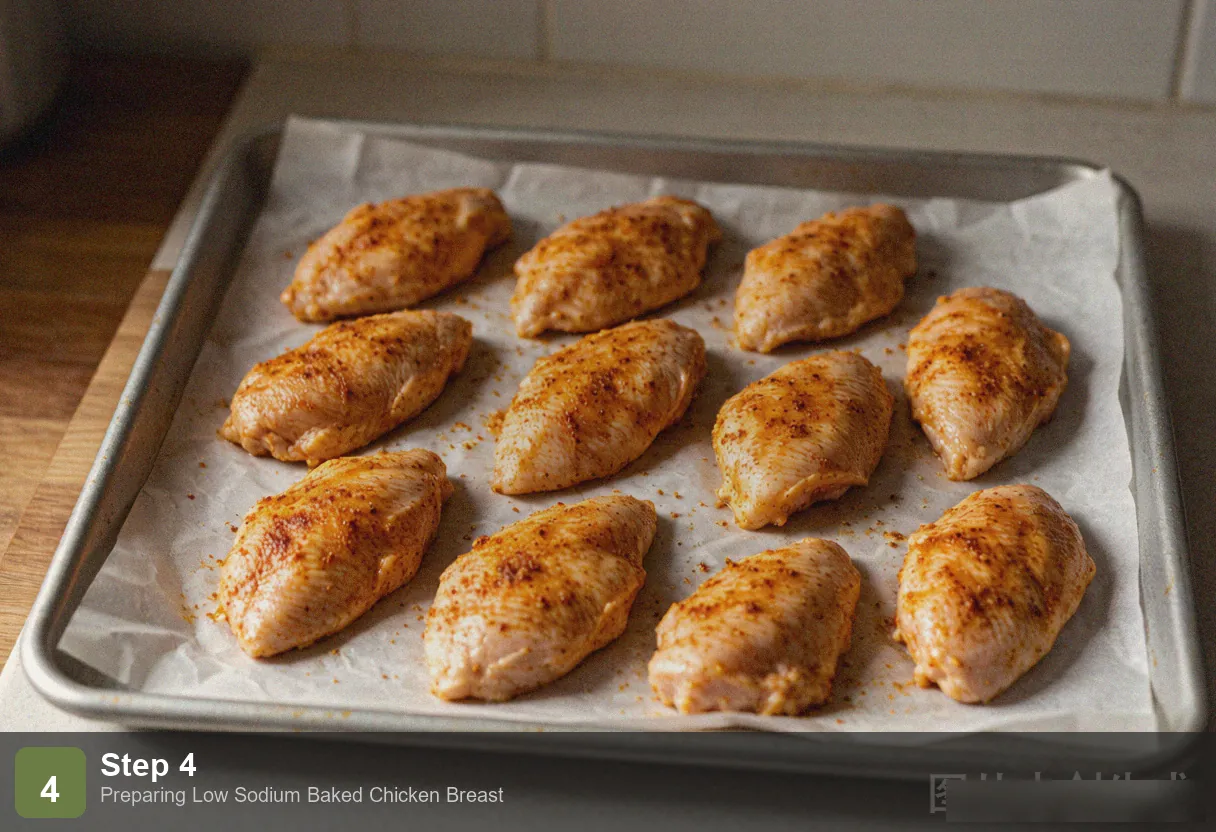
Place the chicken breasts in a zip-top bag or shallow dish and pour the herb marinade over them. Massage the bag gently from the outside to ensure every surface of every breast is coated with the herbed oil. Press out as much air as possible, seal, and let sit at room temperature for 10 minutes. Meanwhile, preheat your oven to 400°F (200°C).
Step 4: Bake to Temperature, Not Time
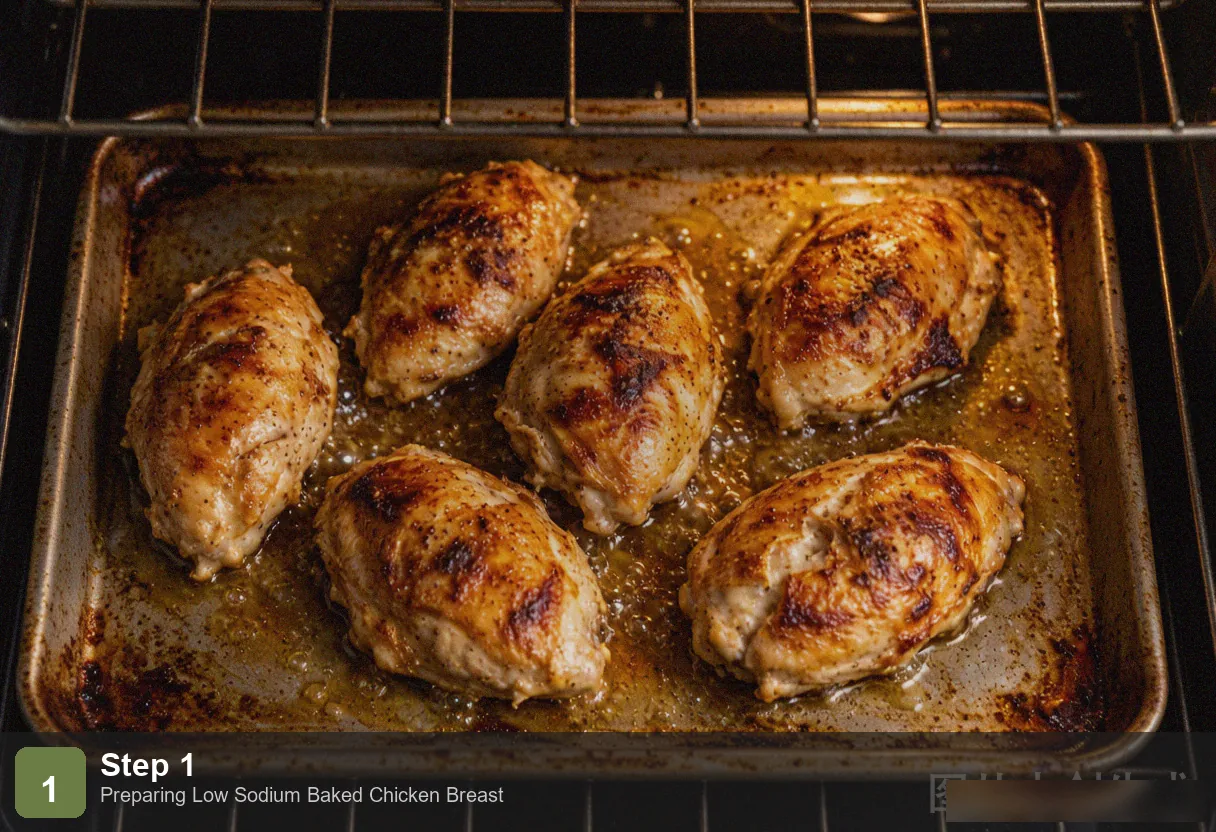
Arrange the chicken breasts on a parchment-lined baking sheet in a single layer with space between them. Lay the lemon slices and smashed garlic cloves on top of the chicken. Bake for 18–22 minutes. At the 15-minute mark, insert a meat thermometer into the thickest part of the largest breast. When it reads 71°C (160°F), pull the pan from the oven immediately. If you don’t have a thermometer, slice into the thickest breast — the meat should be uniformly white with clear juices and no trace of pink.
Step 5: Rest, Then Slice
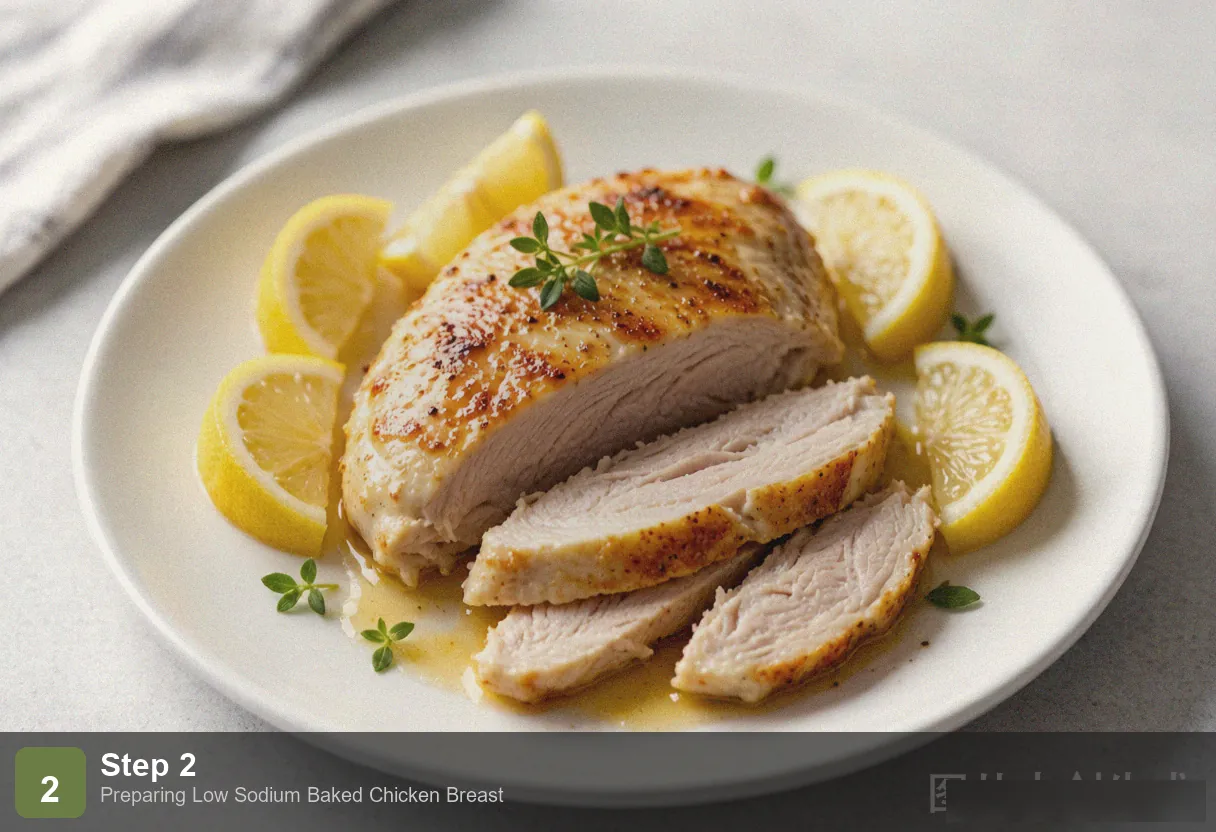
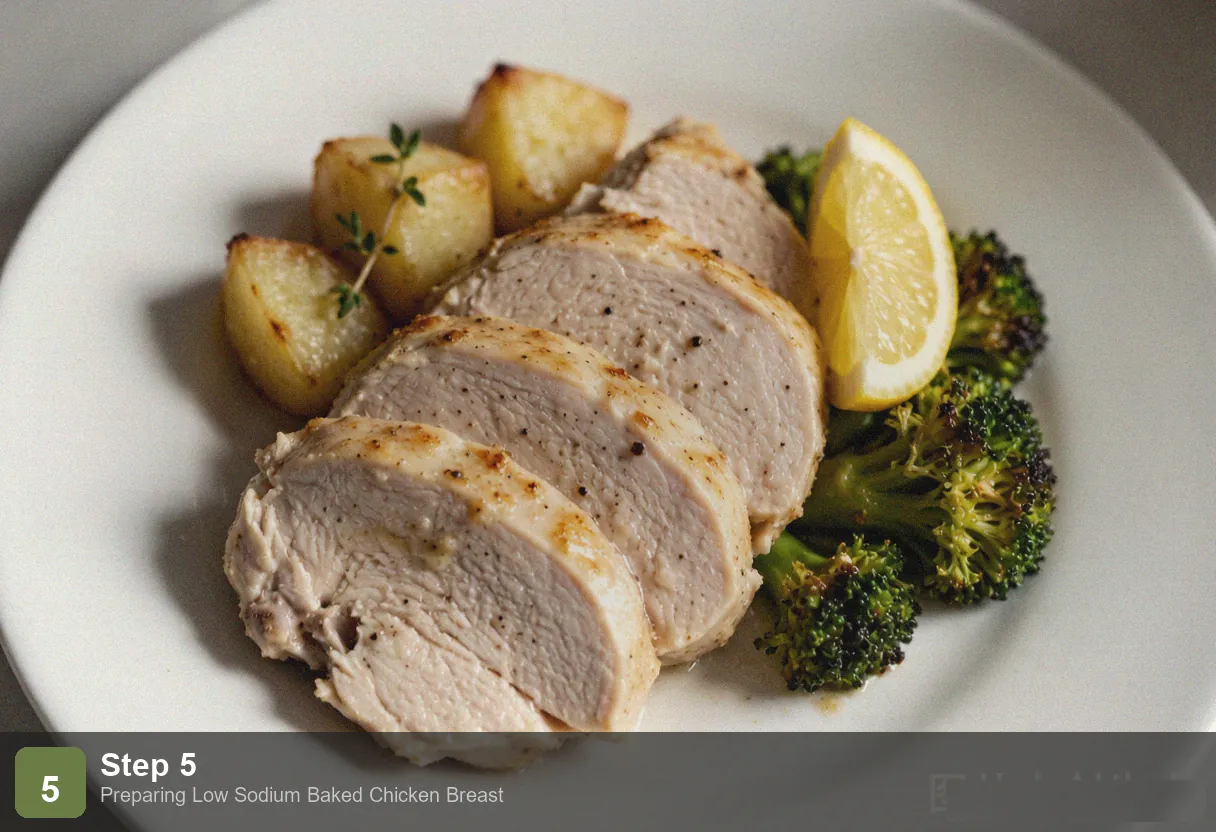
This is the step most home cooks skip, and it’s the one that makes the difference between juicy chicken and dry disappointment. Transfer the chicken to a cutting board, tent loosely with foil, and let it rest for 5 full minutes. During this rest, the internal temperature will continue rising another 1–2°C (carryover cooking), bringing it to the safe 74°C (165°F) mark. More importantly, the muscle fibers relax and reabsorb the juices that were driven to the surface during cooking. Cut immediately and those juices pour out onto the board. Wait 5 minutes and they stay in the meat. Slice against the grain on a slight diagonal.
Pro Tips
400°F (200°C) is the sweet spot for chicken breast. Any lower and the cooking time stretches out, giving moisture more opportunity to escape. Any higher and the exterior will burn before the center reaches a safe temperature. At 400°F, the surface forms a golden herb crust in about 18–22 minutes while the interior comes to temperature at roughly the same moment. If you want a thicker, crispier crust, switch the oven to broil for the last 2 minutes — but watch it closely.
Resting is as important as cooking. Professional kitchens call this “carryover cooking.” When you pull chicken from the oven at 71°C (160°F), the residual heat in the outer layers continues to migrate inward, raising the core temperature to a food-safe 74°C (165°F) without additional oven time. If you wait until the thermometer reads 74°C to pull it, carryover cooking will push it to 77°C or higher — and at that point the proteins have squeezed out enough moisture to make the meat noticeably dry.
Dried herbs outperform fresh in the oven. Dried rosemary and thyme release their aromatic compounds slowly over 20 minutes of oven heat, perfuming the chicken the entire time it bakes. Fresh herbs burn off their volatile oils within about 10 minutes in a hot oven, leaving behind little more than visual decoration. If you want to use fresh herbs, scatter them over the finished chicken as a garnish rather than baking them into the crust.
Frequently Asked Questions
What if I don’t have a meat thermometer?
Use the cut-and-check method: at 18 minutes, take one breast and slice into the center. If the meat is completely white with no pink and the juices run clear, it’s done. If there’s any pink or the juices are cloudy, return it to the oven for another 3 minutes and check again. This method sacrifices one slice of presentation in one breast but is far more reliable than blindly trusting a timer.
Can I use chicken thighs instead?
Yes. Bone-in, skin-on thighs need 25–30 minutes at the same temperature and should reach the same internal temperature of 74°C (165°F). Thighs are fattier and more forgiving — they stay juicy even if slightly overcooked — but each serving will have more calories and fat. Both are perfectly acceptable for low-sodium diets, so the choice comes down to your calorie and texture preferences.
Can I make this in an air fryer?
Absolutely. Cook at 355°F (180°C) for 15–18 minutes, flipping halfway through. The air fryer will produce a crispier exterior at the cost of marginally less internal moisture. If using an air fryer, add an extra tablespoon of olive oil to the marinade to compensate for the more aggressive moisture loss.
How do I reheat without drying it out?
The microwave is the enemy of leftover chicken — it drives out moisture in seconds. Instead, slice the chicken cold (it’s excellent on salads straight from the fridge) or reheat gently: place on a baking sheet in a 320°F (160°C) oven for 10 minutes, or drop slices into hot soup or sauce for 2 minutes. If you’re meal prepping, store the breasts whole and slice them just before eating — whole pieces retain moisture better than pre-sliced ones.
More Low Sodium Recipes
- Low Sodium Chicken Soup — A classic low-sodium soup built on technique
- Low Sodium Stir Fry Chicken — A quick low-sodium stir fry for weeknights
- Low Sodium Chili — A tomato-based low-sodium stew with smoky depth
- Low Sodium Salad Dressing — Three low-sodium dressings to pair with this chicken
Nutrition (per serving, serves 4)
| Nutrient | Amount | % Daily Value |
|---|---|---|
| Calories | 195 kcal | 10% |
| Protein | 32g | 64% |
| Fat | 6g | 8% |
| Carbohydrates | 2g | 1% |
| Fiber | 0g | 0% |
| Sodium | 75mg | 3% |
| Potassium | 420mg | 9% |
| Vitamin C | 8mg | 9% |
Low Sodium Baked Chicken Breast - Juicy & Heart Healthy
Ingredients
Method
- Step 1: Even Out the Thickness: Place each chicken breast on a cutting board. Press the thickest part with your palm to find where it bulges. If one end is significantly thicker than the other — which it almost always is — butterfly the thick side by slicing horizontally partway through and folding it open like a book. The goal is uniform thickness across the entire breast. This matters because a tapered breast will be overcooked and dry at the thin end before the thick end reaches a safe temperature.
- Step 2: Make the Herb Marinade: In a small bowl, whisk together the olive oil, lemon juice, garlic powder, dried rosemary, dried thyme, black pepper, and smoked paprika. Drop the smashed garlic cloves into the bowl to infuse their flavor into the oil. You don't need a long marinade time — 10 minutes is enough for the surface of the chicken to absorb the herb flavor. If you want to marinate longer, refrigerate for up to 2 hours maximum. Do not exceed 4 hours: the acid in the lemon juice will begin to denature the chicken proteins, giving the surface a mushy, powdery texture.
- Step 3: Coat the Chicken: Place the chicken breasts in a zip-top bag or shallow dish and pour the herb marinade over them. Massage the bag gently from the outside to ensure every surface of every breast is coated with the herbed oil. Press out as much air as possible, seal, and let sit at room temperature for 10 minutes. Meanwhile, preheat your oven to 400°F (200°C).
- Step 4: Bake to Temperature, Not Time: Arrange the chicken breasts on a parchment-lined baking sheet in a single layer with space between them. Lay the lemon slices and smashed garlic cloves on top of the chicken. Bake for 18–22 minutes. At the 15-minute mark, insert a meat thermometer into the thickest part of the largest breast. When it reads 71°C (160°F), pull the pan from the oven immediately. If you don't have a thermometer, slice into the thickest breast — the meat should be uniformly white with clear juices and no trace of pink.
- Step 5: Rest, Then Slice: This is the step most home cooks skip, and it's the one that makes the difference between juicy chicken and dry disappointment. Transfer the chicken to a cutting board, tent loosely with foil, and let it rest for 5 full minutes. During this rest, the internal temperature will continue rising another 1–2°C (carryover cooking), bringing it to the safe 74°C (165°F) mark. More importantly, the muscle fibers relax and reabsorb the juices that were driven to the surface during cooking. Cut immediately and those juices pour out onto the board. Wait 5 minutes and they stay in the meat. Slice against the grain on a slight diagonal.