Low Sodium Pancakes
Going low on sodium doesn’t mean saying goodbye to fluffy pancakes. These low sodium pancakes get their lift from baking powder and milk — no added salt needed — and come in at under 140mg of sodium per serving. They’re a breakfast anyone managing high blood pressure, heart failure, or a DASH diet can feel good about, and kids love them too. Stack a batch on weekend mornings, drizzle with maple syrup or top with fresh fruit, and you’re set.
Health note: This recipe is designed for low-sodium diets and is not a substitute for personalized medical advice from a doctor or registered dietitian. If you have high blood pressure, heart failure, kidney disease, or another chronic condition, please consult your healthcare provider before making dietary changes.
Why You’ll Love This Recipe
- Truly low sodium: No salt added anywhere in the recipe. Each serving stays well below the 140mg threshold — perfect for blood pressure control without sacrificing a treat.
- Still fluffy: Baking powder does the heavy lifting. These pancakes puff up just like regular ones, and nobody at the table will notice the difference.
- Ready in 10 minutes: Whisk, rest briefly, and cook. Faster and cheaper than diner pancakes, with zero morning stress.
- Family-friendly: Even household members who aren’t watching sodium will love these — serve with extra syrup on the side and everyone’s happy.
Ingredients You’ll Need
| Ingredient | Amount (about 8 pancakes) |
|---|---|
| All-purpose flour | 200g |
| Sodium-free baking powder | 2 tsp |
| Granulated sugar | 1 tbsp |
| Egg | 1 large |
| Milk | 240ml (1 cup) |
| Melted butter | 2 tbsp |
Substitutions: Swap milk for a dairy-free plant milk to make this dairy-free; cut sugar to 1 tsp for lower calorie; for best results, stick with sodium-free baking powder — regular baking powder contains sodium and is not recommended if you’re strictly controlling sodium intake.
How to Make Low Sodium Pancakes
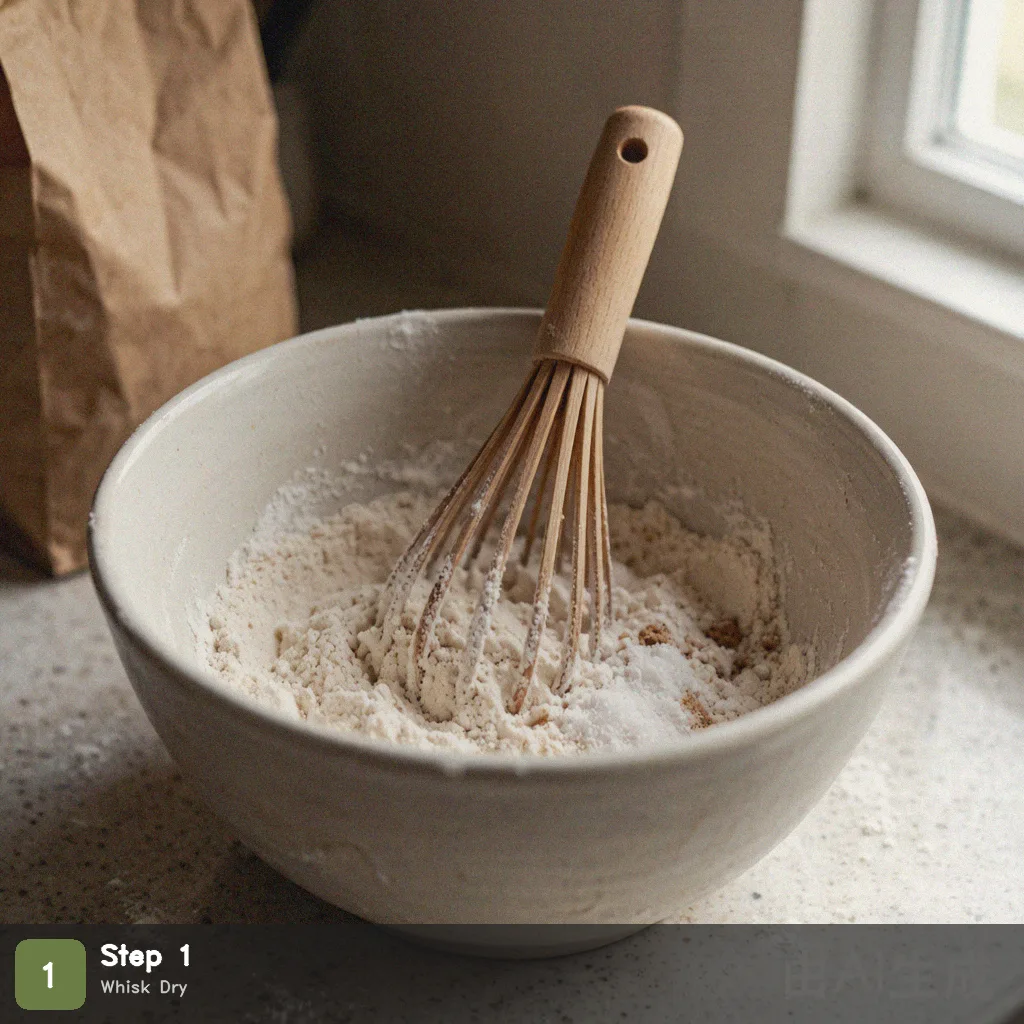
Step 1: Whisk Dry Ingredients
In a large bowl, whisk together flour, sodium-free baking powder, and sugar until evenly combined. Mixing the dry ingredients first prevents lumps of baking powder or flour from showing up in the cooked pancakes.
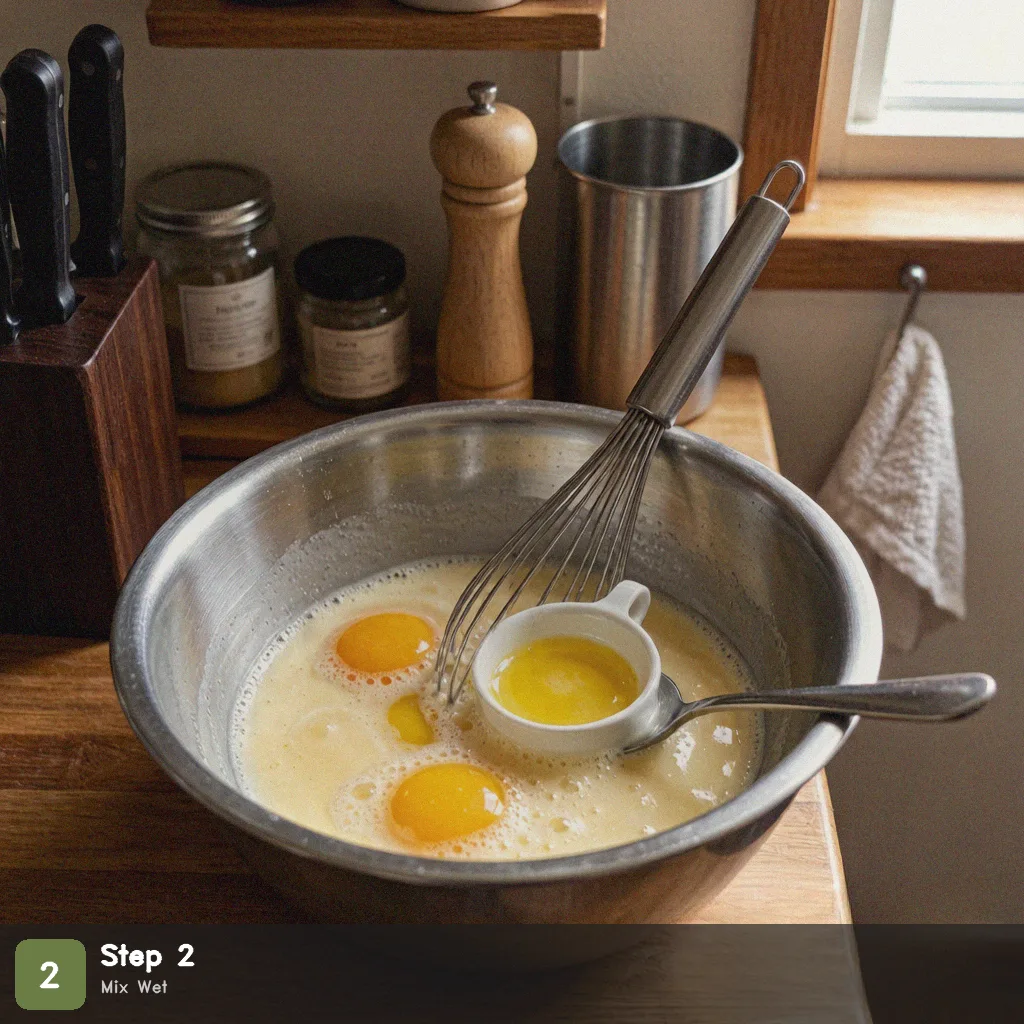
Step 2: Mix Wet Ingredients
In a separate bowl, beat the egg, then stir in milk and melted butter until smooth. The mixture should be lukewarm — too hot and the egg will scramble.
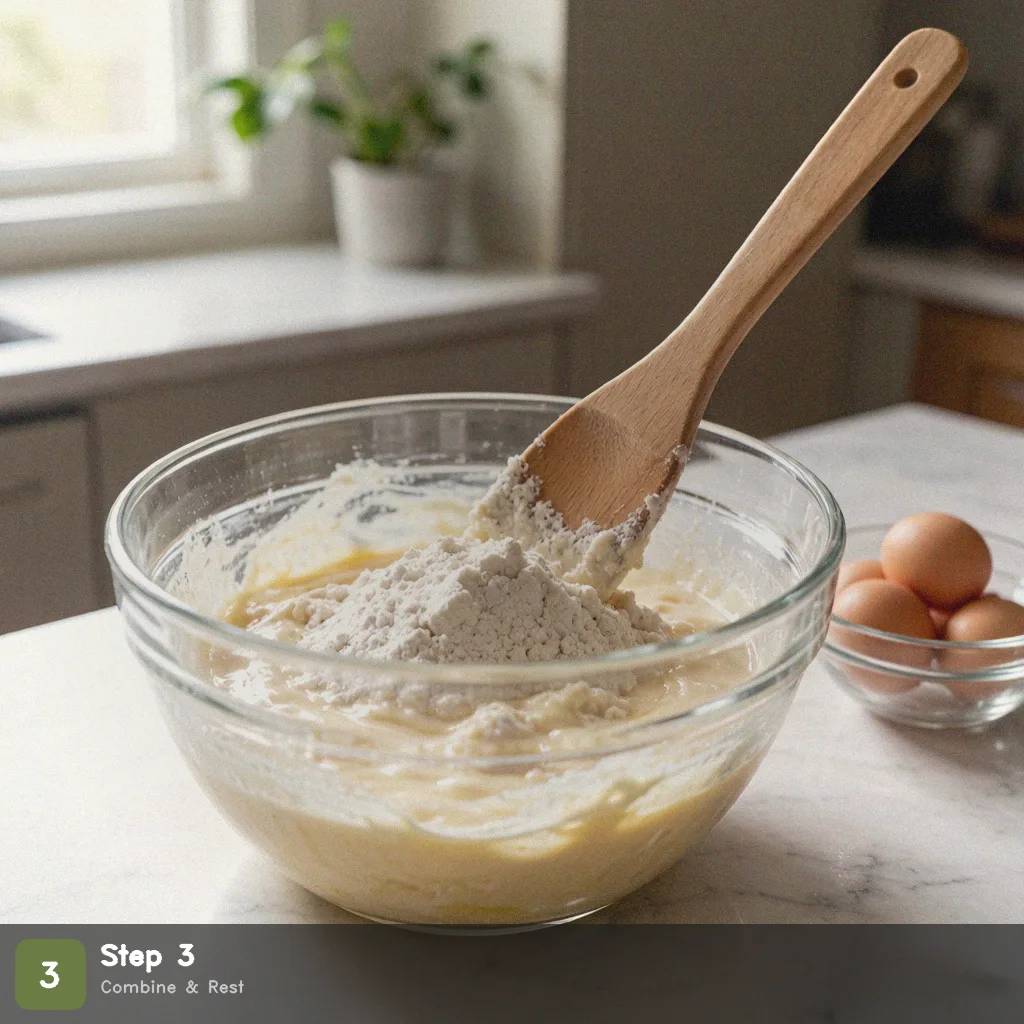
Step 3: Combine and Rest
Pour the wet ingredients into the dry ingredients. Fold with a spatula just until no streaks of flour remain — a few small lumps are fine. Let the batter rest for 5 minutes so the baking powder activates and the batter thickens slightly.
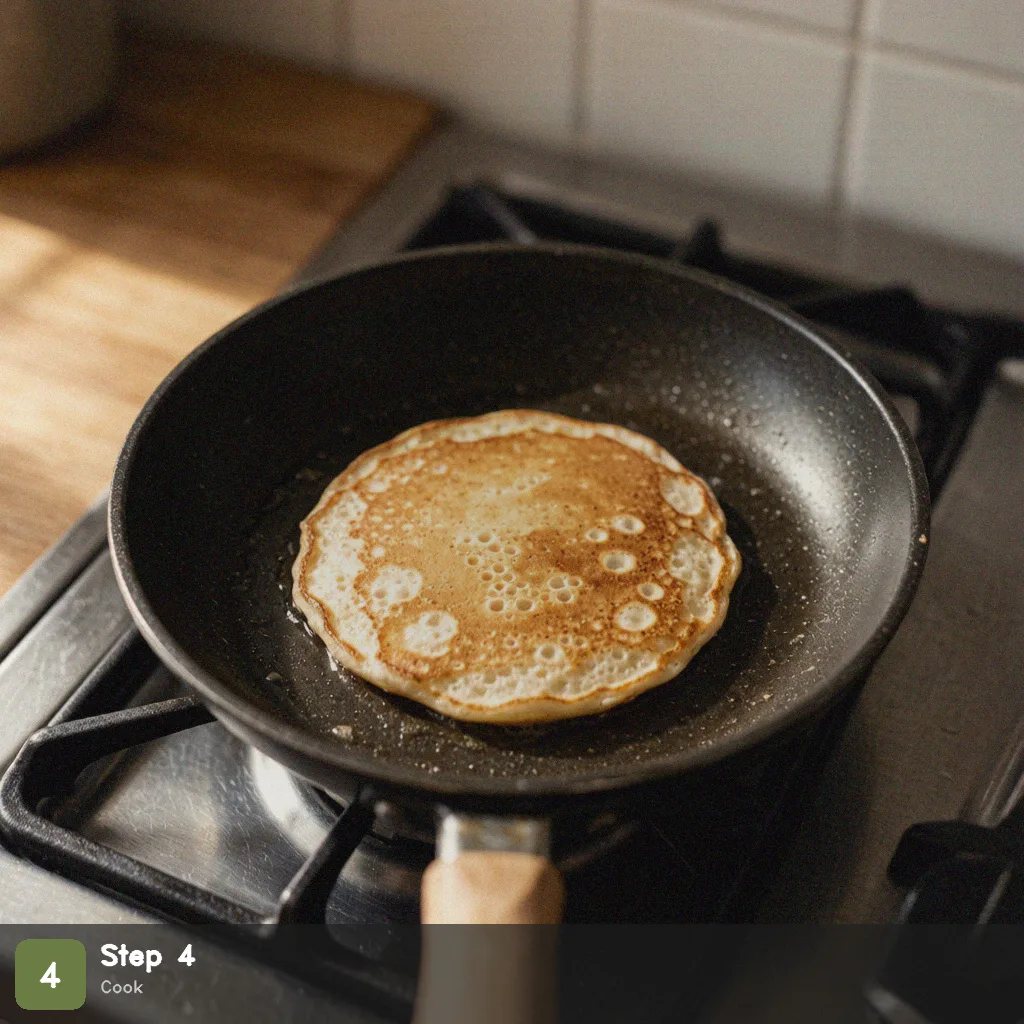
Step 4: Cook
Heat a nonstick skillet or griddle over low heat and lightly grease. Pour about 1/4 cup of batter per pancake. Cook until bubbles form around the edges and the surface looks set, then flip and cook 1 more minute until golden brown. Low heat is key — high heat burns the outside before the center cooks through.
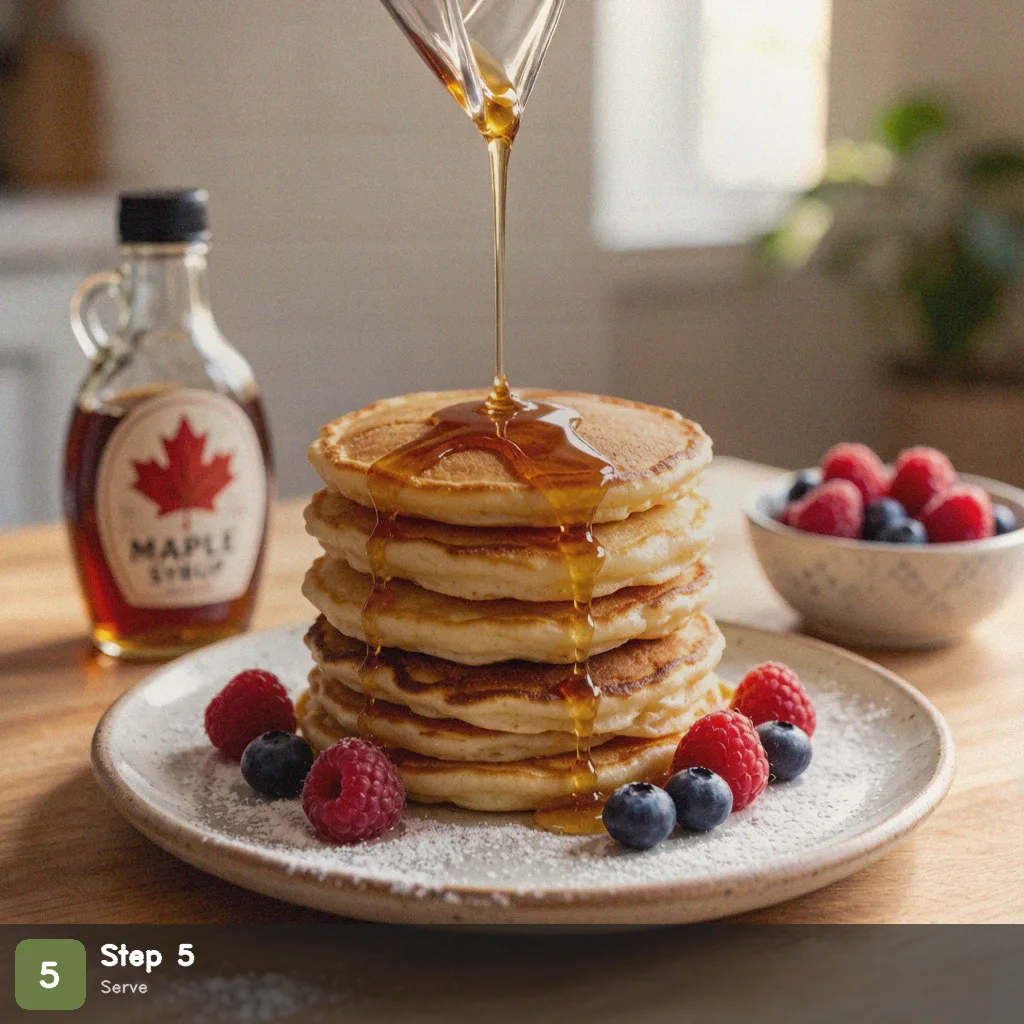
Step 5: Serve
Stack on a plate and top with maple syrup or fresh fruit. These are best served warm. If they’ve cooled, steam for 1 minute to restore fluffiness. Pair with coffee and you’ve got a solid morning.
Pro Tips for the Best Results
- Sodium-free baking powder matters: This is the single most important ingredient for keeping sodium low. Stick with sodium-free baking powder; regular varieties contain sodium and are not recommended when you’re strictly limiting intake.
- Don’t overmix: A few lumps in the batter are perfectly fine. Overmixing develops gluten and makes pancakes tough — stop as soon as the flour disappears.
- Low and slow: Pancakes hate high heat. Keep your skillet on low so the center cooks through before the edges brown. Flip when you see bubbles around the rim.
- Don’t skip the rest: Those 5 minutes let the leavening work. Skip it and you’ll end up with flat, dense pancakes.
- Storage: Leftovers keep refrigerated for up to 2 days. Reheat gently — steaming or a quick pan reheat works better than the microwave, which can make them rubbery.
Frequently Asked Questions
Q: Is there really no salt at all?
A: The recipe itself contains no added salt. Sodium comes only from trace amounts naturally present in flour and milk, putting each serving well below the 140mg low-sodium standard.
Q: Can I use regular baking powder?
A: Yes, but store-bought baking powder contains sodium. For strict sodium control, sodium-free baking powder is the safest choice.
Q: Can I make these whole wheat?
A: Swap half the all-purpose flour for whole wheat flour to add fiber. The texture will be slightly heartier — add 1–2 extra tablespoons of milk if the batter feels too thick.
Q: Can I make the batter ahead?
A: Best made fresh. The leavening loses power if the batter sits too long. You can keep wet and dry ingredients separate in the fridge and combine them in the morning for speed.
Q: How do I build an even lower-sodium meal?
A: Serve with fruit and unsweetened yogurt. Skip bacon or sausage on the side. One meal like this keeps your sodium count in check.
Q: Is a low-sodium diet safe for everyone?
A: This recipe is intended as a reference for low-sodium eating and cannot replace personalized advice from a doctor or registered dietitian. If you have high blood pressure, heart failure, kidney disease, or any other chronic condition, please consult your healthcare provider before adjusting your daily diet.
More Low Sodium Recipes to Try
- Low Sodium Quick Breakfast
- Low Sodium 5-Ingredient Recipes
- Low Sodium Mashed Potatoes
- Low Sodium Sheet Pan Dinner
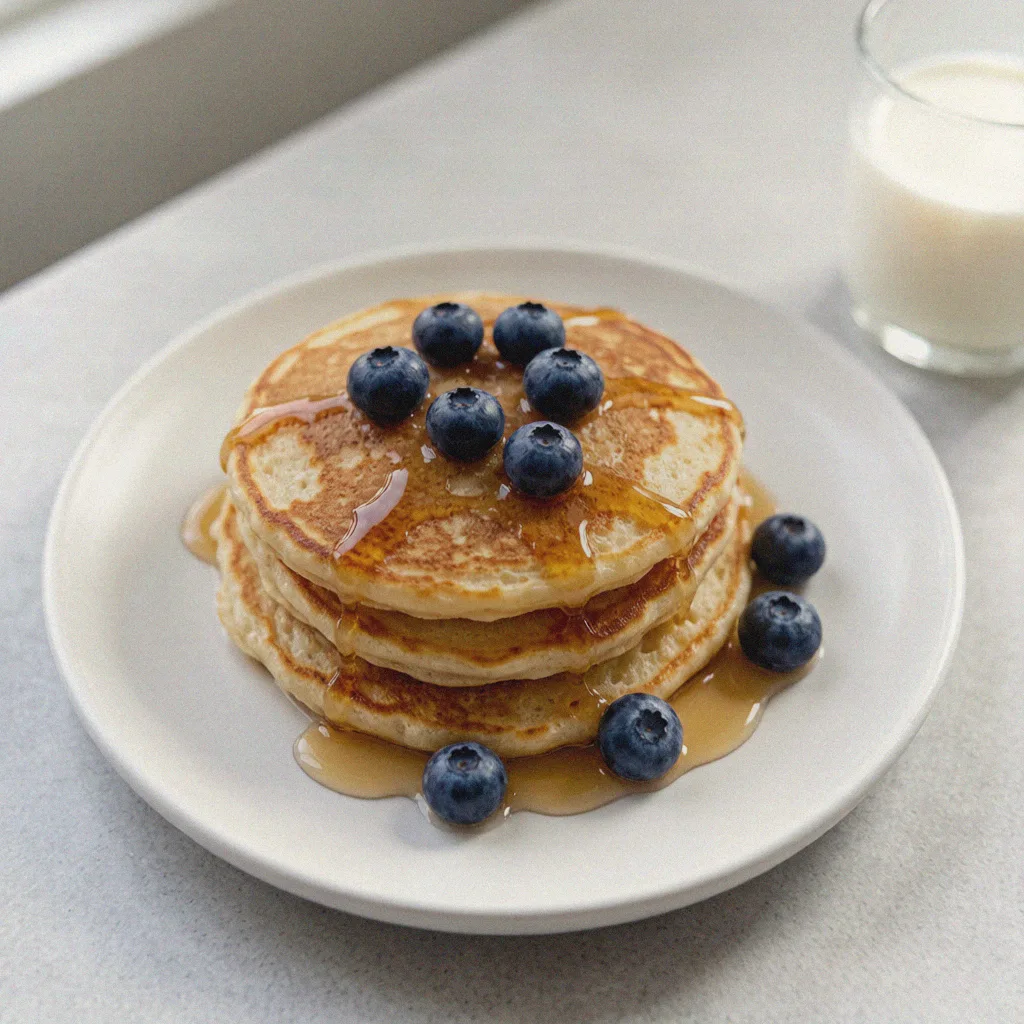
Low Sodium Pancakes
Ingredients
Method
- Step 1: Whisk Dry Ingredients: In a large bowl, whisk together flour, sodium-free baking powder, and sugar until evenly combined. Mixing the dry ingredients first prevents lumps of baking powder or flour from showing up in the cooked pancakes.
- Step 2: Mix Wet Ingredients: In a separate bowl, beat the egg, then stir in milk and melted butter until smooth. The mixture should be lukewarm — too hot and the egg will scramble.
- Step 3: Combine and Rest: Pour the wet ingredients into the dry ingredients. Fold with a spatula just until no streaks of flour remain — a few small lumps are fine. Let the batter rest for 5 minutes so the baking powder activates and the batter thickens slightly.
- Step 4: Cook: Heat a nonstick skillet or griddle over low heat and lightly grease. Pour about 1/4 cup of batter per pancake. Cook until bubbles form around the edges and the surface looks set, then flip and cook 1 more minute until golden brown. Low heat is key — high heat burns the outside before the center cooks through.
- Step 5: Serve: Stack on a plate and top with maple syrup or fresh fruit. These are best served warm. If they've cooled, steam for 1 minute to restore fluffiness. Pair with coffee and you've got a solid morning.
More Low Sodium Recipes →
- Low Sodium Lasagna - Heart Healthy & Cheesy | CrispTable
- Air Fryer Low Sodium Vegetables - Crispy & Salt Free
- Air Fryer Low-Sodium Garlic Salmon (15-Minute Family Version)
- Low Sodium Stir Fry Chicken - Heart Healthy 15 Min
- Air Fryer Low Sodium Shrimp - Garlic Lemon & Salt Free
- Air Fryer Low Sodium Baked Potato – Crispy & Salt Free