Instant Pot Chicken Breast
Nobody wants dry, stringy chicken breast. This Instant Pot chicken breast uses pressure cooking to lock in juices, delivering juicy, tender meat in just 15 minutes — never dry. It’s a meal prep powerhouse: cook a batch once, shred it for salads, slice it for sandwiches, or toss it into fried rice. Weeknight dinners are sorted in an instant, and you’ll never again stress about “what protein am I eating tonight.”
Why You’ll Love This Recipe
- Never dry: Pressure cooking traps moisture inside the muscle fibers. Far more forgiving than pan-searing or roasting — even beginners can’t mess this up.
- Blazing fast: Raw to done in 15 minutes. Half the time of oven-roasted chicken, perfect for exhausted weeknights.
- Meal prep hero: Cook several portions at once, shred and freeze. Use it in salads, sandwiches, grain bowls, and stir-fries all week. Your weekly protein problem? Solved.
- Clean and lean: Relies on broth and aromatics — no added oil needed. Light, unfussy, and diet-friendly.
Ingredients You’ll Need
| Ingredient | Amount (2–3 servings) |
|---|---|
| Chicken breasts | 2 pieces (about 400g / 14oz total) |
| Chicken broth (or low-sodium broth) | 240ml (1 cup) |
| Olive oil | 1 tbsp |
| Garlic powder | 1 tsp |
| Salt and black pepper | To taste |
| Lemon slices (optional) | A few |
Substitutions: Water works instead of broth but the flavor will be milder; swap chicken breasts for thighs for even juicier meat; for lower sodium, use unsalted broth and reduce salt to ¼ tsp.
How to Make Instant Pot Chicken Breast
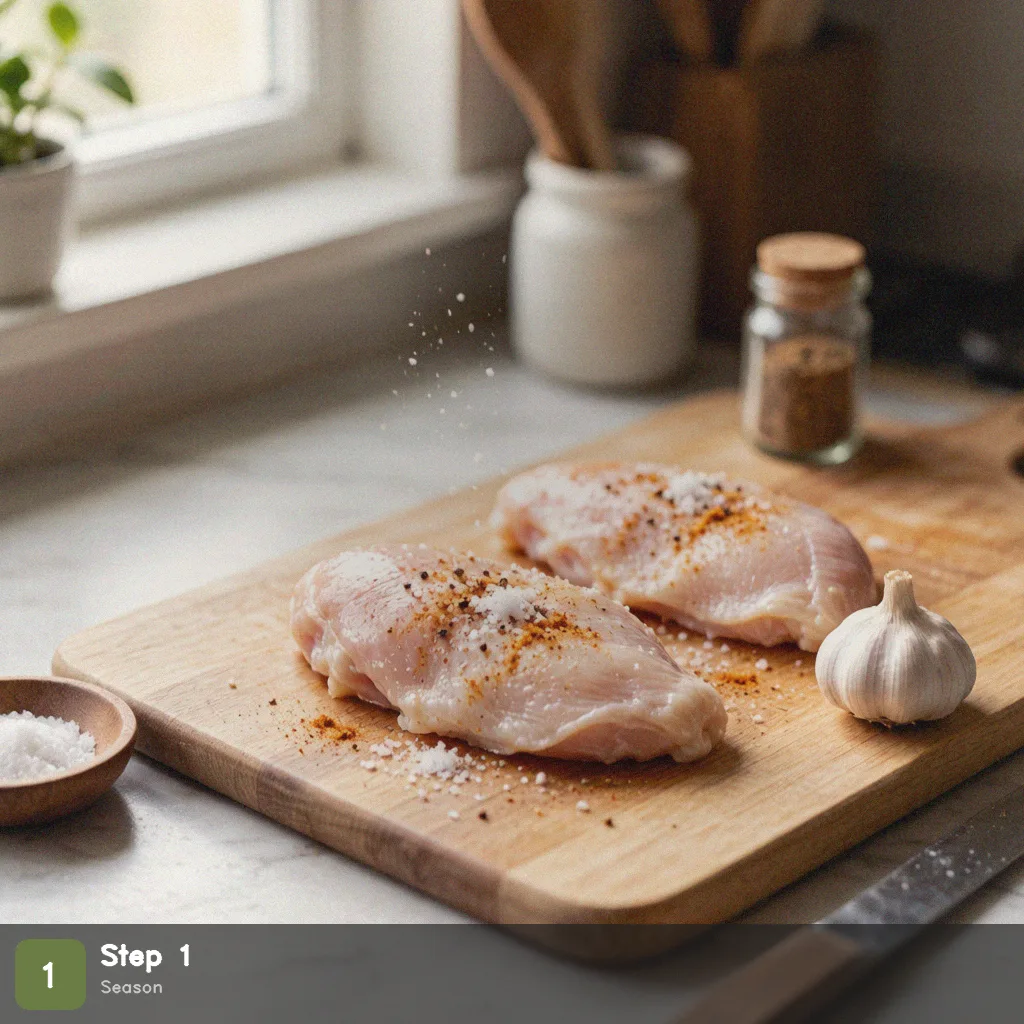
Step 1: Season
Pat the chicken breasts dry. Season both sides generously with salt, pepper, and garlic powder. Press the seasoning gently onto the surface so it sticks. Starting with well-seasoned meat builds flavor from the outside in.
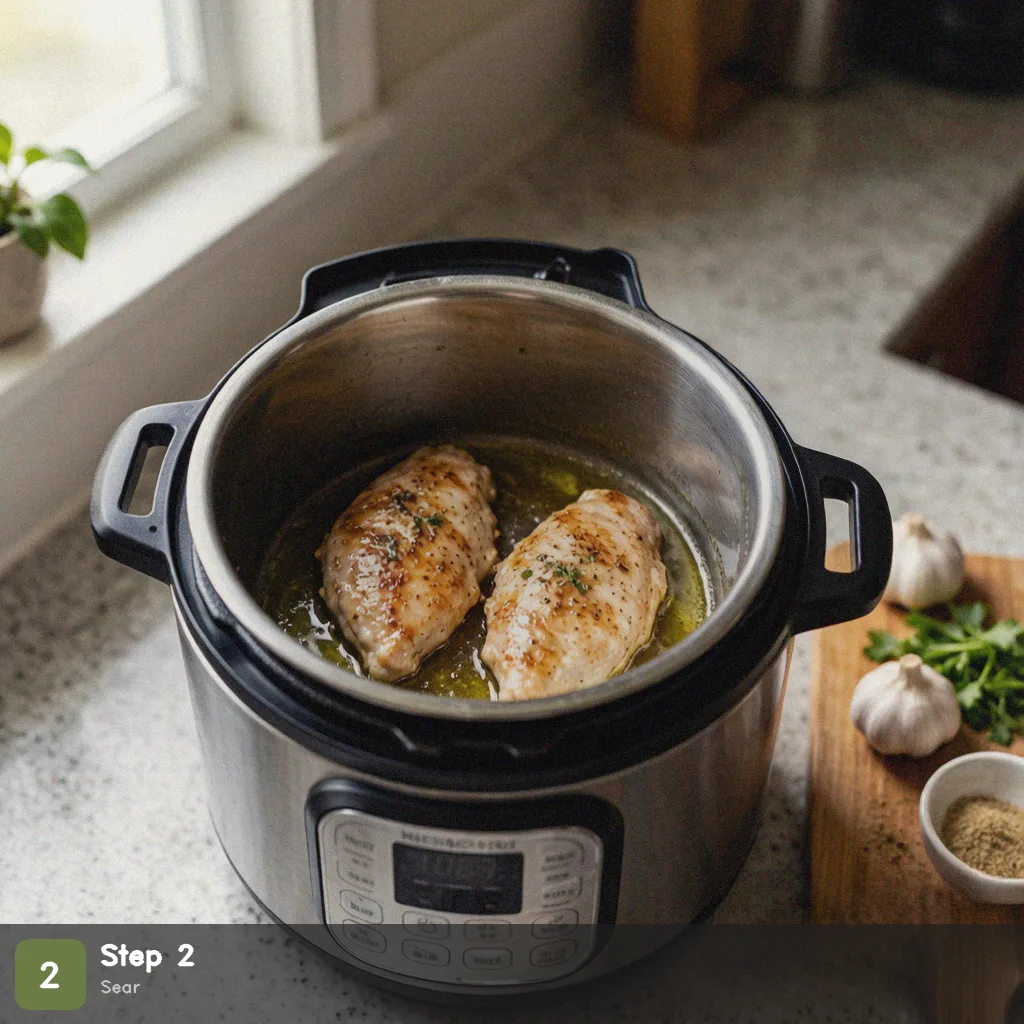
Step 2: Sear (Optional)
Select Sauté mode on your Instant Pot. Add olive oil and sear each side of the chicken for about 1 minute until lightly golden. This step adds depth of flavor but is totally skippable if you’re in a hurry.
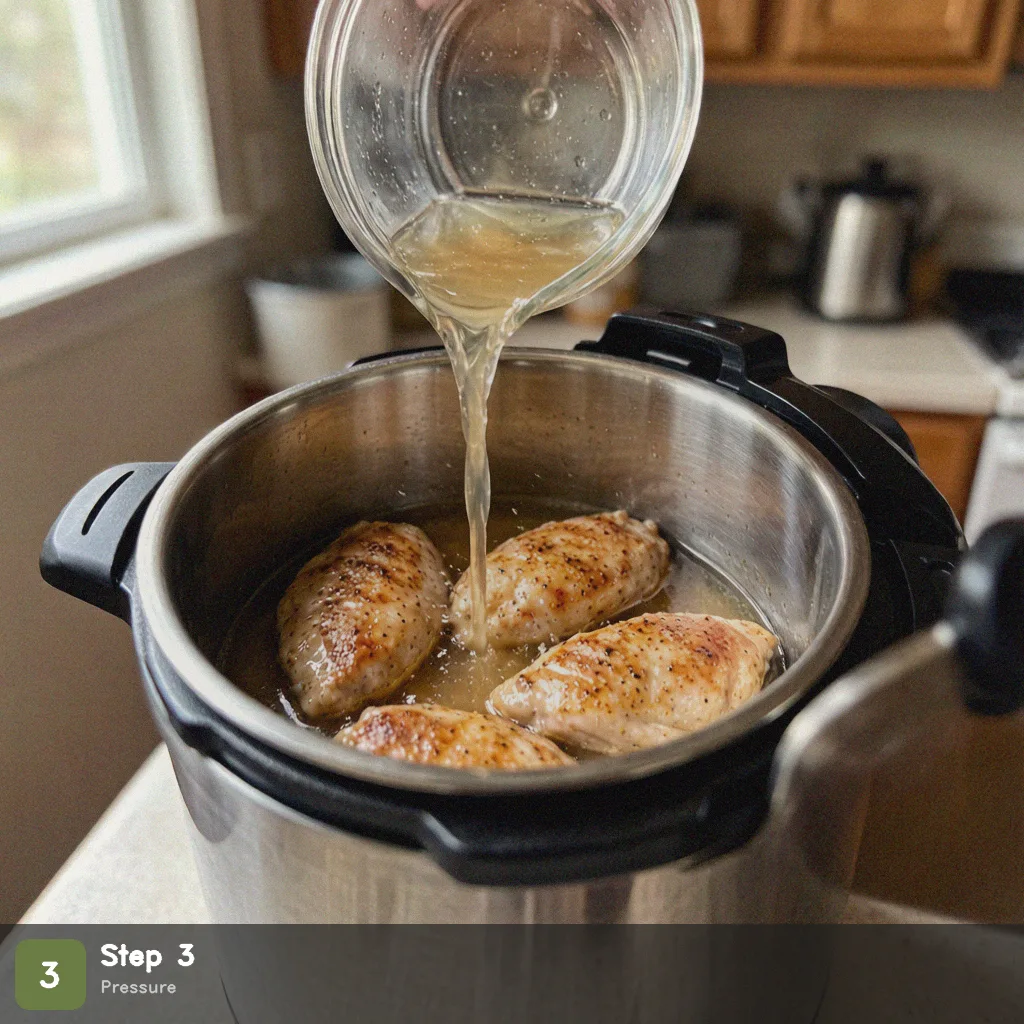
Step 3: Add Broth and Pressurize
Pour in the chicken broth. Lay the chicken breasts in a single layer — the liquid should come about halfway up the sides of the meat for even heating. Close the lid, seal the valve, and select High Pressure (Manual) for 8 minutes.
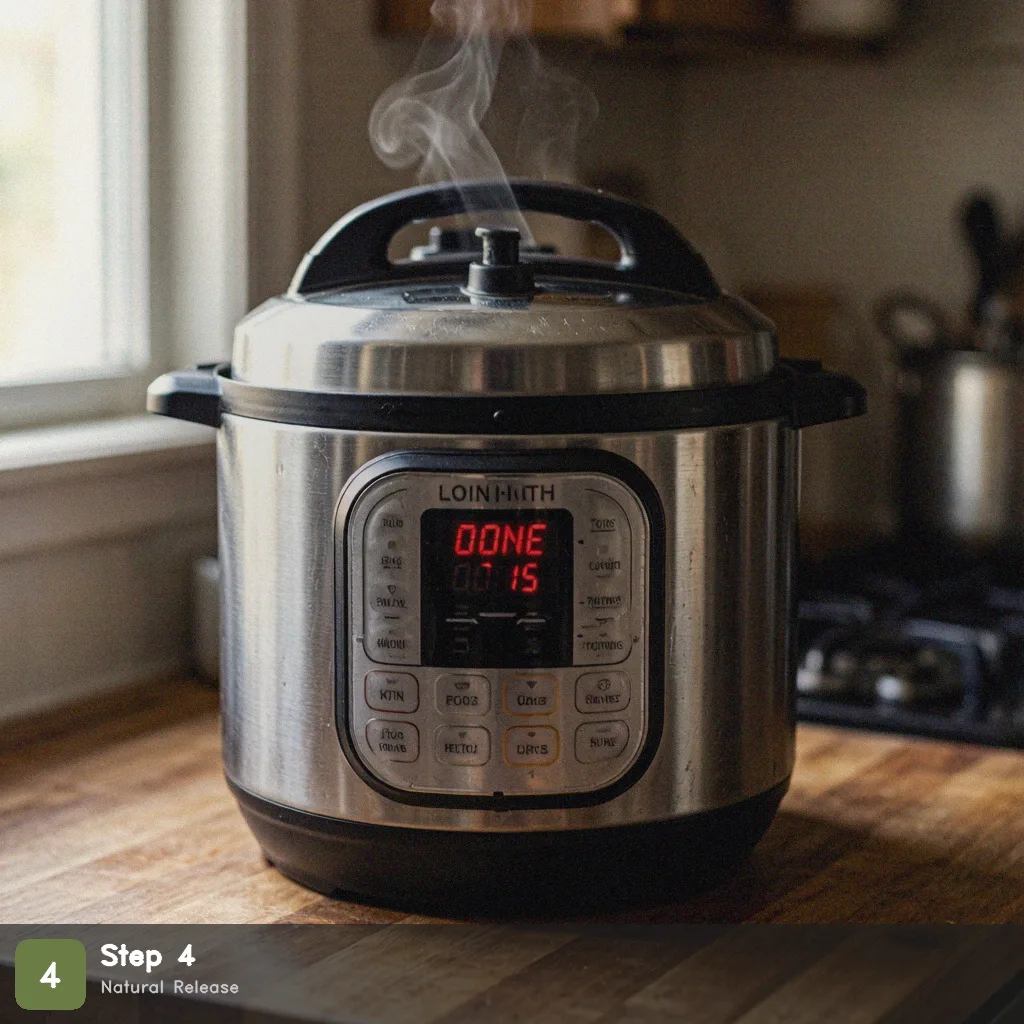
Step 4: Natural Release
When the timer goes off, let the pressure release naturally for 10 minutes, then quick-release any remaining pressure. The natural relaxation period lets the muscle fibers reabsorb juices — skipping it makes the meat tougher. Opening the lid immediately causes the chicken to seize and turn rubbery.
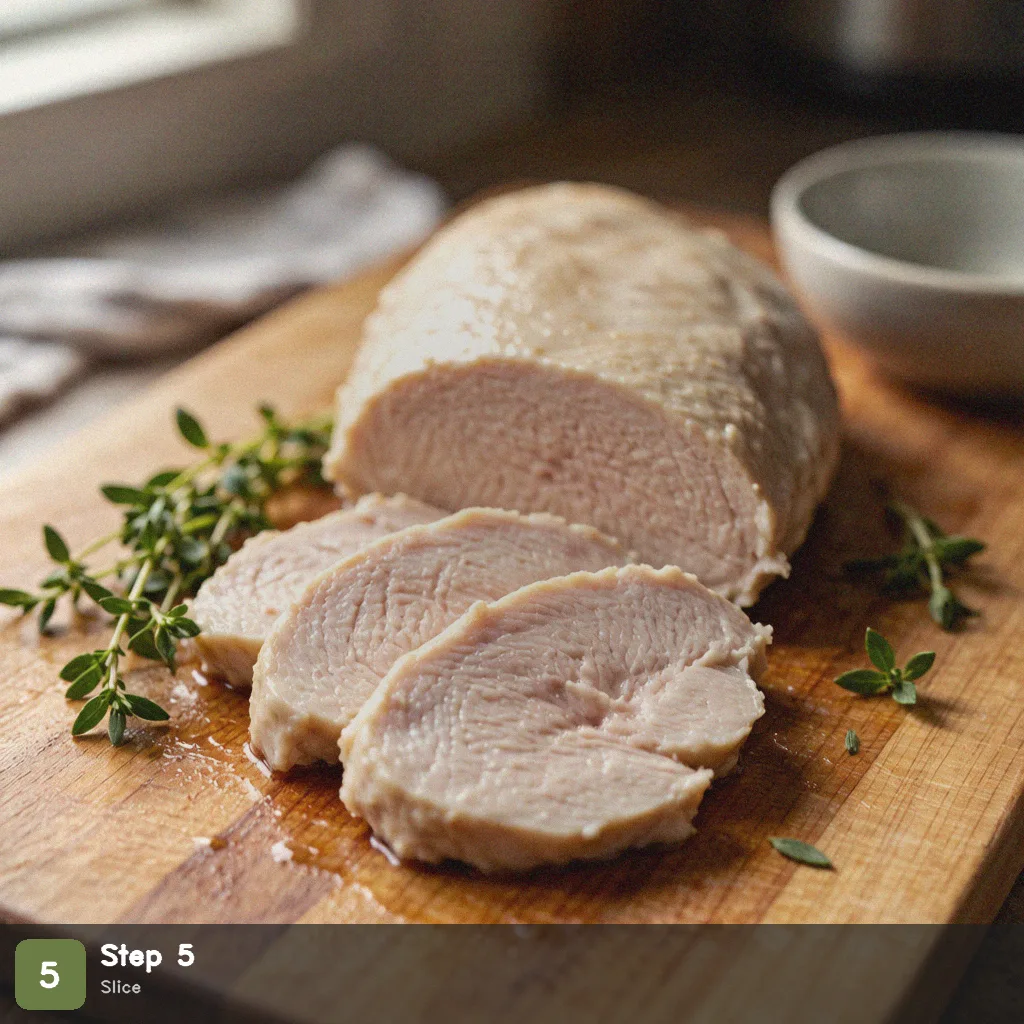
Step 5: Slice or Shred
The chicken is safe when the thickest part reaches 74°C (165°F). Slice against the grain, or shred with two forks right in the pot. Drizzle some of the cooking liquid over the top to keep it moist. Portion into meal prep containers and refrigerate or freeze for grab-and-go meals.
Pro Tips for the Best Results
- Wait for natural release (10 min): Rushing to quick-release yields dry, fibrous chicken. Those extra 10 minutes are the difference between “just okay” and “incredibly juicy.” Worth every second.
- Don’t stack: Lay both breasts flat in a single layer. Stacking causes uneven cooking — if your pieces are thick, add 1–2 minutes to the cook time.
- Broth halfway up: Too little liquid triggers the burn warning. Make sure the broth reaches at least halfway up the chicken for safe, even cooking.
- Use a thermometer: 74°C (165°F) at the center is your gold standard. Don’t guess by time alone — especially with thicker cuts.
- Shred, don’t slice, for meal prep: Shredded chicken absorbs flavors better and reheats more evenly than sliced. It’s the meal prep pro move.
Frequently Asked Questions
Q: Can I cook frozen chicken breast directly?
A: Yes. Cook from frozen on High Pressure for 12–14 minutes — no thawing needed. Texture will be slightly less tender than fresh, but it’s a lifesaver for last-minute dinners.
Q: What if I don’t have chicken broth?
A: Water plus 1 tsp chicken bouillon or onion powder works in a pinch. Flavor will be milder but tenderness isn’t affected.
Q: How do I know when it’s done?
A: Internal temperature of 74°C (165°F), or cut into the thickest part — no pink, clear juices. The Instant Pot is very reliable; if you followed the timing, it’s almost certainly done.
Q: Can I make this ahead?
A: Absolutely. Shred, portion, and freeze for up to 3 months. Reheat in the microwave or toss into a hot dish. Meal prep game changer.
Q: Can I use the leftover cooking liquid?
A: Yes! Skim off the fat and you’ve got a light, flavorful chicken broth. Save it for soups, grains, or sauces — nothing goes to waste.
More Quick Meals to Try
- Quick Fried Rice
- One-Pot Chicken and Rice
- Sheet Pan Chicken and Vegetables
- 15-Minute Chicken Stir Fry
Instant Pot Chicken Breast
Ingredients
Method
- Step 1: Season: Pat the chicken breasts dry. Season both sides generously with salt, pepper, and garlic powder. Press the seasoning gently onto the surface so it sticks. Starting with well-seasoned meat builds flavor from the outside in.
- Step 2: Sear (Optional): Select Sauté mode on your Instant Pot. Add olive oil and sear each side of the chicken for about 1 minute until lightly golden. This step adds depth of flavor but is totally skippable if you're in a hurry.
- Step 3: Add Broth and Pressurize: Pour in the chicken broth. Lay the chicken breasts in a single layer — the liquid should come about halfway up the sides of the meat for even heating. Close the lid, seal the valve, and select High Pressure (Manual) for 8 minutes.
- Step 4: Natural Release: When the timer goes off, let the pressure release naturally for 10 minutes, then quick-release any remaining pressure. The natural relaxation period lets the muscle fibers reabsorb juices — skipping it makes the meat tougher. Opening the lid immediately causes the chicken to seize and turn rubbery.
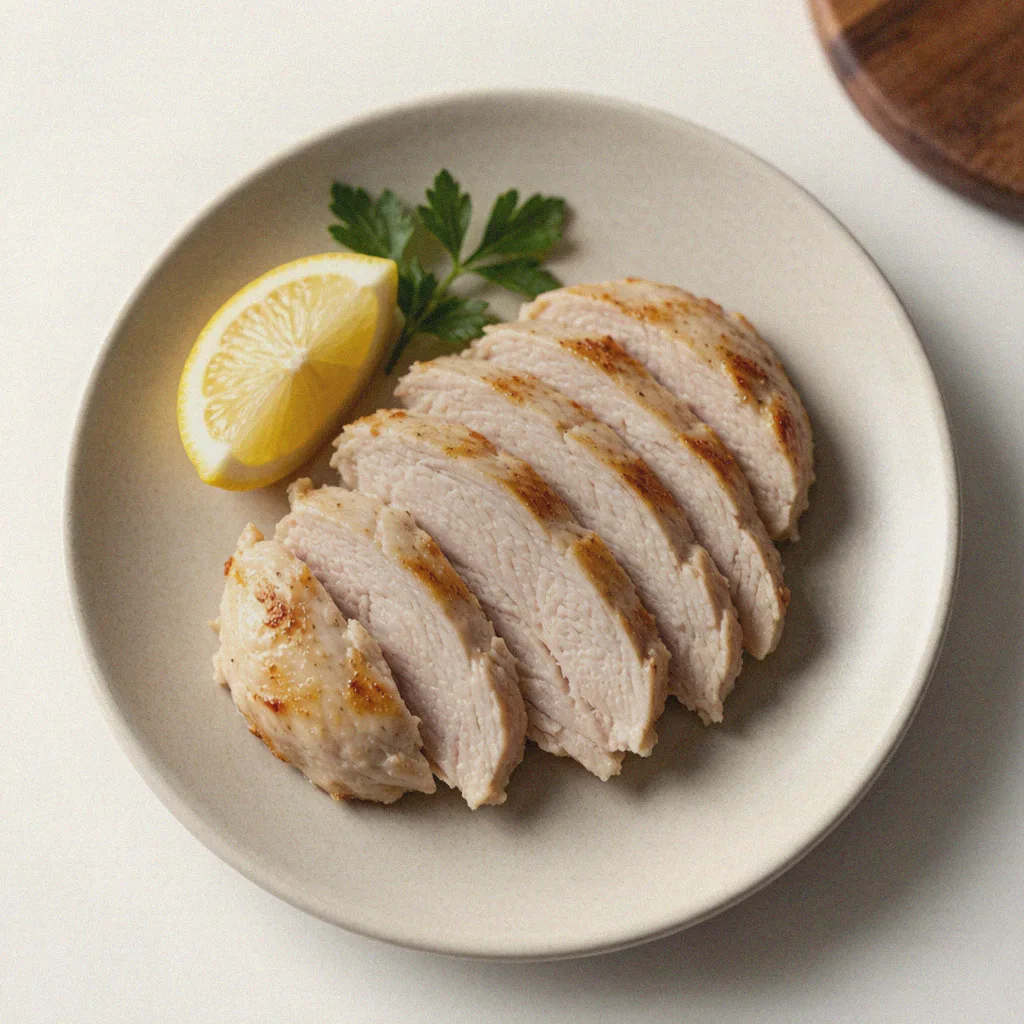
- Step 5: Slice or Shred: The chicken is safe when the thickest part reaches 74°C (165°F). Slice against the grain, or shred with two forks right in the pot. Drizzle some of the cooking liquid over the top to keep it moist. Portion into meal prep containers and refrigerate or freeze for grab-and-go meals.